Week 5 Battle #1, Marines vs. Tau
What a week! Several players did not show including our new Necron player. However, another player, Nathan, decided to join the campaign by borrowing my Imperial Navy fleet! My battle with Nathan will be covered in the next post, as two batreps in one post is too much. This post is all about my battle with Josh’s Tau!
—————————————————
Mission: The Bait
Azure Flames
-Pursued Ship: Space Marine Strike Cruiser Honor (Extra Shield, Navigational Shields)
-Space Marine Strike Cruiser Duty (Extra Shield)
-Space Marine Strike Cruiser Courage (Extra Shield)
-Space Marine Strike Cruiser Sacrifice (Extra Shield)
Tau Shan’al Shi’ur Pursuing Fleet
-Protector Cruiser, Vior’la Configuration
-Emissary Light Cruiser, Sa’cea configuration
-Nicassar Rig
-4 Nicassar Dhows
—————————————————–
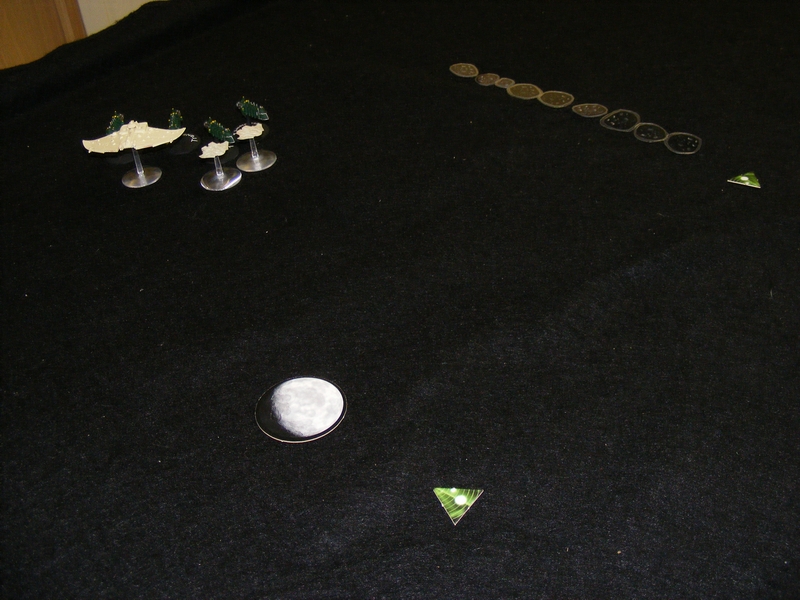
Setup: The Honor was placed in the center of the board, and the Tau deployed 60cm behind it.

Azure Flames – Turn 1
The Honor moves ahead, and launches two Thunderhawks on CAP.

Tau Shan’al Shi’ur – Turn 1
The whole fleet moves up. One fighter is launched, and two waves of missiles.
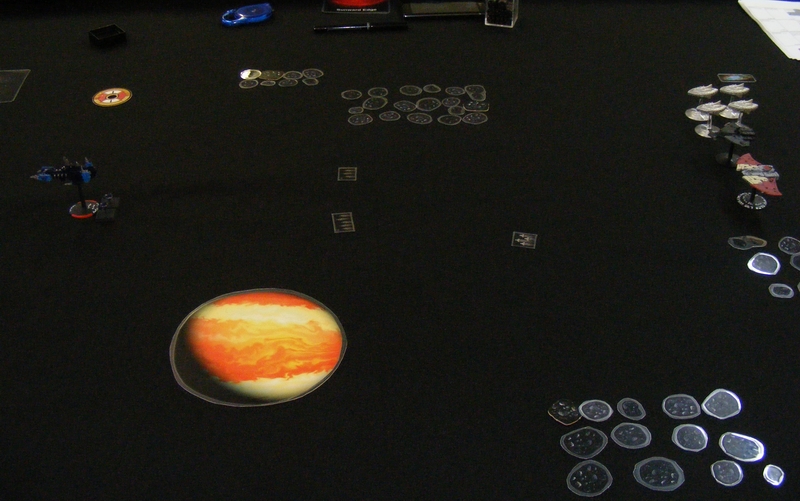
Azure Flames – Turn 2
The Honor Reloads Ordnance and begins to come about.
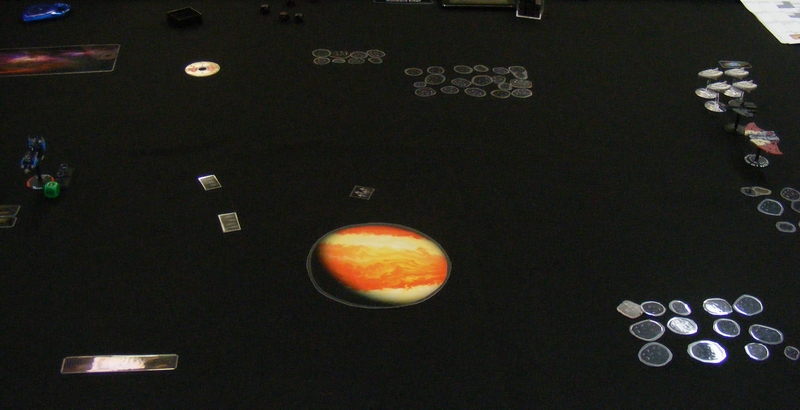
Tau Shan’al Shi’ur – Turn 2
Not allowing themselves to be caught out of position, the Tau fleet takes a turn to their Starboard. Tau Missiles avoid the Honor, as the CAP would make them useful.
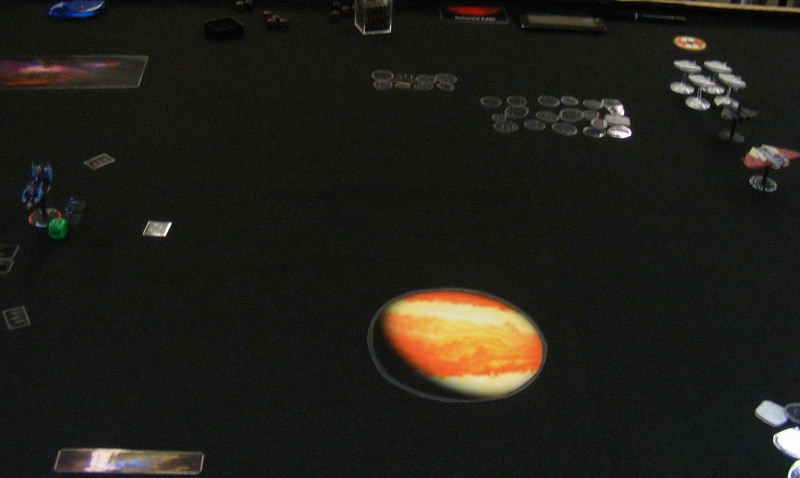
Azure Flames – Turn 3
Thunderhawks split off from CAP to deal with the Tau missiles. The Honor seeks cover by the large planet.

Tau Shan’al Shi’ur – Turn 3
The Nicassar Dhows provide tempting bait along the far table edge. The Protector Reloads Ordnance, and fires. The Emissary sneaks through the asteroid field.
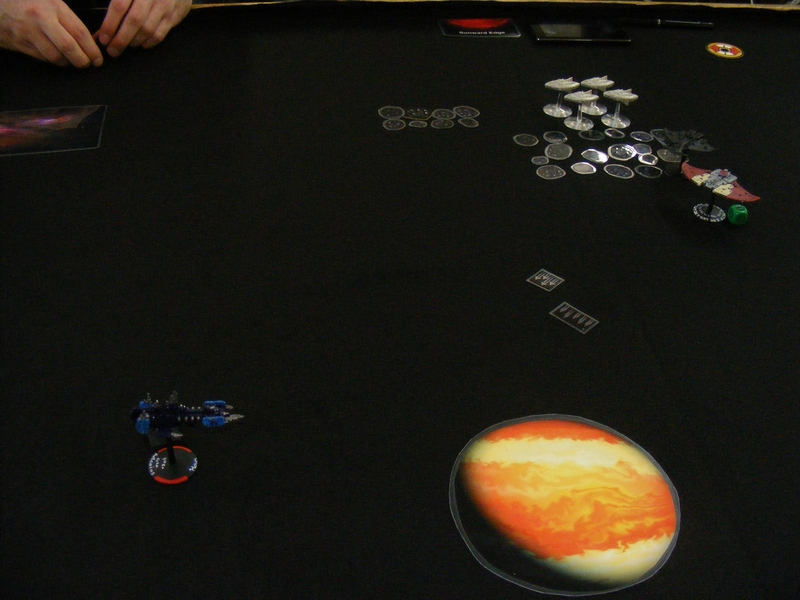
Azure Flames – Turn 4
The Honor gains cover behind the planet as it once again launches a CAP to deal with Tau missiles.

Tau Shan’al Shi’ur – Turn 4
The Protector goes on All Ahead Full to catch the Honor next turn. The Emissary fails the leadership test to navigate the asteroids, fails to Brace for Impact, and suffers SIX DAMAGE, killing it and turning it into a Drifting Hulk! Nicassar thread the needle between the asteroid belts.
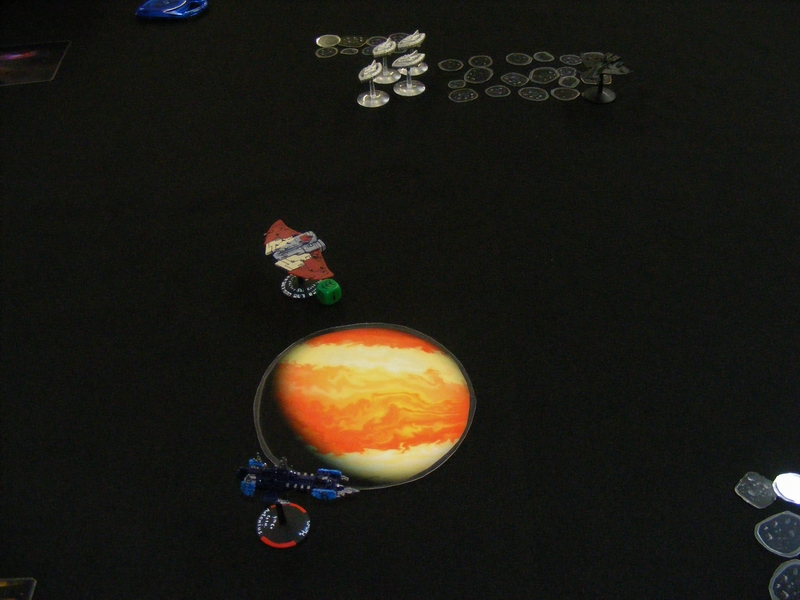
Azure Flames – Turn 5
The Duty, Courage, and Sacrifice arrive from the board edge, and launch Torpedoes, forcing the Protector to Brace. The Honor launches Thunderhawks at the Protector. Brace saves prevent all hit-and-run attacks and all but one damage.
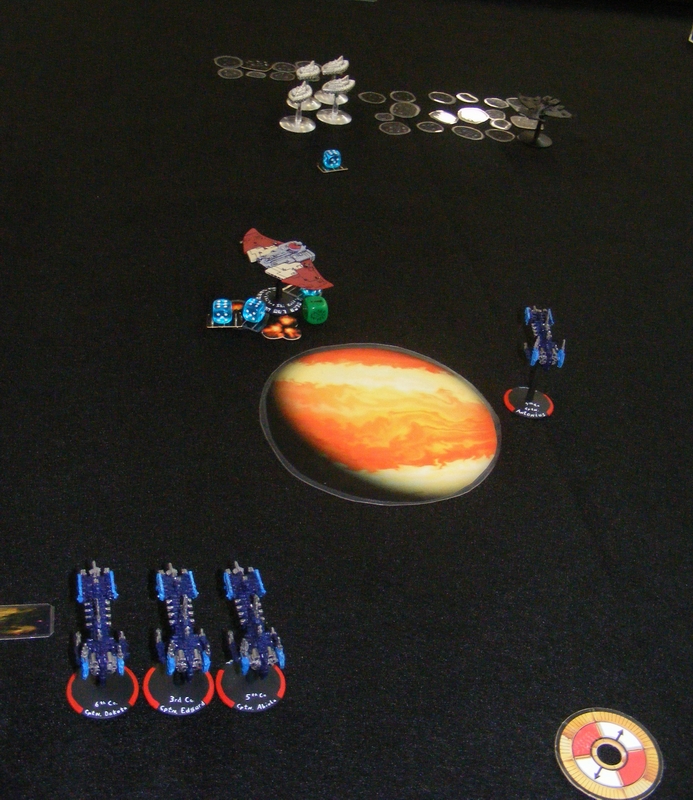
Tau Shan’al Shi’ur – Turn 5
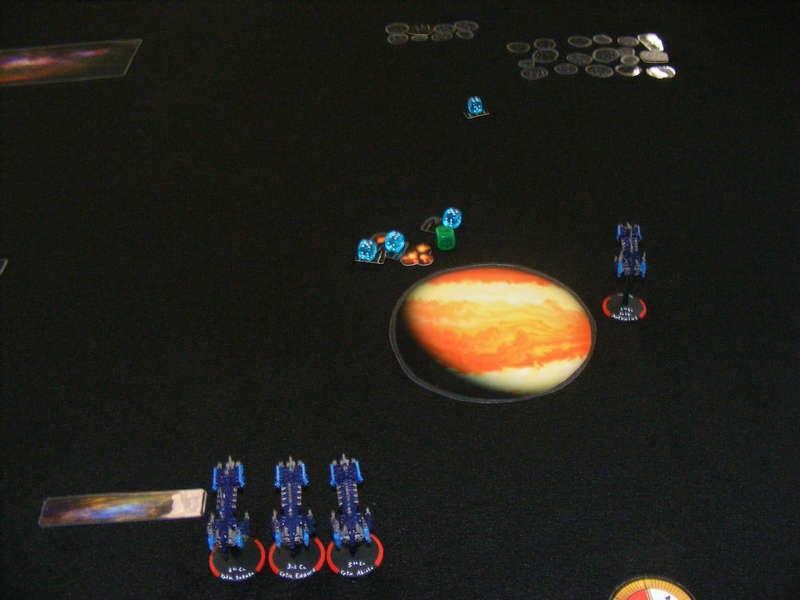
The Tau disengage, abandoning the Nicassar Rig which is destroyed. Game ends.
—————————————————–
The Bait is a gamble. Does the pursuing force push it, or do they make a hasty retreat? The Tau fleet was not slow, and speed matters. The one big deciding factor was sending the low-leadership Emissary through the asteroids. That instant death really hurt the Tau who might have been able to put the hurt on the Honor.
Next: another batrep from the same week, starring new player Nathan!
New player day at Highland Library!
Finally got to go back to the Highland Library to see my old gaming group! New players abound. Me and Jacob, a Dark Angel player took on new players Franklin (Orks) and Andy (Necrons) in a 2v2. Each list was independent, but was assumed to be “allied” with each other, so Franklin and Andy were subject to being Desperate Allies.
Bozeman – Azure Flames
-Leonidas, Captain of the 1st Company (counts as Vulkan He’Stan)
-Tactical Squad x9, Veteran Sergeant, Bolter-Flamer, Power Fist, Flamer in a Drop Pod
-Tactical Squad x10, Veteran Sergeant, Bolter-Melta, Meltagun, Multi-Melta in a Rhino with Extra Armor
-Stormtalon Gunship with Typhoon Missile Launcher
-Land Speeder x3 with Multi-Meltas
Jacob – Dark Angels
-Sammael, Grand Master of the Ravenwing on Jetbike
-Ravenwing Bike Squad, Power Sword, 2x Meltaguns, Attack Bike
-Ravenwing Bike Squad, Power Sword, 2x Meltaguns, Attack Bike
-Ravenwing Land Speeder, Heavy Bolter and Assault Cannon
-Ravenwing Land Speeder, Heavy Bolter and Assault Cannon
-Nephilim Jetfighter, Twin-linked Lascannon
———————————————————
Franklin – Orks (Unbound)
-Ghazgkull Mag Uruk Thraka
-Slugga Boyz x10, Big Shoota in a Trukk with a Reinforced Ram
-Lootaz x8 (proxied)
-Warbikes x3, Nob, Power Klaw
-Flash Gitz x5
-Dakkajet, Air Ace upgrade (BS 3)
Andy – Necrons
-Destroyer Lord, Warscythe, Ressurection Orb, Mindshackle Scarabs
-Wraiths x4, Whip Coils
-Necron Warriors x7
-Necron Warriors x8
-Immortals x10
-Monolith
-Annhilation Barge
-Doomsday Ark
———————————————————————
Mission: Maelstrom of War 3: Tactical Escalation
Board Setup

Scout move by Dark Angels bikes.
INITIATIVE SEIZED!
Orks and Necrons – Turn 1
Lucky Ork shooting combined with awful armour saves kills a Ravenwing Combat Squad, giving First Blood to the Necrons and Orks! Lootas put a glance and a Crew Shaken result on the Azure Flames Rhino. Necron Lord and Wraiths hide under the central bridge. Trukk containing Ghazgkull and some ladz moves up.

Azure Flames and Dark Angels – Turn 1
Leonidas and the Tactical Squad drop pod in and bake the Lootas. Land Speeders only manage to give two Crew Stunned results to Ghazgkull’s trukk, leaving it alive! Sammael kills many Warriors with a Plasma Cannon shot and assaults the survivors, but does not kill any in close combat.

Orks and Necrons – Turn 2
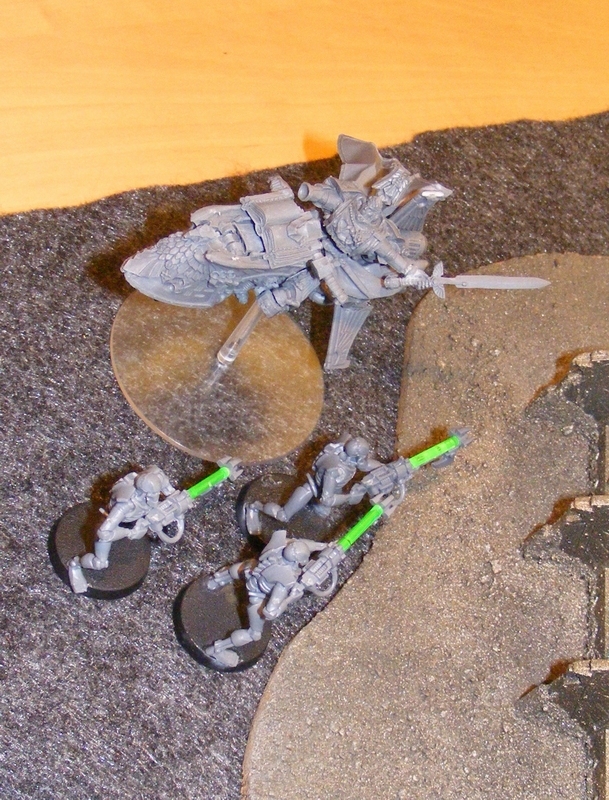
Dakkajet arrives. Combined fire from the Orks, and Ghazgkull’s squad assaulting wipes out the Azure Flames Land Speeders. Disordered Charge by the Lord and Wraiths kill the Dark Angels Land Speeder and Attack Bike close to Objective 6 (center right) which scores a point! Leonidas and the Tactical Squad take some serious hits but don’t break.

Azure Flames and Dark Angels – Turn 2
Two Ravenwing Bike combat squads outflank, and the Stormtalon and Nephilim arrive. The Nephilim shoots down the Dakkajet, which falls on a Flash Git. The lucky Flash Git gets a “1” to wound! Ravenwing Bikes immobilize the Doomsday Ark and glance the Annhilation Barge twice. They also secure Objective 1 (upper left) for a point! Azure Flames Tactical Squad turns the Monolith into a crater. Leonidas’ squad charges a unit of warriors, killing them all in close combat and scoring another point!

Orks and Necrons – Turn 3
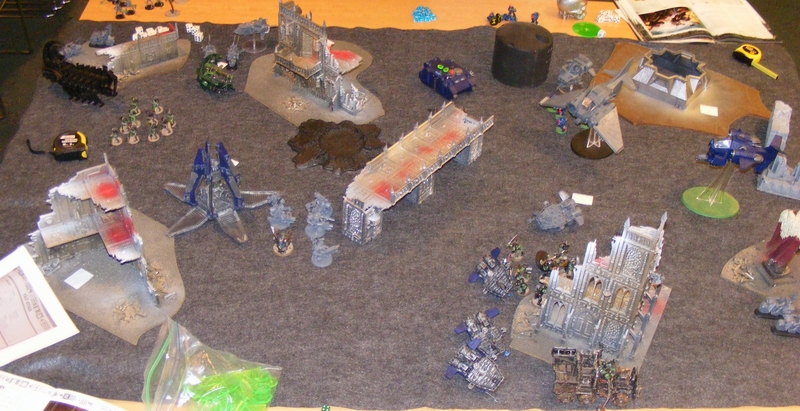
Destroyer Lord and Wraiths charge the melta Tactical Squad, causing them to lose 5 men, and flee. Immortals kill all of the Tactical Squad except Leonidas. Sammael finally finishes off the Warrior Squad in close combat. Ghazgkull and the ladz advance.
Azure Flames and Dark Angels – Turn 3
Stormtalon goes to Hover mode, fires on Ghazgkull’s boyz to little effect. Sammael and Leonidas assault the Immortals after shooting them, and wipe them out. Doomsday Ark and Annhilation Barge are destroyed by Ravenwing bikes. Bikes secure Objective 3 (center left) for a point! Shooting kills the remaining Wraiths. Turn not pictured.
Orks and Necrons – Turn 4
Empty trukk performs a Tank Shock against Ravenwing Bikes hiding behind the statue to the far right. Orks advance. Necron Destroyer Lord assaults the Tactical Squad again, kills most of them by himself in a challenge. This scores a point! Turn not pictured.
Azure Flames and Dark Angels – Turn 4
Nephilim, Bikes, and Sammael lay into the Flash Gits, killing them. Necron Destoryer Lord kills only one Tactical Marine, leaving one alive who stays. Bikes assault the Trukk, but fail to hit.

Orks and Necrons – Turn 5
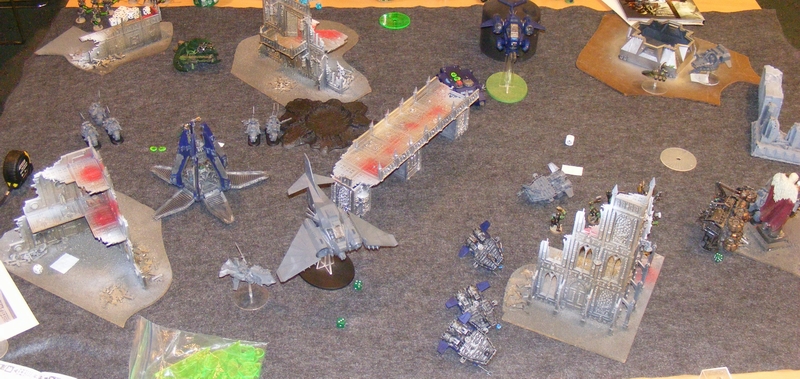
Destroyer Lord kills last Tactical Marine, Orks advance. Trukk is killed by Bike Grenades.
Azure Flames and Dark Angels – Turn 5
Bikes secure objective 1 again for another point! Other bikes secure objective 2 (lower left) for another point! Rhino drives onto objective 6 for a point! Shooting kills the Destroyer Lord and some Boyz, leaving Ghazgkull alone on the board!

Orks and Necrons – Turn 6
Ghazgkull is the only model left. He advances, three wounds remaining and out of WAAAAGH, having used it.
Azure Flames and Dark Angels – Turn 6
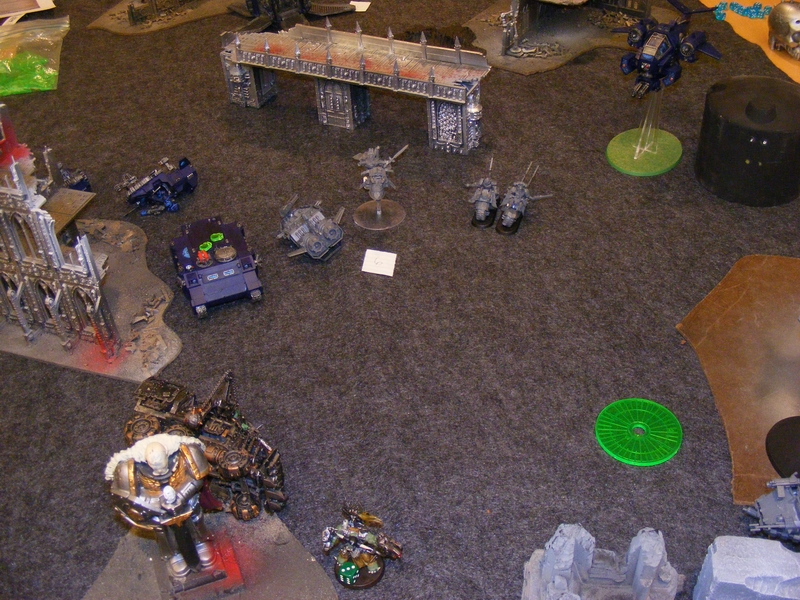
Shooting brings Ghazgkull down to one wound. Objectives 2 and 4 secured for more points.

Orks and Necrons – Turn 7
Ghazghkull advances again.
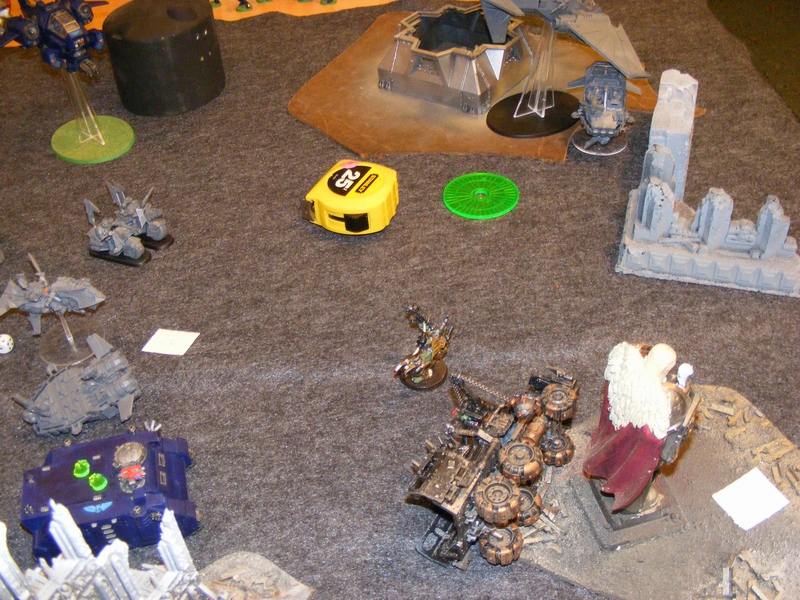
Azure Flames and Dark Angels – Turn 7
Ghazghull killed by shooting. Tabled.
———————————————–
Final score
Azure Flames and Dark Angels: 14
Orks and Necrons: 4
————————————————
WOW. This was my first game of 7th edition. We won from equal luck and strategy, but the ridiculous amount of points we earned was from rolling objectives we happened to be near was amazing. This mission rewards mobile, diverse armies because if you can secure an mission objective, you get MORE next turn. We got lucky and scored some, and then got more which we scored and so on. The Necrons and Orks were not so lucky, as they did not get easy to accomplish objectives.
Next: TWO battle reports from my Battlefleet Gothic league!
BONUS PICTURE! Sisters vs. Space Marines!

Battlefleet Gothic Campaign Week 4: A new player approaches!

Our gaming has attracted the interests of a fourth! Matt showed interest in… the… Necrons… Oh dear… Well, he’s a new player, giving him the most obscenely overpowered fleet is fair. He didn’t have time for a game but he DID claim a system for his base. In the meantime, Rob and I fought a brutal battle.
—————————————————————————————-
Mission: Exterminatus! (the only one with an exclamation point IN the title) 1025 points
-Azure Flames
Battle Barge His Hammer II
Battle Barge His Anvil
-Imperial Navy Segmentum Obscurus Bastion Fleet
Emperor Battleship
Lunar Cruiser
Tyrant Cruiser, range upgrade, Nova Cannon
Dauntless Light Cruiser, lance version
Squadron of 3 Firestorm frigates and 1 Cobra destroyer
Squadron of 6 Fire Ships
4 Ground Based Lance Defences
-Setup:
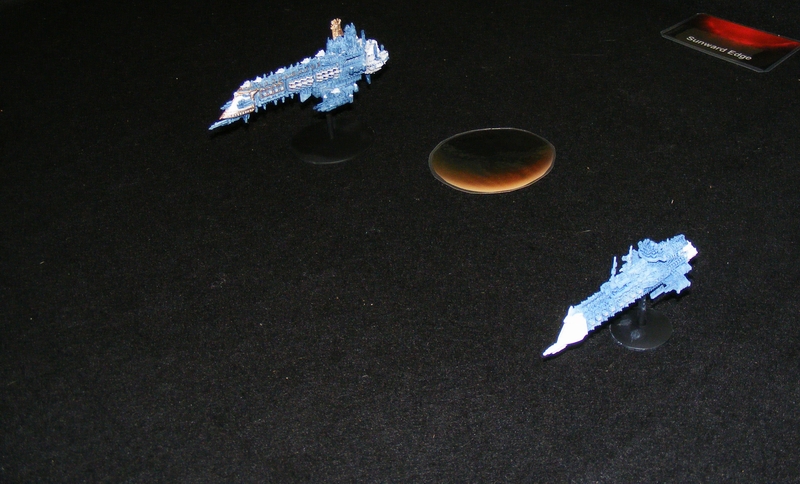

——————————————————————-
Turn 1 – Azure Flames
Both Battle Barges go on All Ahead Full.

Turn 1 – Imperial Navy
Firestorm/Cobra squadron, Dauntless, and Fire Ship squadron arrives. The Fire Ships detonate and cause 3 Fire critical results on His Anvil. Emperor launches fighters and fighters with bombers in two waves.
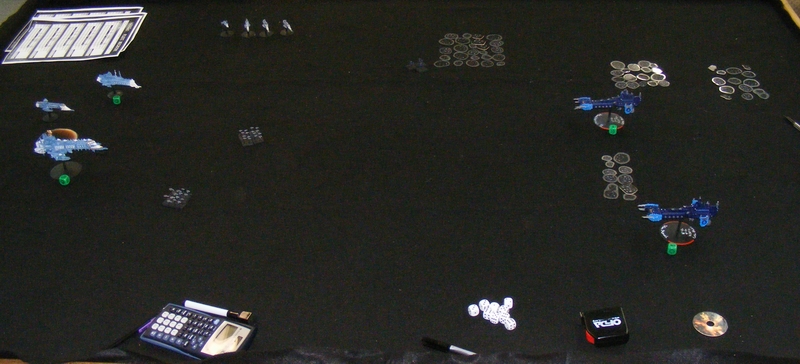
Turn 2 – Azure Flames
Both ships advance. In the End Phase, a lucky roll repairs all 3 Fire effects.
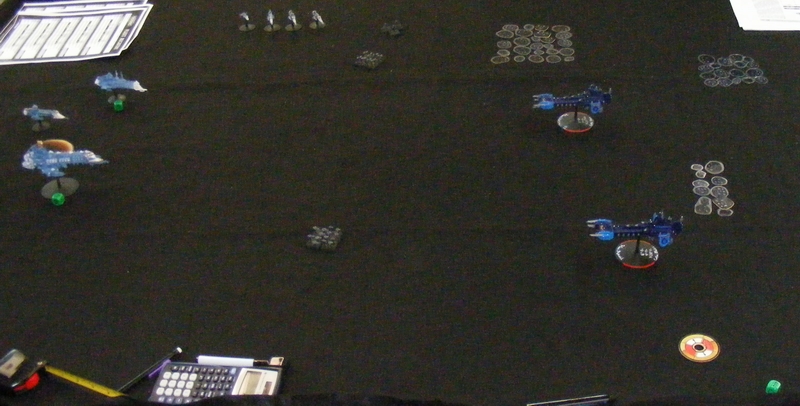
Turn 2 – Imperial Navy
The Lunar cruiser arrives. Nova Cannon fire takes down a shield on His Hammer.

Turn 3 – Azure Flames
His Anvil goes on All Ahead Full. Fire from His Hammer II takes down an escort shield.

Turn 3 – Imperial Navy
Fire from almost the whole fleet takes down 3 shields on His Hammer II. Nova Cannon hit does 6 damage, including 4 criticals losing shields and smashing the bridge. Ouch. Split fire takes down one shield from His Anvil.

Turn 4 – Azure Flames
Crippled, but still in the fight, His Hammer II causes a Brace for Impact on the escorts, and good save rolls save them all. His Anvil causes braces on the Emperor and Dauntless. Only does one damage to the Dauntless.
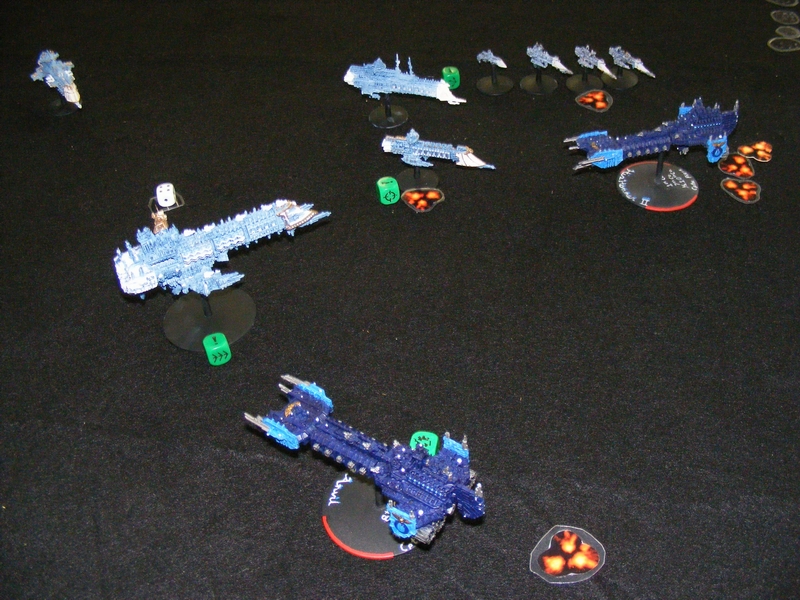
Turn 4 – Imperial Navy
The fleet concentrates on His Hammer II, doing two more damage. His Hammer II manages a lucky Brace to survive at all.

Turn 5 – Azure Flames
His Hammer II takes down two shields on the Emperor, while His Anvil makes it onto the Low Orbit table!
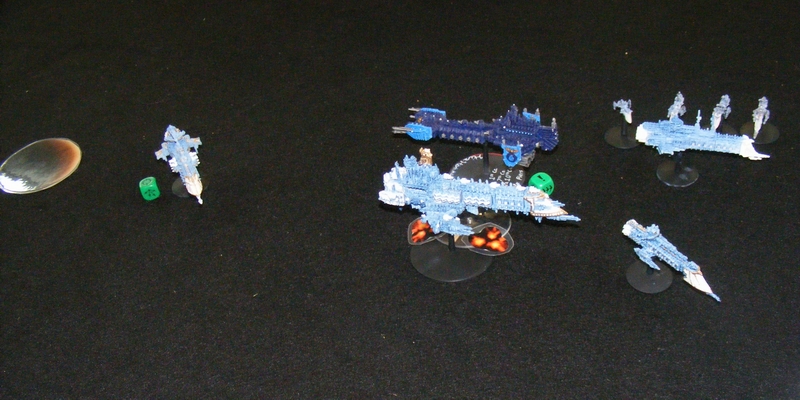
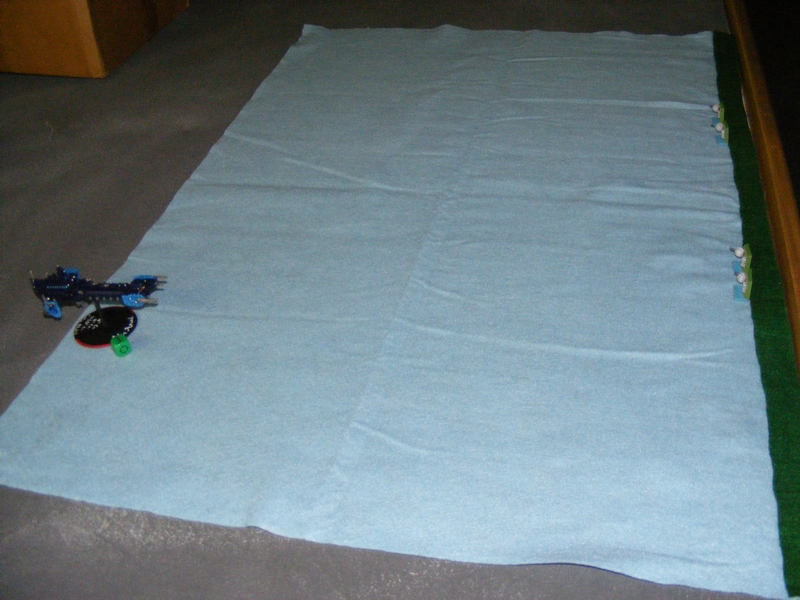
Turn 5 – Imperial Navy
The Lunar follows His Anvil onto the Low Orbit table. Fire from the Lunar and the ground defences does one damage to His Anvil. His Hammer II is unable to Brace this turn and is reduced to a drifting hulk.
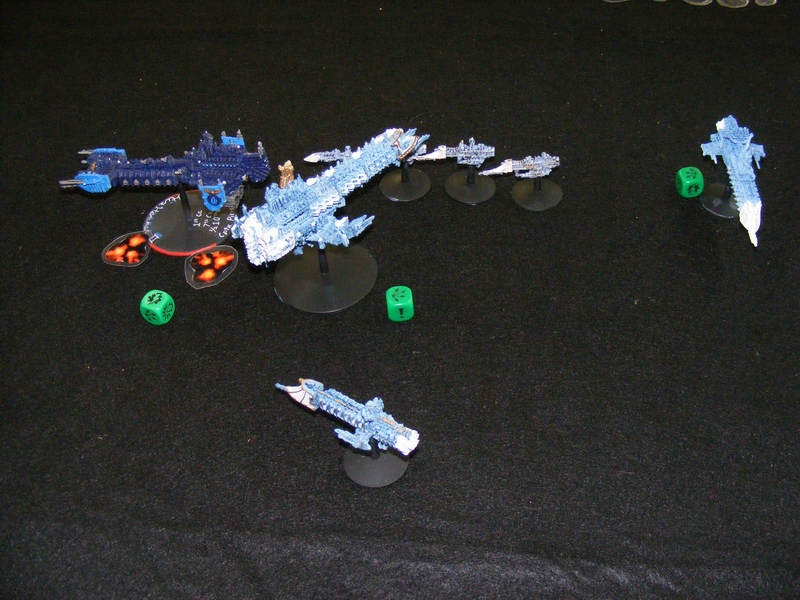

Turn 6 – Azure Flames
His Anvil approaches to within 45cm of the planetary edge and attempts to exterminate the planet; the result: a 3! The Planet is exterminated! Random rolls turn the Agri-world into… an Agri-world. I guess there must have been another one.

——————————————————————
The campaign is off and running! I’m off to the fabric store to get another 4’x6′ black felt cover, as we’re about to have two games at once!
Battlefleet Gothic week three!
The Gothic campaign is alive and well! Last night was going to be our last night if our third player, Rob, did not show. However, he did, and won a spectacular victory!
———————————————-
Escalating Engagement – 1000 points
Azure Flames Space Marines
-Battlebarge His Anvil
-Strike Cruiser Vigilance, extra shield (sub plot gave +1 Ld, -1 Shield)
-Strike Cruiser Sacrifice, extra shield
-Hunter Destroyer squadron x5, Vengeance Squadron
-Hunter Destroyer squadron x5, Wrath Squadron
————————————————–
Imperial Navy Segmentum Tempestus Bastion Fleet
-Mars class Battlecruiser, extra turret, left shift, Admiral (Ld 8, 1 Re-roll)
-Tyrant Cruiser, longer range batteries, Nova Cannon
-Gothic Cruiser
-Dauntless Light Cruiser (lance)
-Cobra Squadron x4
-Firestorm Squadron x3
————————————————–
The Imperial Navy deploys the Gothic class, and the Azure Flames deploy a Hunter squadron.
Turn 1 – Imperial Navy
Gothic class moves toward the Hunters. Marker with a squadron of the Mars and the Tyrant is deployed. Turn not pictured.
Turn 1 – Azure Flames
Hunters approach the Gothic and fire 10 Boarding torpedoes which move just short of the Gothic. Marker with the other hunters is deployed.

Turn 2 – Imperial Navy
Gothic attempts to Burn Retros and fails, so it hits the Boarding Torpedoes. Brace for impact fails, and a whopping five Engine Room Damaged results, crippling it! The Gothic disengages. The Mars and Tyrant miss with their Nova Cannons. Mars launches fighters and bombers. Dauntless marker placed. Turn not pictured.
Turn 2 – Azure Flames
The Hunter squadron disengages, and another Hunter squad arrives. They fire Boarding torpedoes. Fighters and bombers approach.

Turn 3 – Imperial Navy
Dauntless arrives. Fighter removes the Boarding Torpedoes. Nova Cannon hit gets one Hunter.

Turn 3 – Azure Flames
To deal with the fighters aend bombers, the Hunters fire a two strong regular torpedo wave and a six strong boarding wave. However, batteries from the Hunters actually hit, removing the wave! Strike Cruiser marker is placed.

Turn 4 – Imperial Navy
Nova cannon and lance fire kills three more Hunters. Mars reloads and launches fighters and bombers, removing the Boarding torpedoes.

Turn 4 – Azure Flames
Hunter fails to disengage. Strike Cruiser arrives. Battlebarge marker placed. Bombers destroy the last Hunter.
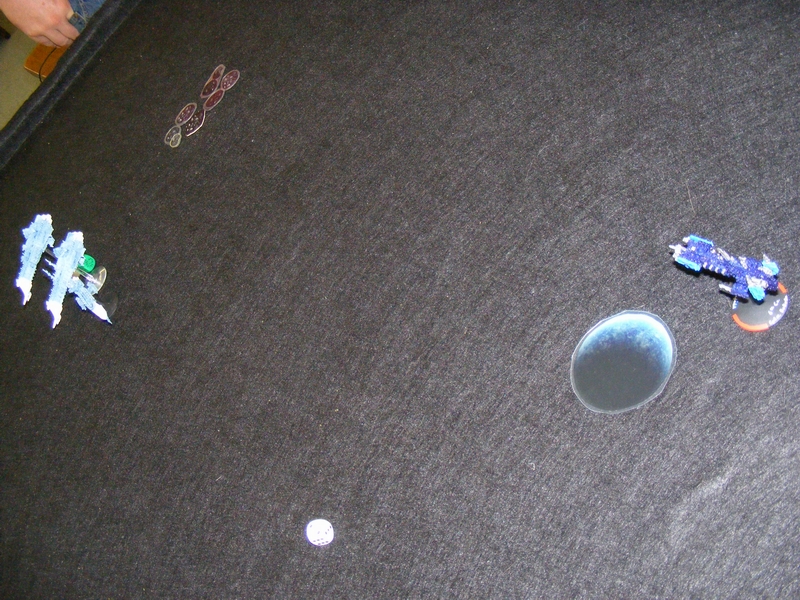
Turn 5 – Imperial Navy
Fleet moves up. Firestorm token is placed. Turn not pictured.
Turn 5 – Azure Flames
Strike Cruiser moves up and fires Boarding Torpedoes and Thunderhawks at the Dauntless, knocking out all of its weapons and starting a fire! Battle Barge goes All Ahead Full. Final Strike Cruiser token placed.

Turn 6 – Imperial Navy
Firestorms arrive and the fleet pummels the Strike Cruiser forcing it to brace for impact. Cobras also arrive and chase the Strike Cruiser. Turn not pictured.
Turn 6 – Azure Flames
Strike Cruiser arrives and kills two of the three Firestorms. Battlebarge goes on All Ahead full again. Note that all of these All Ahead Fulls are never larger than 12cm added to the 20cm of the Barge.

Turn 7 – Imperial Navy
Whole fleet fires on one of the strike cruisers, crippling it. The Dauntless repairs its fire, prow lances, and port weapons. Turn not pictured.
Turn 7 – Azure Flames
Battlebarge goes on another terrible all ahead full. Crippled Strike Cruiser disengages. Non-crippled Strike Cruiser fires boarding torpedoes at the Mars. Mars fails to brace and suffers FOUR engine destroyed results, crippling it!
Turn 8 – Imperial Navy
SOLAR FLARE occurs! Mars disengages. Cobras fail to reload ordnance, so they take up position to fire next turn. Fire causes the Strike Cruiser to Brace.

Turn 8 – Azure Flames
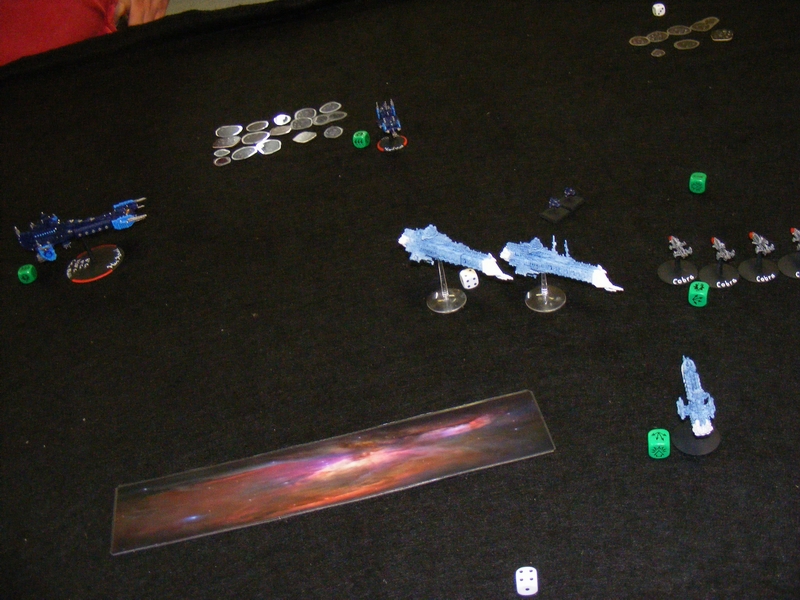
Strike Cruiser kills one Cobra and makes them Brace. Battlebarge hits the Dauntless with 9 boarding torpedoes which once again disables all of its weapons. It braces. Note that in the following picture, the Boarding Torpedoes were not removed when they moved into the Dauntless so they are not really there.

Turn 9 – Imperial Navy
Dauntless moves up and tries to damage the Strike Cruiser. A teleport attack disables the Bombardment Cannon. In the picture below the Dauntless is where the clear base is.

Turn 9 – Azure Flames
Strike Cruiser disengages. Battlebarge boards the Dauntless. Lucky brace saves make the Dauntless have one damage remaining!

Turn 10 – Imperial Navy
Imperial Navy disengages. Final score Imperial Navy: 264, Azure Flames 206.
————————————-
There were two things that could have won this game for me. If the Hunter squadron had disengaged, and if Rob had not made one of the 4 saves necessary to save the Dauntless. It was a nail biter! I can’t wait for next week!
Gothic Campaign week 2

Our campaign is still teetering on the edge of oblivion. Our third player (Imperial Navy) still hasn’t showed up. Campaigns can’t last with just two. However that does not mean that it is not fun. Here’s a batrep for our most recent game!
——————————————————————-
Mission: Convoy, 8 transports (400 point fleet)
Attacker: Azure Flames Space Marines
Defender: Tau Shan’al Shi’ur fleet (Kor’or’vesh)
——————————————————————-
I rolled for 7 defending beacon markers, came up 6, 6, 5, 3, 3, 2, 1 for 2 Capital Ships, 1 Escort squadron, and a total of 9 deadfall torpedoes or attack craft clusters. Our special campaign rules allow Space Marine attack craft clusters to be Thunderhawk Gunships.
-Space Marine Strike Cruiser, Extra Shield
-Space Marine Strike Cruiser, Extra Shield
-3 Gladius Frigates
-9 Ordnance groups, split 3, 3, 2, 1 between four markers.
Tau Shan’al Shi’ur list: (note: Grav Hooks requirements are waived for Convoy per special Campaign rules)
-Protector class Cruiser
-2 Castellan escorts
-2 Warden escorts
-2 Warden escorts
-4 squadrons of 2 Tau Il’emmar Courier Transports
————————————————————-
Turn 1 – Tau Shan’al Shi’ur
Two squadrons of two transports, the Protector, and one Warden squadron come on, ready to take on all comers.
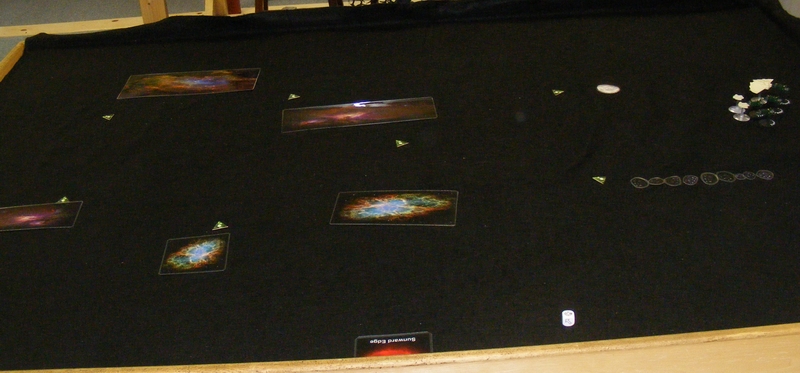
Turn 1 – Azure Flames Space Marines
One beacon reveals itself as a Space Marine Strike Cruiser. Launched Thunderhawk Gunships and a strength 6 torpedo wave kill three of the four transports!
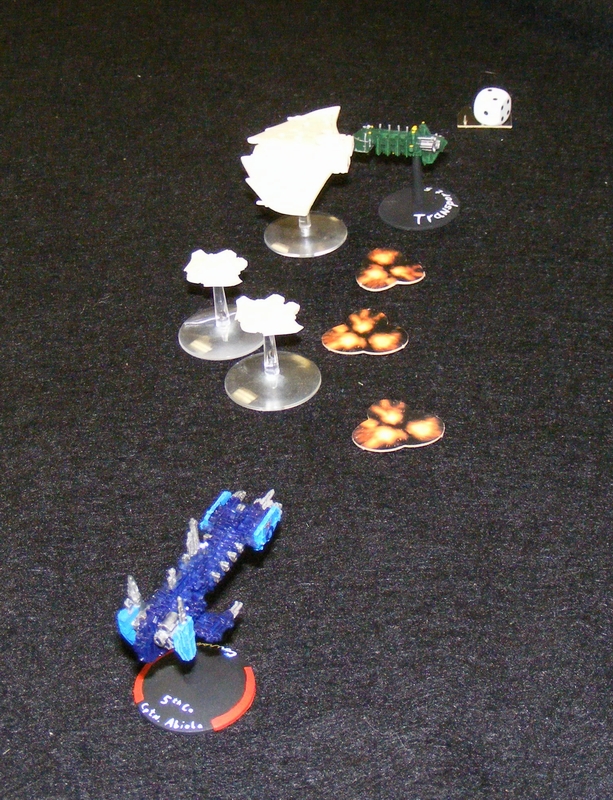
Turn 2 – Tau Shan’al Shi’ur
The remaining transports and escorts come on the board. The Space Marine Strike Cruiser suffers two damage… and then one more from the TRANSPORTS! Crippled by a transport, I’ll never live it down! Movement makes a beacon with 3 Attack Craft clusters activate.

Turn 2 – Azure Flames Space Marines
Gladius squadron activates, and moves forward. Incredible turret rolls keep all of the transports safe!

Turn 3 – Tau Shan’al Shi’ur
The Tau fleet reforms and takes on the Gladius squadron as the Transports split up and go left and right around the board.
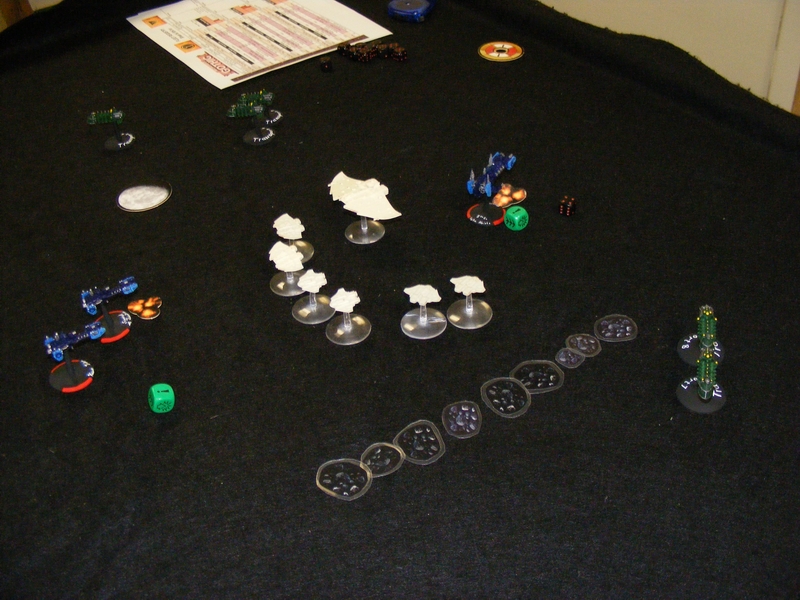
Turn 3 – Azure Flames Space Marines
Another Strike Cruiser is revealed and it goes on All Ahead Full. Crippled Strike Cruiser disengages while the Gladius squadron goes for the transports. However Brace for Impact makes their guns ineffective.

Turn 4 – Tau Shan’al Shi’ur
Two Wardens harass the Gladius squadron as the rest of the fleet moves out to protect the transports.

Turn 4 – Azure Flames Space Marines
Gladius escorts continue to harass the transports ineffectively. Two attack craft beacons are activated for a total of five Thunderhawk waves.

Turn 5 – Tau Shan’al Shi’ur
Shooting takes out one more Gladius. Thunderhawks take out another transport. Turn not pictured.
Turn 5 – Azure Flames Space Marines
Last attack craft cluster activates. Strike Cruiser takes out one Castellan. The last remaining Gladius tries to board a transport, but a bad roll kills the Gladius!
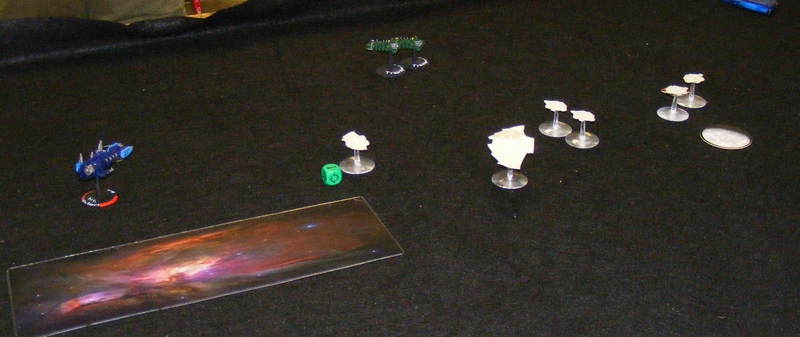
Turn 6 – Tau Shan’al Shi’ur
Transports near the bottom of the board try to run. Fire causes the Strike Cruiser to Brace for Impact. This turn’s photo brought to you by: the concept of the Dutch Angle

Turn 6 – Azure Flames Space Marines
Fire against the transports is ineffective but Thunderhawks are closing in! The other two transports are destroyed by Thunderhawks.

Turn 7 – Tau Shan’al Shi’ur
Escorts take up position to defend the Transports from ordnance, while fire takes down both Strike Cruiser shields but does no damage! I gambled and it paid off.

Turn 7 – Azure Flames Space Marines
Strike Cruiser reloads ordnance, fires torpedoes which kills one Warden and causes the transports to brace. Thunderhawks go after the cruiser for sub-plot success!

Turn 8 – Tau Shan’al Shi’ur
Wardens disengage while the rest of the fleet turns on the Strike cruiser with limited results. Torpedoes and bombers come up empty.

Turn 8 – Azure Flames Space Marines
Strike cruiser chases the transports but can’t quite hurt them. Turn not pictured.
Turn 9 – Tau Shan’al Shi’ur
The transports make a break for it as the fleet once again fails to hurt the strike cruiser.
Turn 9 – Azure Flames Space Marines
One last reload ordnance gets off a boarding torpedo wave that wastes the second to last transport. Game ceded.
———————————————————————
This was a lot closer than most Convoy missions I’ve played. Two mistakes I made. 1: I split Thunderhawk squadrons into smaller groups that turrets could destroy (those were lucky rolls) and 2: I should have boarded one Transport with the Gladius squadron, both together. As it stood I only boarded one one one and lost with a bad roll.
Final word: we need our third player for some variety!
Battlefleet Gothic Campaign – Week 1

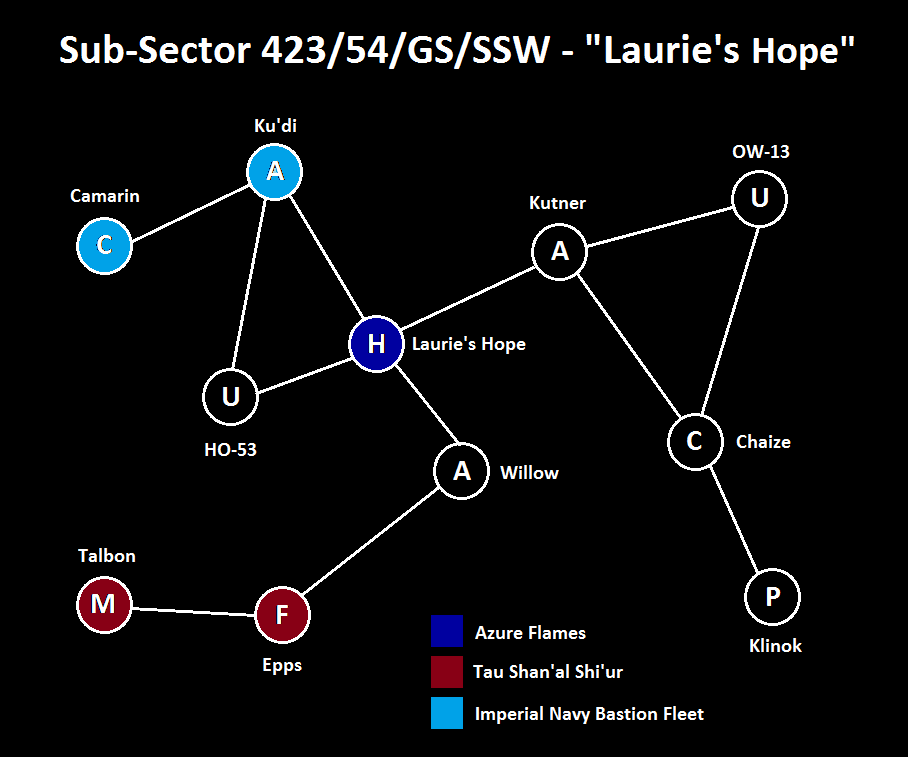
Our first game was a scorcher! Tau vs. Space Marines. Due to some unlucky failed Disengage rolls, I lost big time. The Tau Empire expands into the Epps system from their home base in the Talbon system.
This Thursday, hopefully the Imperial Navy will add a third faction. Who will come out on top?
In which I complain like a spoiled child about 7th edition.
 There’s a hundred blogs today dissecting 7th edition, breaking the game where they can, explaining differences from 6th and so on. I’m not doing this.
I’m going through and finding things that bug me. What do you expect? I’m a cranky old man. So, here they are as I discover them.
1. Using Malefic and Sanctic powers in inappropriate armies, such as Space Marines summoning daemons or Chaos Sorcerers banishing them. This is not only out of character but possibly game breaking. After all, if your super cool character is about to die, why NOT replace them with a free Greater Daemon?
2. Different weapons in the shooting phase are now resolved completely before the next weapon type goes. So, if you have nine boltguns and a meltagun, and an enemy unit has one model 11″ away, use the meltagun first. If you kill that guy with the boltguns, the meltagun no longer has range, EVEN THOUGH IT SAYS EARLIER THAT ALL GUNS FROM A UNIT FIRE SIMULTANEOUSLY.
3. Models with two pistols can fire both! I’m listing this here because it’s so rare. Seraphim come with two pistols standard. Cypher has a special rule to let him fire both pistols. Will this lead to double-plasma-pistol sergeants? Probably not because that’s 30pts but still that’s silly.
4. Still random charge UGH. However, difficult terrain is now just -2″ which makes charging through difficult terrain an actual viable option rather than a really crappy one.
5. The rumors that you can consolidate into close combat like in 3rd edition were false. I’m not sure it’s fair to complain about a rumor but I’m doing it anyway because Tau are unstoppable right now and close combat in 6th was a joke.
6. All missions have Mysterious Objectives. Unless both players agree not to use them, more random crap will happen every time you touch an objective. None of them are REALLY bad, even the worst one causes some S4 hits. But it’s just more random stuff, and you know how I feel about that.
Wow, that’s actually a short list. Basically, if an opponent doesn’t abuse Malefic or Sanctic and doesn’t want Mysterious Objectives, this is just 6th with better charge rules and more organized psychic rules. Who knows? 7th could be awesome!

Every Edition of 40K is Broken

Despite the downtrodden title of this post, this is actually a life-affriming statement of positivity.
…with a bit of bitching thrown in.
So! Let’s explore the idea behind the title’s premise: all editions of 40K are broken. Yup. Let’s break down each edition and figure out what made each edition so memorable.
Rogue Trader/1st – Never played, but from what I can gather from older grognards this was little better than a roleplaying game. You needed a game master to run it for you. Hardly a game that resembles what modern 40K is. Broken because basically anything went from a narrative standpoint. It wasn’t balanced but it wasn’t supposed to be; it was a way to have fun with models.
2nd – Where the game becomes a real game. Army books and lists become a thing, as do Wargear Cards. Herohammer at its height, powerful characters are all but invincible. Chaos is an unbeatable wave of death. Orks have Pulsa Rokkits.
3rd – The rulebook contains several “black codex” armies that are invalidated by later codexes. Assault is a mess, which hampers assault based armies. Combined with transport vehicles, the “Rhino Rush” rules the day.
3.5 – Updated assault rules make assault a very viable tactic. Blood Angels Death Company and summoned Daemons (especially the White Dwarf rules for Steeds of Slaanesh) make the game about whoever gets the charge. Tau had to be FAQ’d to say that Fire Warriors block line of sight to Suits or Tau would just die.
4th – The Rhino Rush dies a horrible death as Entanglement allows even Fearless units to become pinned! Gunlines are the mainstay. Guard shoot the sun at the enemy. Chaos tools out Daemon Princes with 150pts of wargear and lets them dominate everyone in the face. Vehicles become tombs.
5th – Entanglement is gone, but units can no longer assault out of vehicles. Firepoints turn transports into mobile gun platforms for infantry. New wound allocation rules allow certain units to redistribute wounds creatively, allowing the rise of the “Deathstar.” True Line of Sight terrain rules are introduced because apparently having an imagination is awful. Due to this, forests became harder to model in 40K so the focus shifted to line of sight blocking terrain such as buildings. Only troops can hold objectives. “Kill Points” favored small elite armies.
6th – Random crap becomes common. Roll for psychic powers, warlord traits, charge ranges etc. These random elements make psykers less attractive due to the inclusion of Deny The Witch. Assault is now for losers as random charge ranges make even a close ranged charge a possible failure. Overwatch gives even more penalty to assault. Shooting is king and Tau are the best at shooting so good luck beating Tau. Flyers make a debut and we see necron air lists and chaos dragon lists that dominate.
…so even with all these things broken why is this a positive message? One word: FUN. 40K is supposed to be fun. It will never be perfectly balanced. There’s always going to be a metagame and that meta will favor some armies. Part of the fun is making lists to deal with the meta.
This is why I’m optimistic for 7th. Even though it won’t be balanced. Changing the edition shakes up the meta and makes certain ideas that were valuable useless, while making new ideas better.
Battlefleet Gothic Campaign 2014 – The Laurie’s Hope Subsector

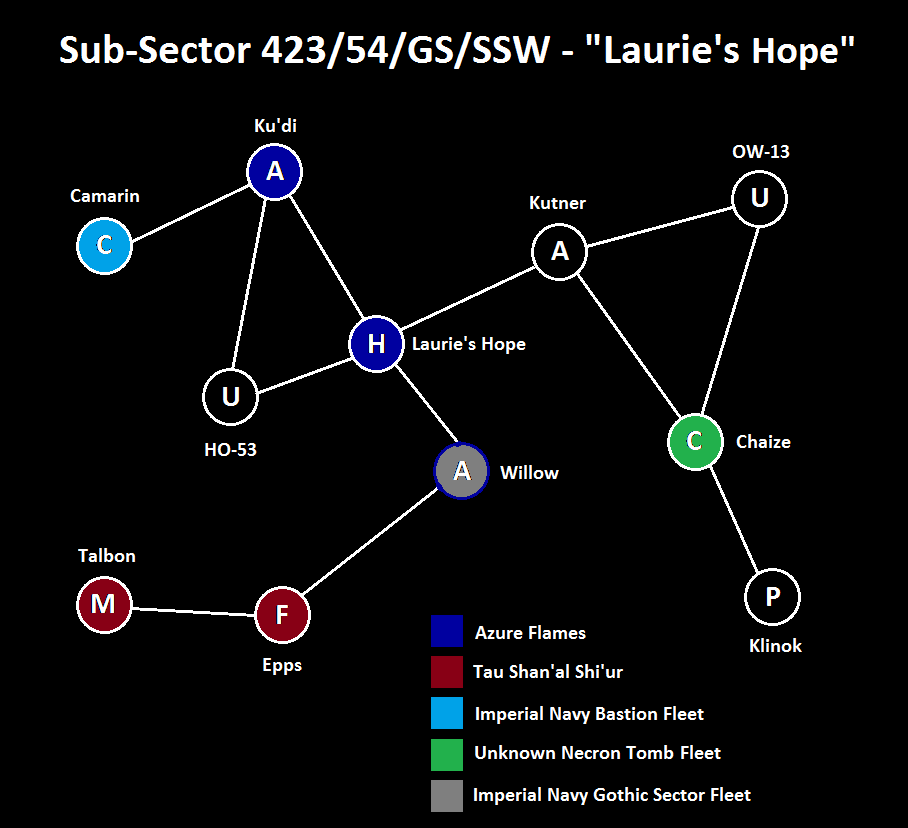
I’ve never been able to play Gothic in a campaign setting. That all changes this Thursday. I’m going to be organizing a Gothic Campaign. See above the custom sector I made while I watched House on Netflix. We have three confirmed players, with the possibility of more. Here are our current players:
Bozeman – Space Marines
Rob – Imperial Navy
Josh – Tau Kor’or’vesh
Josh’s above fleet is mine, and unpainted. I also have a super secret project that is totally not illegal related to it, updates later this week.
Who will be victorious in controlling the Laurie’s Hope subsector? Find out soon!
1500 Azure Flames vs. Nurgle Daemons
Another incredibly satisfying battle at AFK Games! This was against veteran Daemon player Loren who had a fantastically painted Nurgle army. We played 1500 points.
Bozeman – Azure Flames
-Librarian, Mastery Level 2, Terminator Armor, The Shield Eternal (Endurance and Leech Life from Biomancy, Master of Ambush: Outflankers have Acute Senses)
-Terminators x5, Chainfist, Cyclone Missile Launcher
-Land Raider Crusader
-Tactical Squad x10, Veteran Sergeant, Power Fist, Combi-Flamer, Flamer, Heavy Bolter in a Rhino with Extra Armor
-Tactical Squad x10, Veteran Sergeant, Power Fist, Combi-Flamer, Flamer, Heavy Bolter in a Rhino with Extra Armor
-Scouts x5 in a Land Speeder Storm
-Thunderfire Cannon
-Stormtalon Gunship with Typhoon Missile Launcher
——————————————————
Loren – Nurgle Chaos Daemons
-Daemon Prince, Mark of Nurgle (Death Incarnate: Melee Attacks cause Instant Death)
-Plaguebearers x14, Etherblade
-Plaguebearers x14, Etherblade
-Plaguebearers x14, Etherblade
-Plaguebearers x14, Etherblade
-Herald of Nurgle, Etherblade
-Herald of Nurgle, Etherblade
-Plague Drones x7, Etherblade
——————————————————
Mission: Big Guns Never Tire (D3+2 Objectives, we had 5. Heavy Support holds objectives and killing HS earns 1VP)
Setup: Dawn of War (long table edges)
Here’s our board after setup.

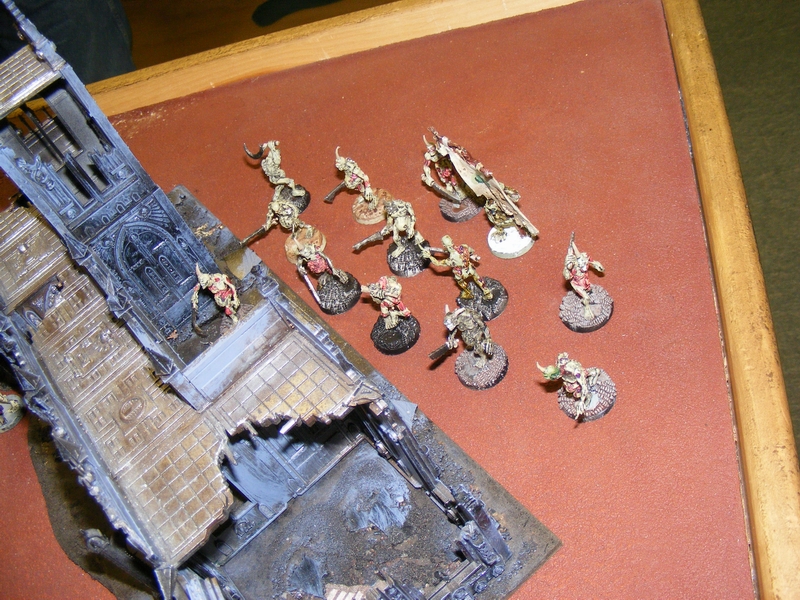

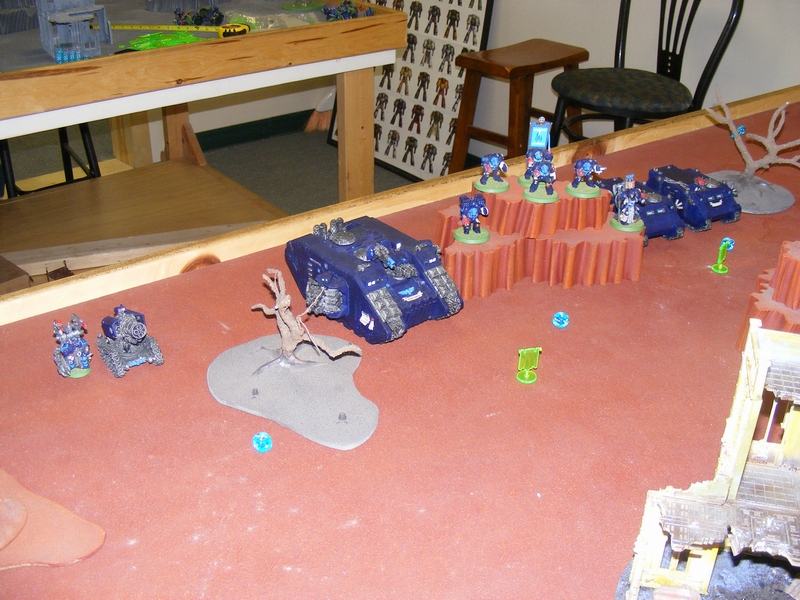 No Night Fight, Initiative not seized. I held the Scouts and the Stormtalon in reserve, and Loren held 2 Plaguebearer squads and one Herald in reserve.
—————————————————————————-
Turn 1 – Chaos Daemons
The Plague Drones move forward towards the Thunderfire Cannon while the Plaguebearers march forward. The Daemon Prince moves to my right.
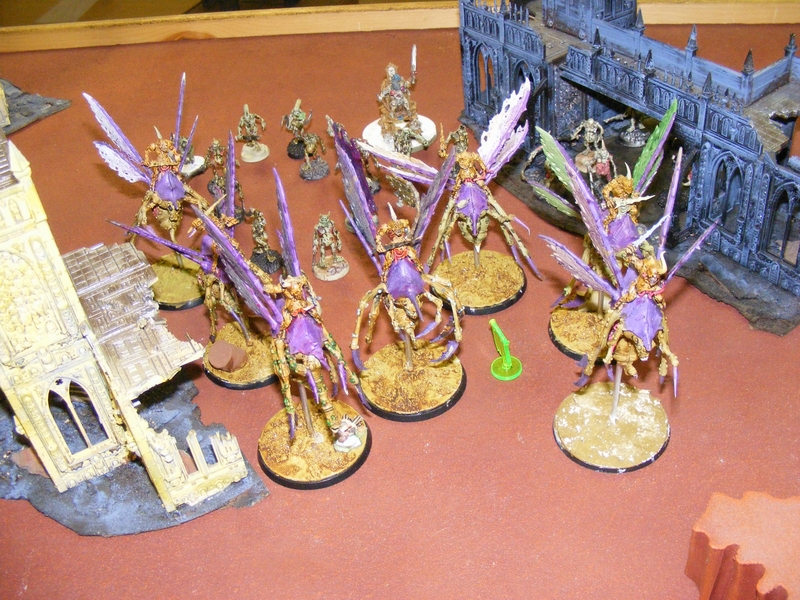 Drones are Jet Pack Cavalry, so they move fast!
 The Daemon Prince goes off on his own.
Turn 1 – Azure Flames
Ineffectual firing puts a few wounds on the Plague Drones. 3 of 4 Thunderfire shots scatter off target.
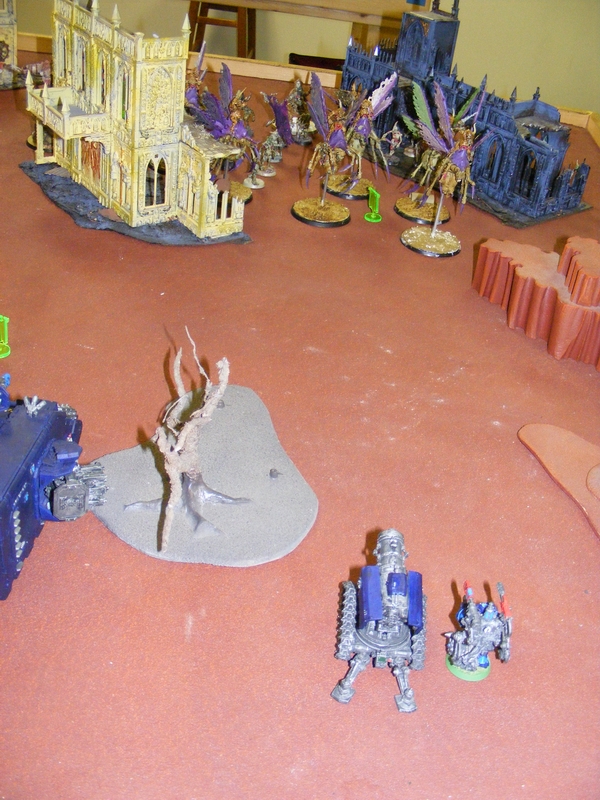 Aiming is hard!
Turn 2 – Chaos Daemons
The Plague Drones assault and kill the Thunderfire Cannon, and put three glancing results on the Land Raider. Other forces advance. One unit of Plaguebearers deep strikes.
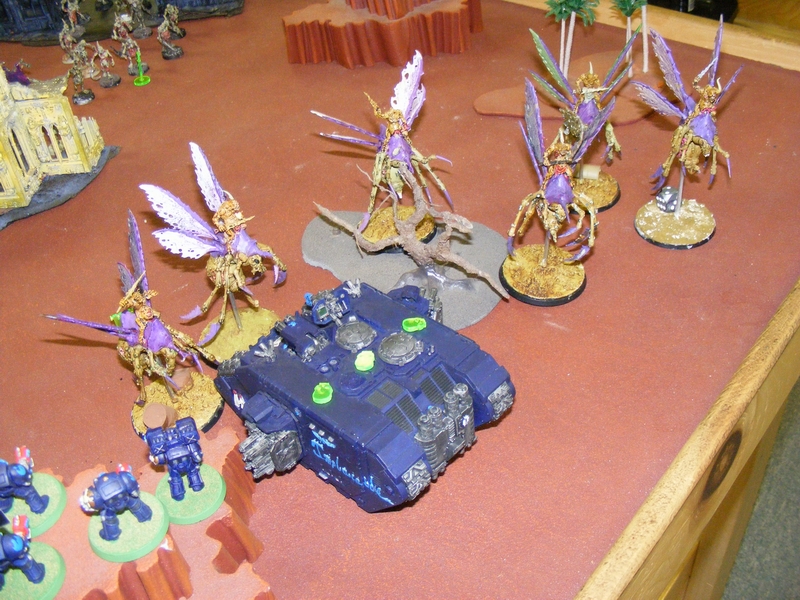 The Drones are incredibly effective.
Turn 2 – Azure Flames
Rhino-mounted Tactical Squads, the Land Speeder Storm, and the Stormtalon make short work of the deep-struck Plaguebearers out in the open. Land Raider backs up and fire from it and the Terminators remove two Plague Drones.
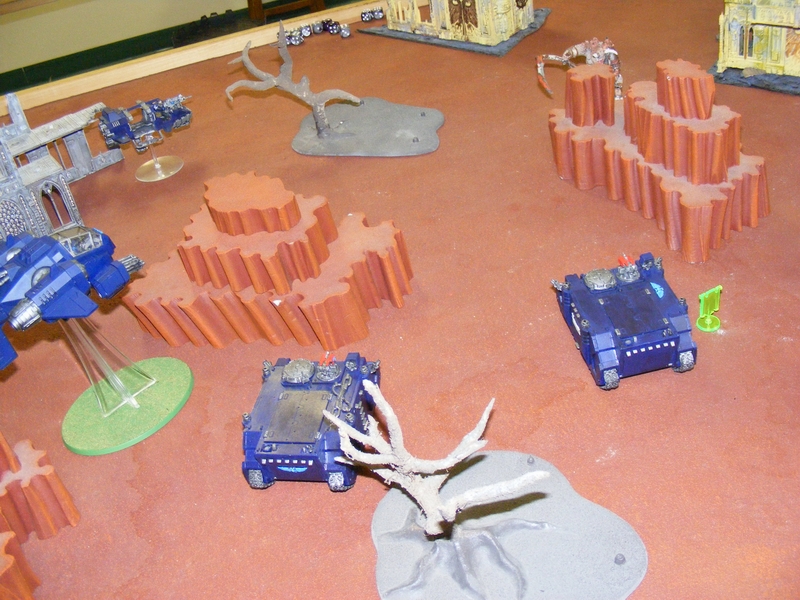 Fire cleanses Plaguebearers very well!
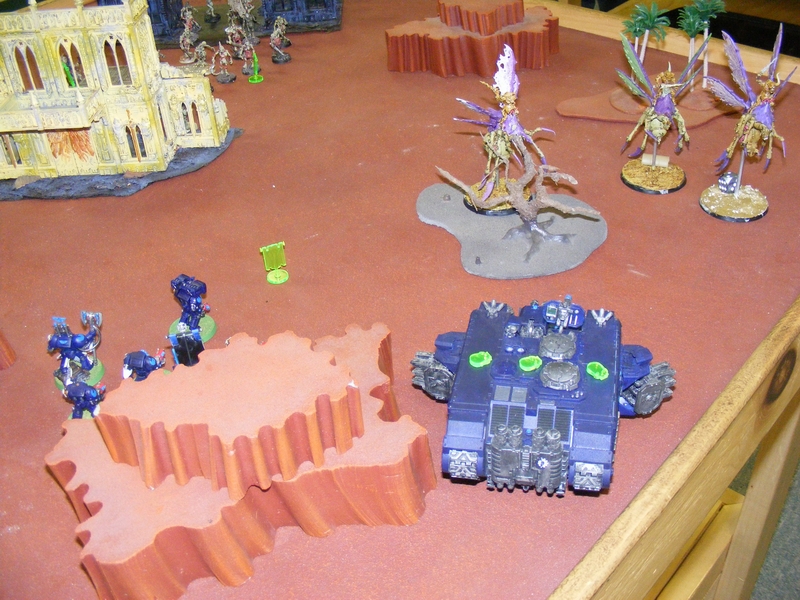 The Land Raider makes a last desperate effort to fight.
Turn 3 – Chaos Daemons
Daemon Prince charges Terminators. The Prince Challenges the Librarian, but the fight is ineffectual. The Plague Drones charge and wreck the Land Raider. The last squad of Plague Bearers deep strikes as the other two squads on foot claim two objectives.
 The Daemon Prince gets stuck in, while the Drones finish the Land Raider.
Turn 3 – Azure Flames
Rhino mounted tatsquads kill 1/2 of the Plaguebearers that deep struck. The Daemon Prince/Librarian fight continues, and the Shield Eternal saves the Librarian from Instant Death as he takes a wound.
 More cleansing.
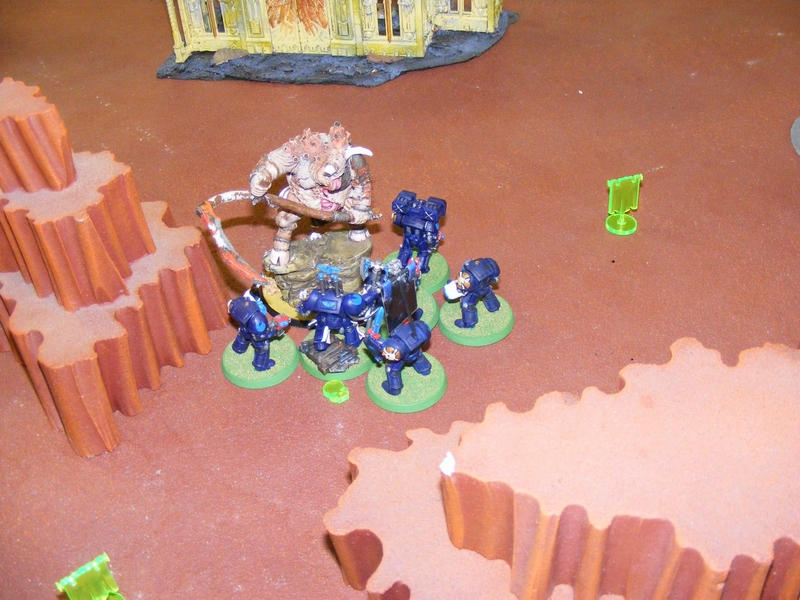 The Librarian is in trouble!
Turn 4 – Chaos Daemons
Disaster! The Plague Drones charge the Terminators. The Daemon Prince finishes off the Librarian, but the Plague Drones take five wounds from Terminators and do none in return! Daemonic Instability rolls go insane and the Prince and the Drones are eliminated! The Deep-struck Plaguebearers charge a Rhino and wreck it.
 The Daemons vanish!
 Hey! You trashed our ride!
Turn 4 – Azure Flames
The Tactical squad takes revenge on the Plaguebearers and eliminates them. The Terminators charge the Plaguebearers in the nearby building, but poor rolls lose one Terminator and no plaguebearers!
 The charge is less than effective…
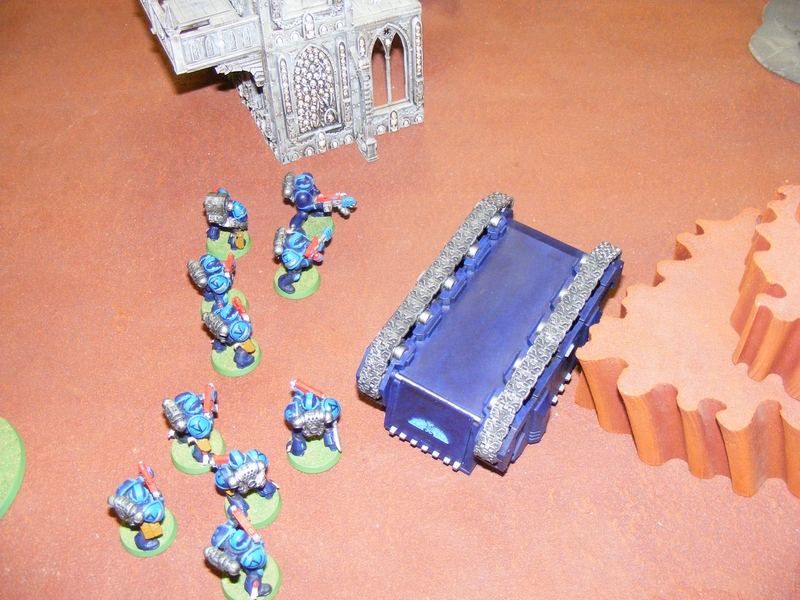 Hmmmm… Whattaya think? Fire? Is fire a good idea? I’m thinking fire. Let’s try fire and see what happens.
Turn 5 – Chaos Daemons
A challenge by the Terminator Sergeant ends poorly and the lone remaining Terminator breaks and flees. Turn not pictured.
Turn 5 – Azure Flames
The remaining Tactical Squad in the Rhino puts the hurt on a Plaguebearer squad, and claims the objective. The other tactical squad and the Scouts claim two others. Game ends.
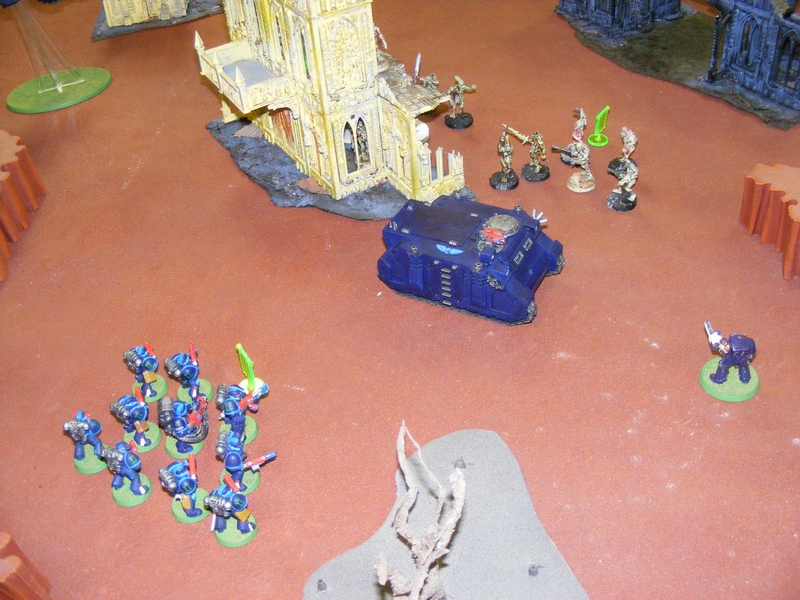 Shoot-em-up!
 Claimed!
————————————————————–
Final Score
Azure Flames have 3 objectives for 9VPs plus Slay the Warlord for 10
Chaos Daemons have 2 objectives for 6VPs plus two Heavy Support Kills, Slay The Warlord, and First Blood for 10, a tie!
—————————————————————-
This was an amazing game! I wish I had put my Thunderfire Cannon in a better place as I practically fed it to Loren. I got a bit lucky with the Daemon Prince fight, but previously the Terminator Librarian kept failing to wound or the Prince made saves. This was great fun. Next time I’m bringing Sternguard to fight those pesky Plague Drones!