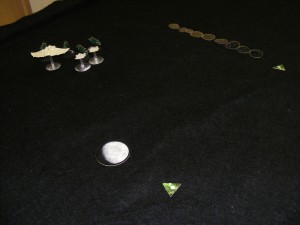
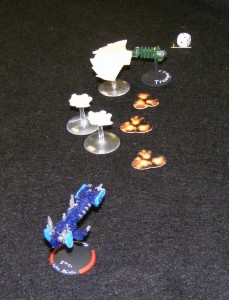
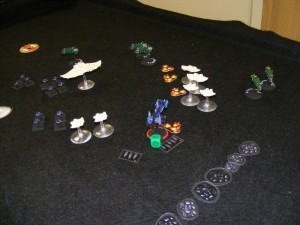
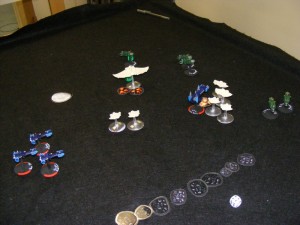
Our campaign is still teetering on the edge of oblivion. Our third player (Imperial Navy) still hasn’t showed up. Campaigns can’t last with just two. However that does not mean that it is not fun. Here’s a batrep for our most recent game!
——————————————————————-
Mission: Convoy, 8 transports (400 point fleet)
Attacker: Azure Flames Space Marines
Defender: Tau Shan’al Shi’ur fleet (Kor’or’vesh)
——————————————————————-
I rolled for 7 defending beacon markers, came up 6, 6, 5, 3, 3, 2, 1 for 2 Capital Ships, 1 Escort squadron, and a total of 9 deadfall torpedoes or attack craft clusters. Our special campaign rules allow Space Marine attack craft clusters to be Thunderhawk Gunships.
-Space Marine Strike Cruiser, Extra Shield
-Space Marine Strike Cruiser, Extra Shield
-3 Gladius Frigates
-9 Ordnance groups, split 3, 3, 2, 1 between four markers.
Tau Shan’al Shi’ur list: (note: Grav Hooks requirements are waived for Convoy per special Campaign rules)
-Protector class Cruiser
-2 Castellan escorts
-2 Warden escorts
-2 Warden escorts
-4 squadrons of 2 Tau Il’emmar Courier Transports
————————————————————-
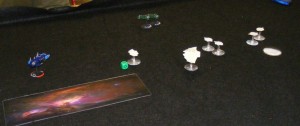
Turn 1 – Tau Shan’al Shi’ur
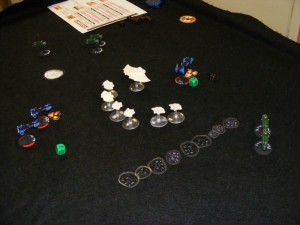
Two squadrons of two transports, the Protector, and one Warden squadron come on, ready to take on all comers.
Turn 1 – Azure Flames Space Marines
One beacon reveals itself as a Space Marine Strike Cruiser. Launched Thunderhawk Gunships and a strength 6 torpedo wave kill three of the four transports!
Turn 2 – Tau Shan’al Shi’ur
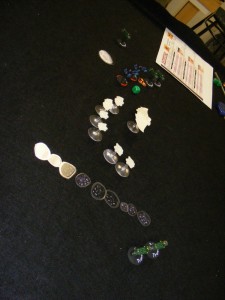
The remaining transports and escorts come on the board. The Space Marine Strike Cruiser suffers two damage… and then one more from the TRANSPORTS! Crippled by a transport, I’ll never live it down! Movement makes a beacon with 3 Attack Craft clusters activate.
Turn 2 – Azure Flames Space Marines
Gladius squadron activates, and moves forward. Incredible turret rolls keep all of the transports safe!
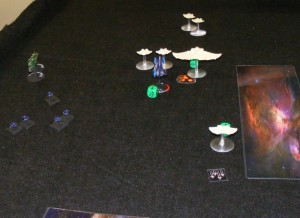
Turn 3 – Tau Shan’al Shi’ur
The Tau fleet reforms and takes on the Gladius squadron as the Transports split up and go left and right around the board.
Turn 3 – Azure Flames Space Marines
Another Strike Cruiser is revealed and it goes on All Ahead Full. Crippled Strike Cruiser disengages while the Gladius squadron goes for the transports. However Brace for Impact makes their guns ineffective.
Turn 4 – Tau Shan’al Shi’ur
Two Wardens harass the Gladius squadron as the rest of the fleet moves out to protect the transports.
Turn 4 – Azure Flames Space Marines
Gladius escorts continue to harass the transports ineffectively. Two attack craft beacons are activated for a total of five Thunderhawk waves.
Turn 5 – Tau Shan’al Shi’ur
Shooting takes out one more Gladius. Thunderhawks take out another transport. Turn not pictured.
Turn 5 – Azure Flames Space Marines
Last attack craft cluster activates. Strike Cruiser takes out one Castellan. The last remaining Gladius tries to board a transport, but a bad roll kills the Gladius!
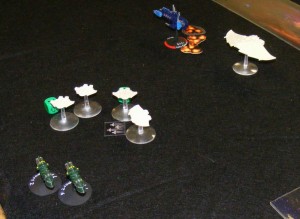
Turn 6 – Tau Shan’al Shi’ur
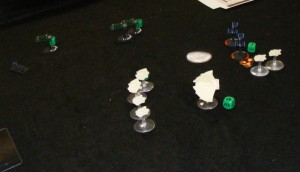
Transports near the bottom of the board try to run. Fire causes the Strike Cruiser to Brace for Impact. This turn’s photo brought to you by: the concept of the Dutch Angle
Turn 6 – Azure Flames Space Marines
Fire against the transports is ineffective but Thunderhawks are closing in! The other two transports are destroyed by Thunderhawks.
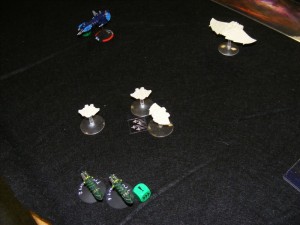
Turn 7 – Tau Shan’al Shi’ur
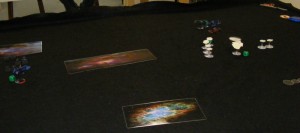
Escorts take up position to defend the Transports from ordnance, while fire takes down both Strike Cruiser shields but does no damage! I gambled and it paid off.
Turn 7 – Azure Flames Space Marines
Strike Cruiser reloads ordnance, fires torpedoes which kills one Warden and causes the transports to brace. Thunderhawks go after the cruiser for sub-plot success!
Turn 8 – Tau Shan’al Shi’ur
Wardens disengage while the rest of the fleet turns on the Strike cruiser with limited results. Torpedoes and bombers come up empty.
Turn 8 – Azure Flames Space Marines
Strike cruiser chases the transports but can’t quite hurt them. Turn not pictured.
Turn 9 – Tau Shan’al Shi’ur
The transports make a break for it as the fleet once again fails to hurt the strike cruiser.
Turn 9 – Azure Flames Space Marines
One last reload ordnance gets off a boarding torpedo wave that wastes the second to last transport. Game ceded.
———————————————————————
This was a lot closer than most Convoy missions I’ve played. Two mistakes I made. 1: I split Thunderhawk squadrons into smaller groups that turrets could destroy (those were lucky rolls) and 2: I should have boarded one Transport with the Gladius squadron, both together. As it stood I only boarded one one one and lost with a bad roll.
Final word: we need our third player for some variety!


