Imperial Navy Fleet finished
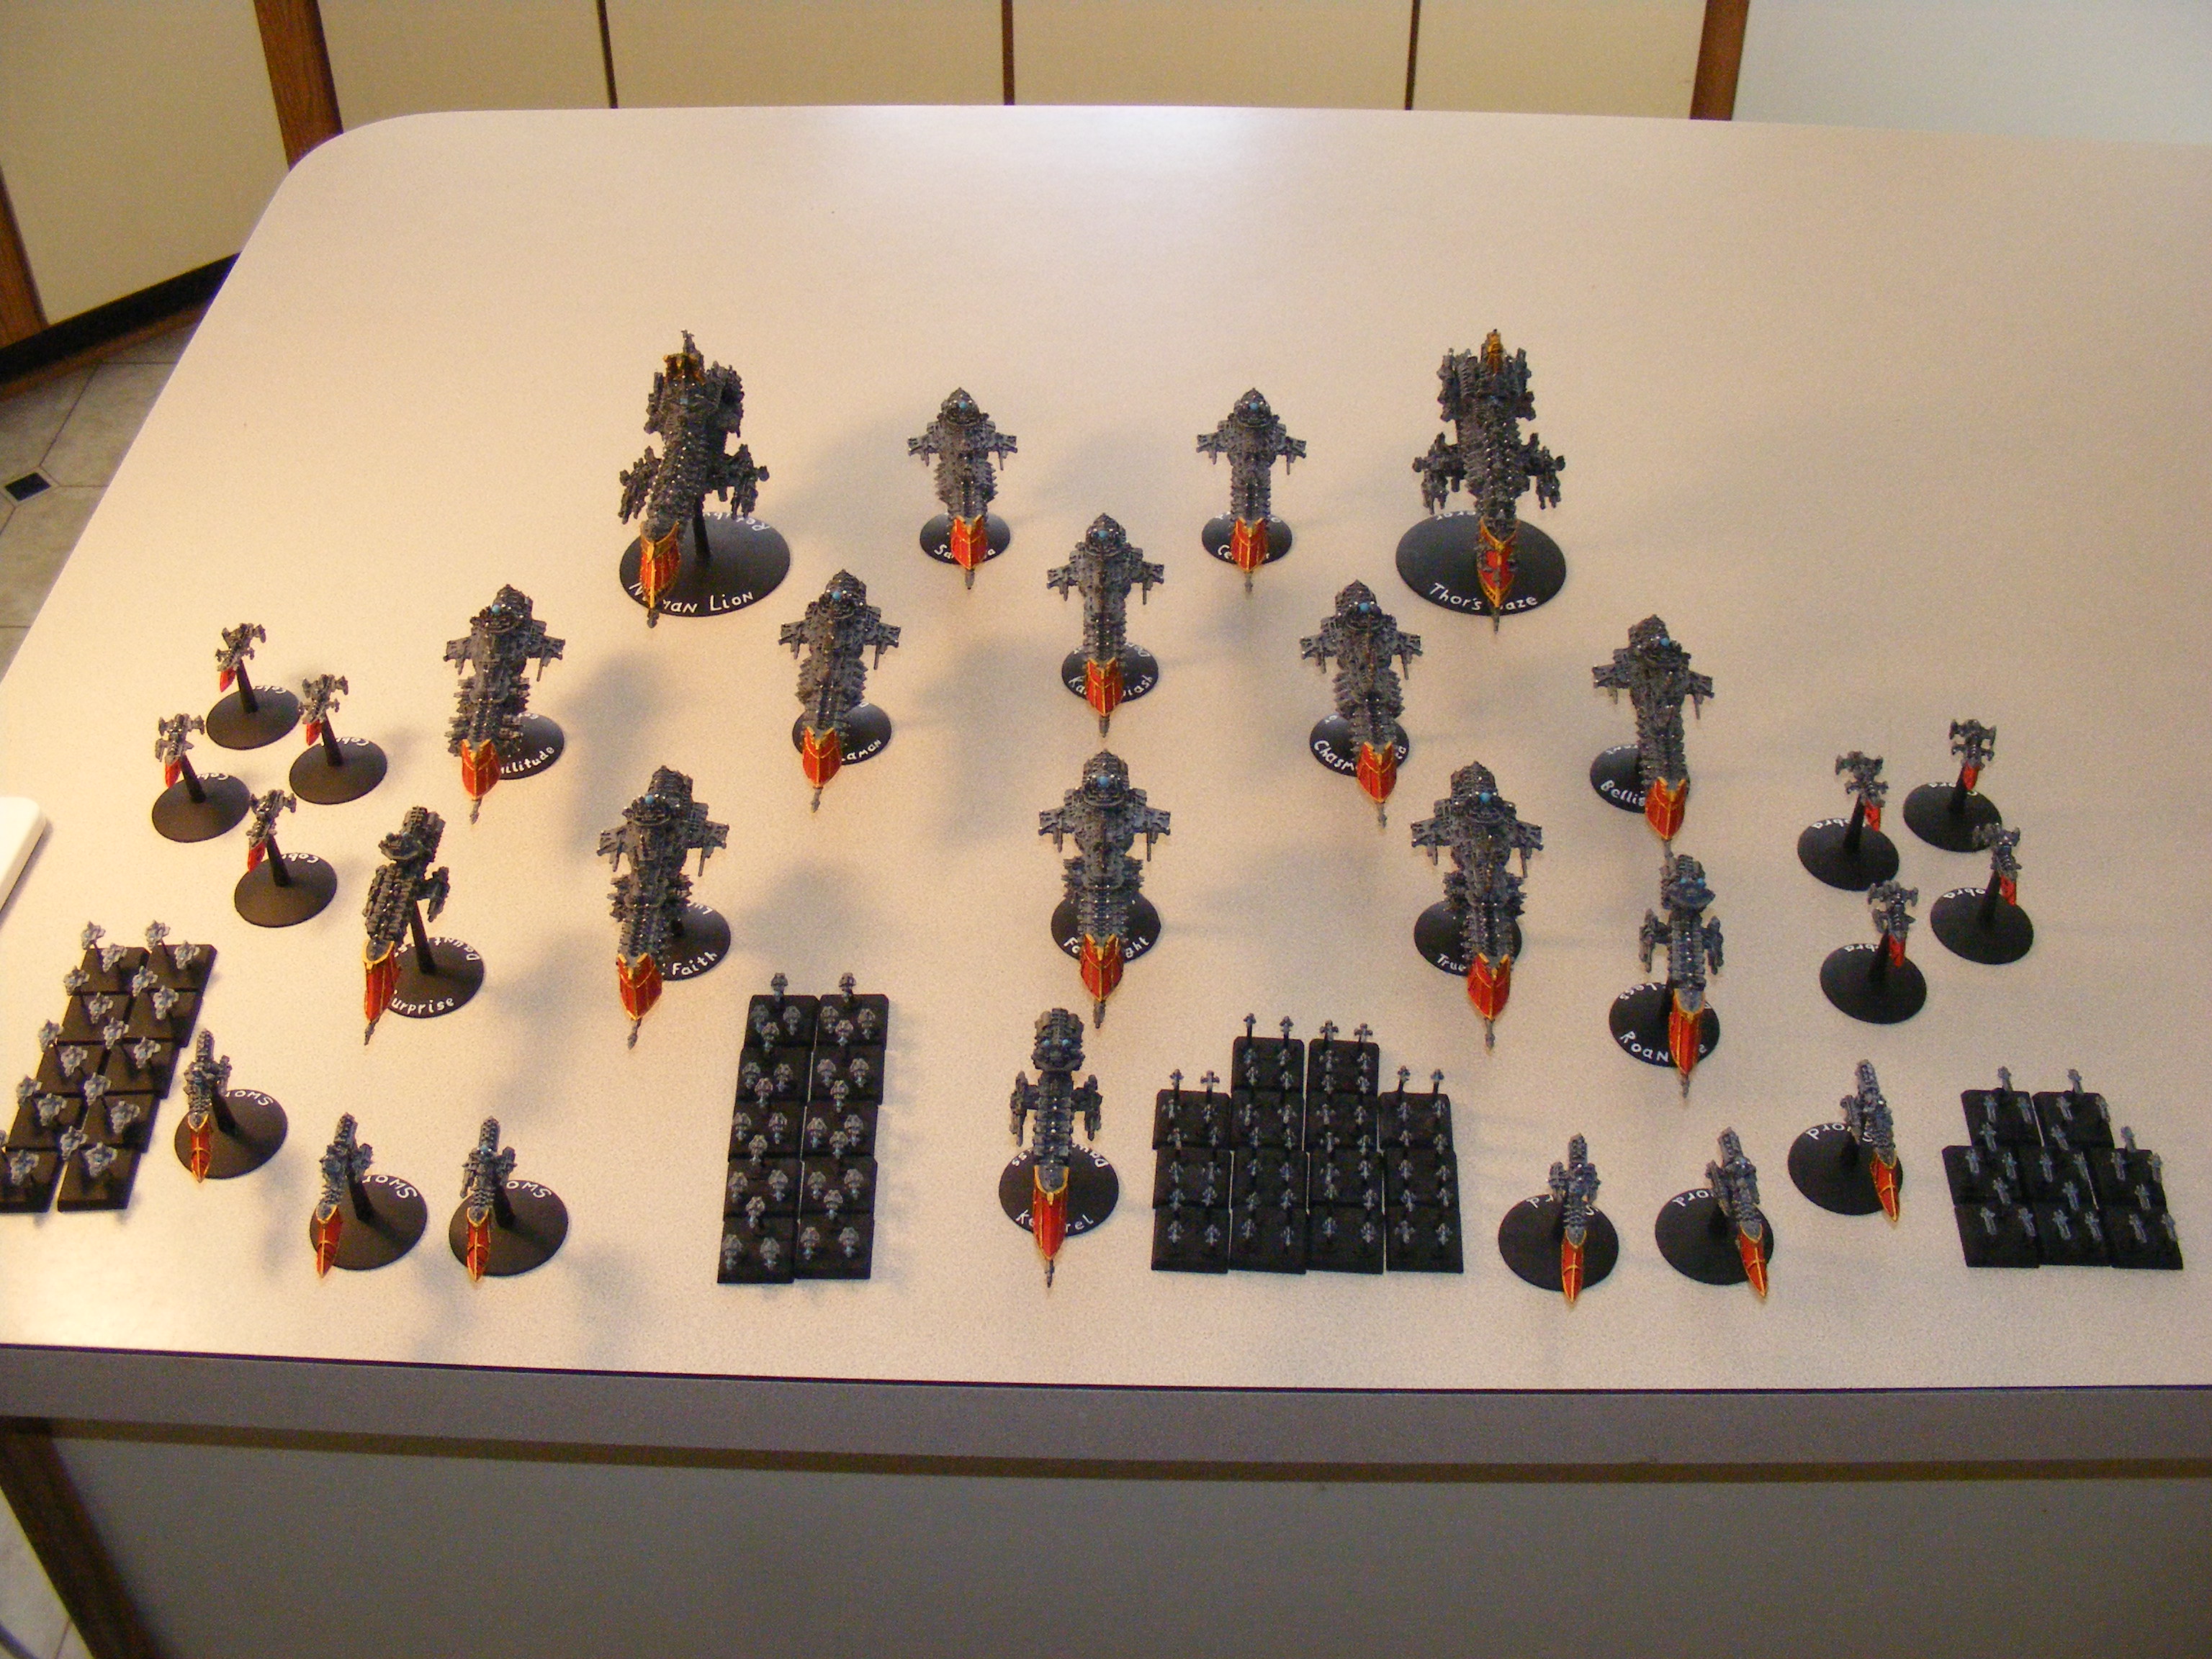

Imperial Navy done! Next: Chaos! First, I must re-base the Repulsive class grand cruiser onto a large base so it can buy a 3rd shield. Then, paint 11 escorts and all their ordnance, which is a lot.
EDIT: With all available upgrades, Torpedo Bombers on the Emperor Class, and a Solar Admiral with 3 re-rolls, this is 3980 points, so if 4 ships take power rams, it’s exactly 4000
More Imperial Navy
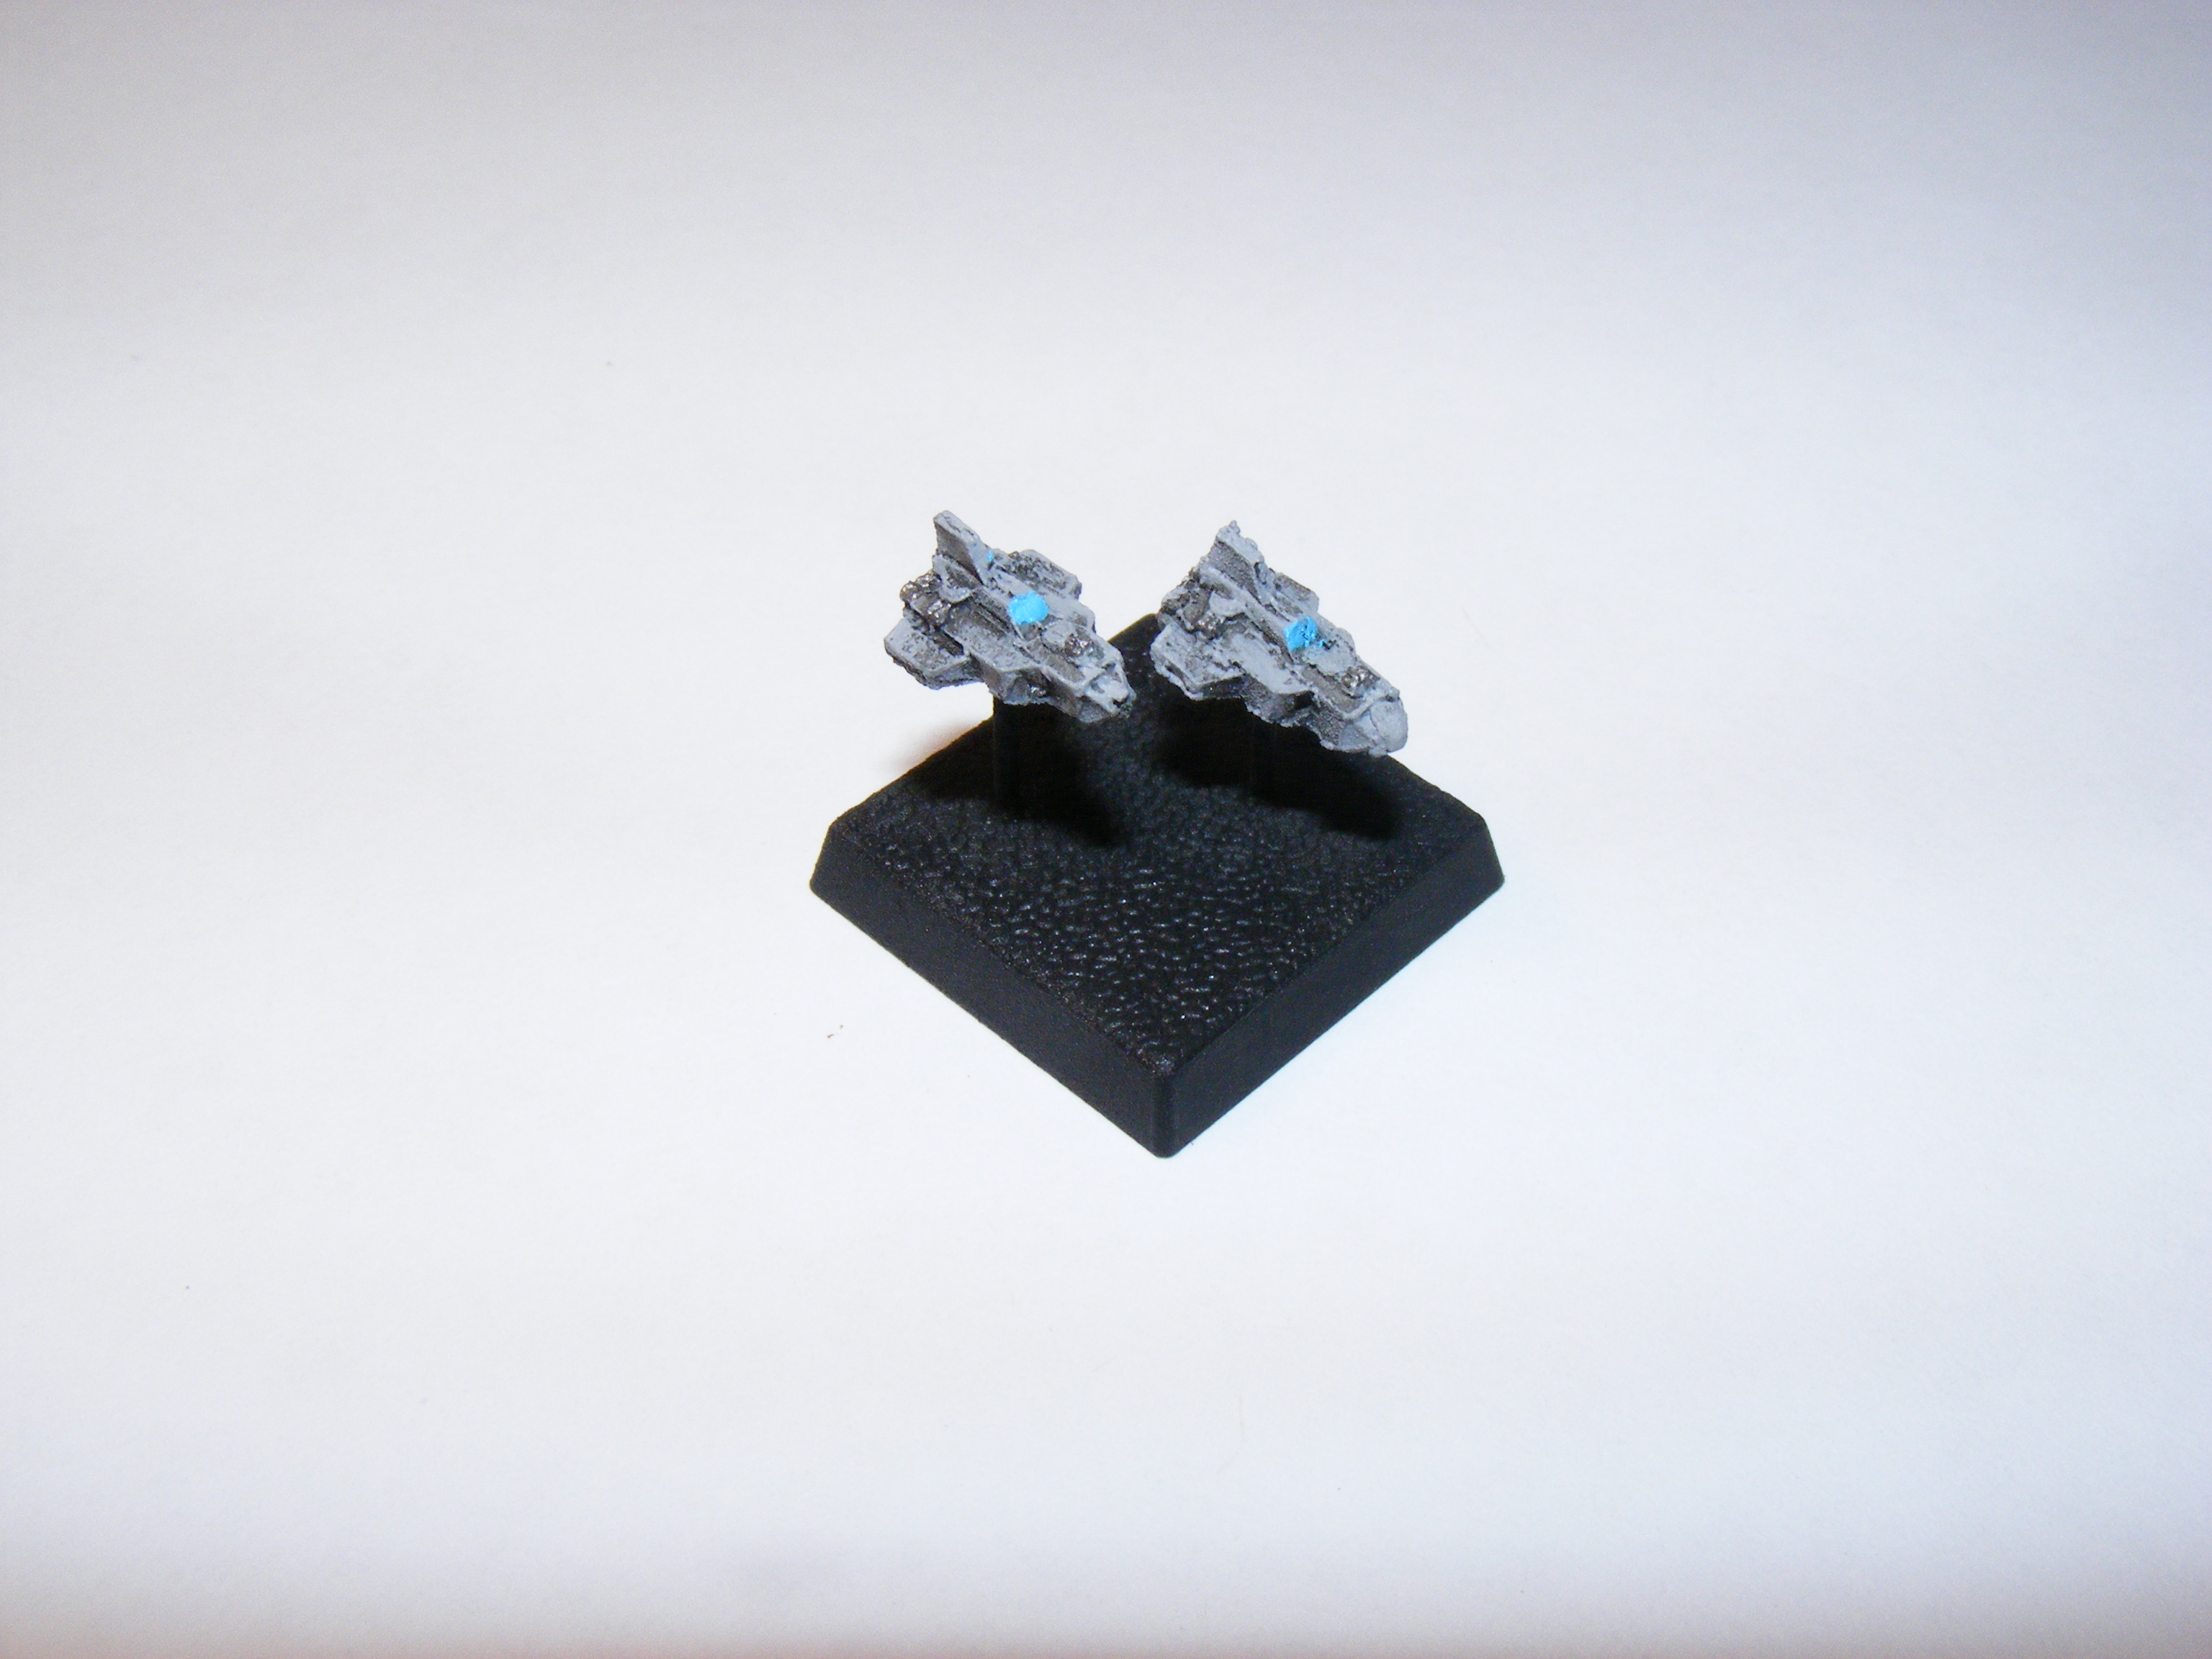
All Imperial Navy ships are done, but I forgot the Ordnance Markers! Those will hopefully be fast.
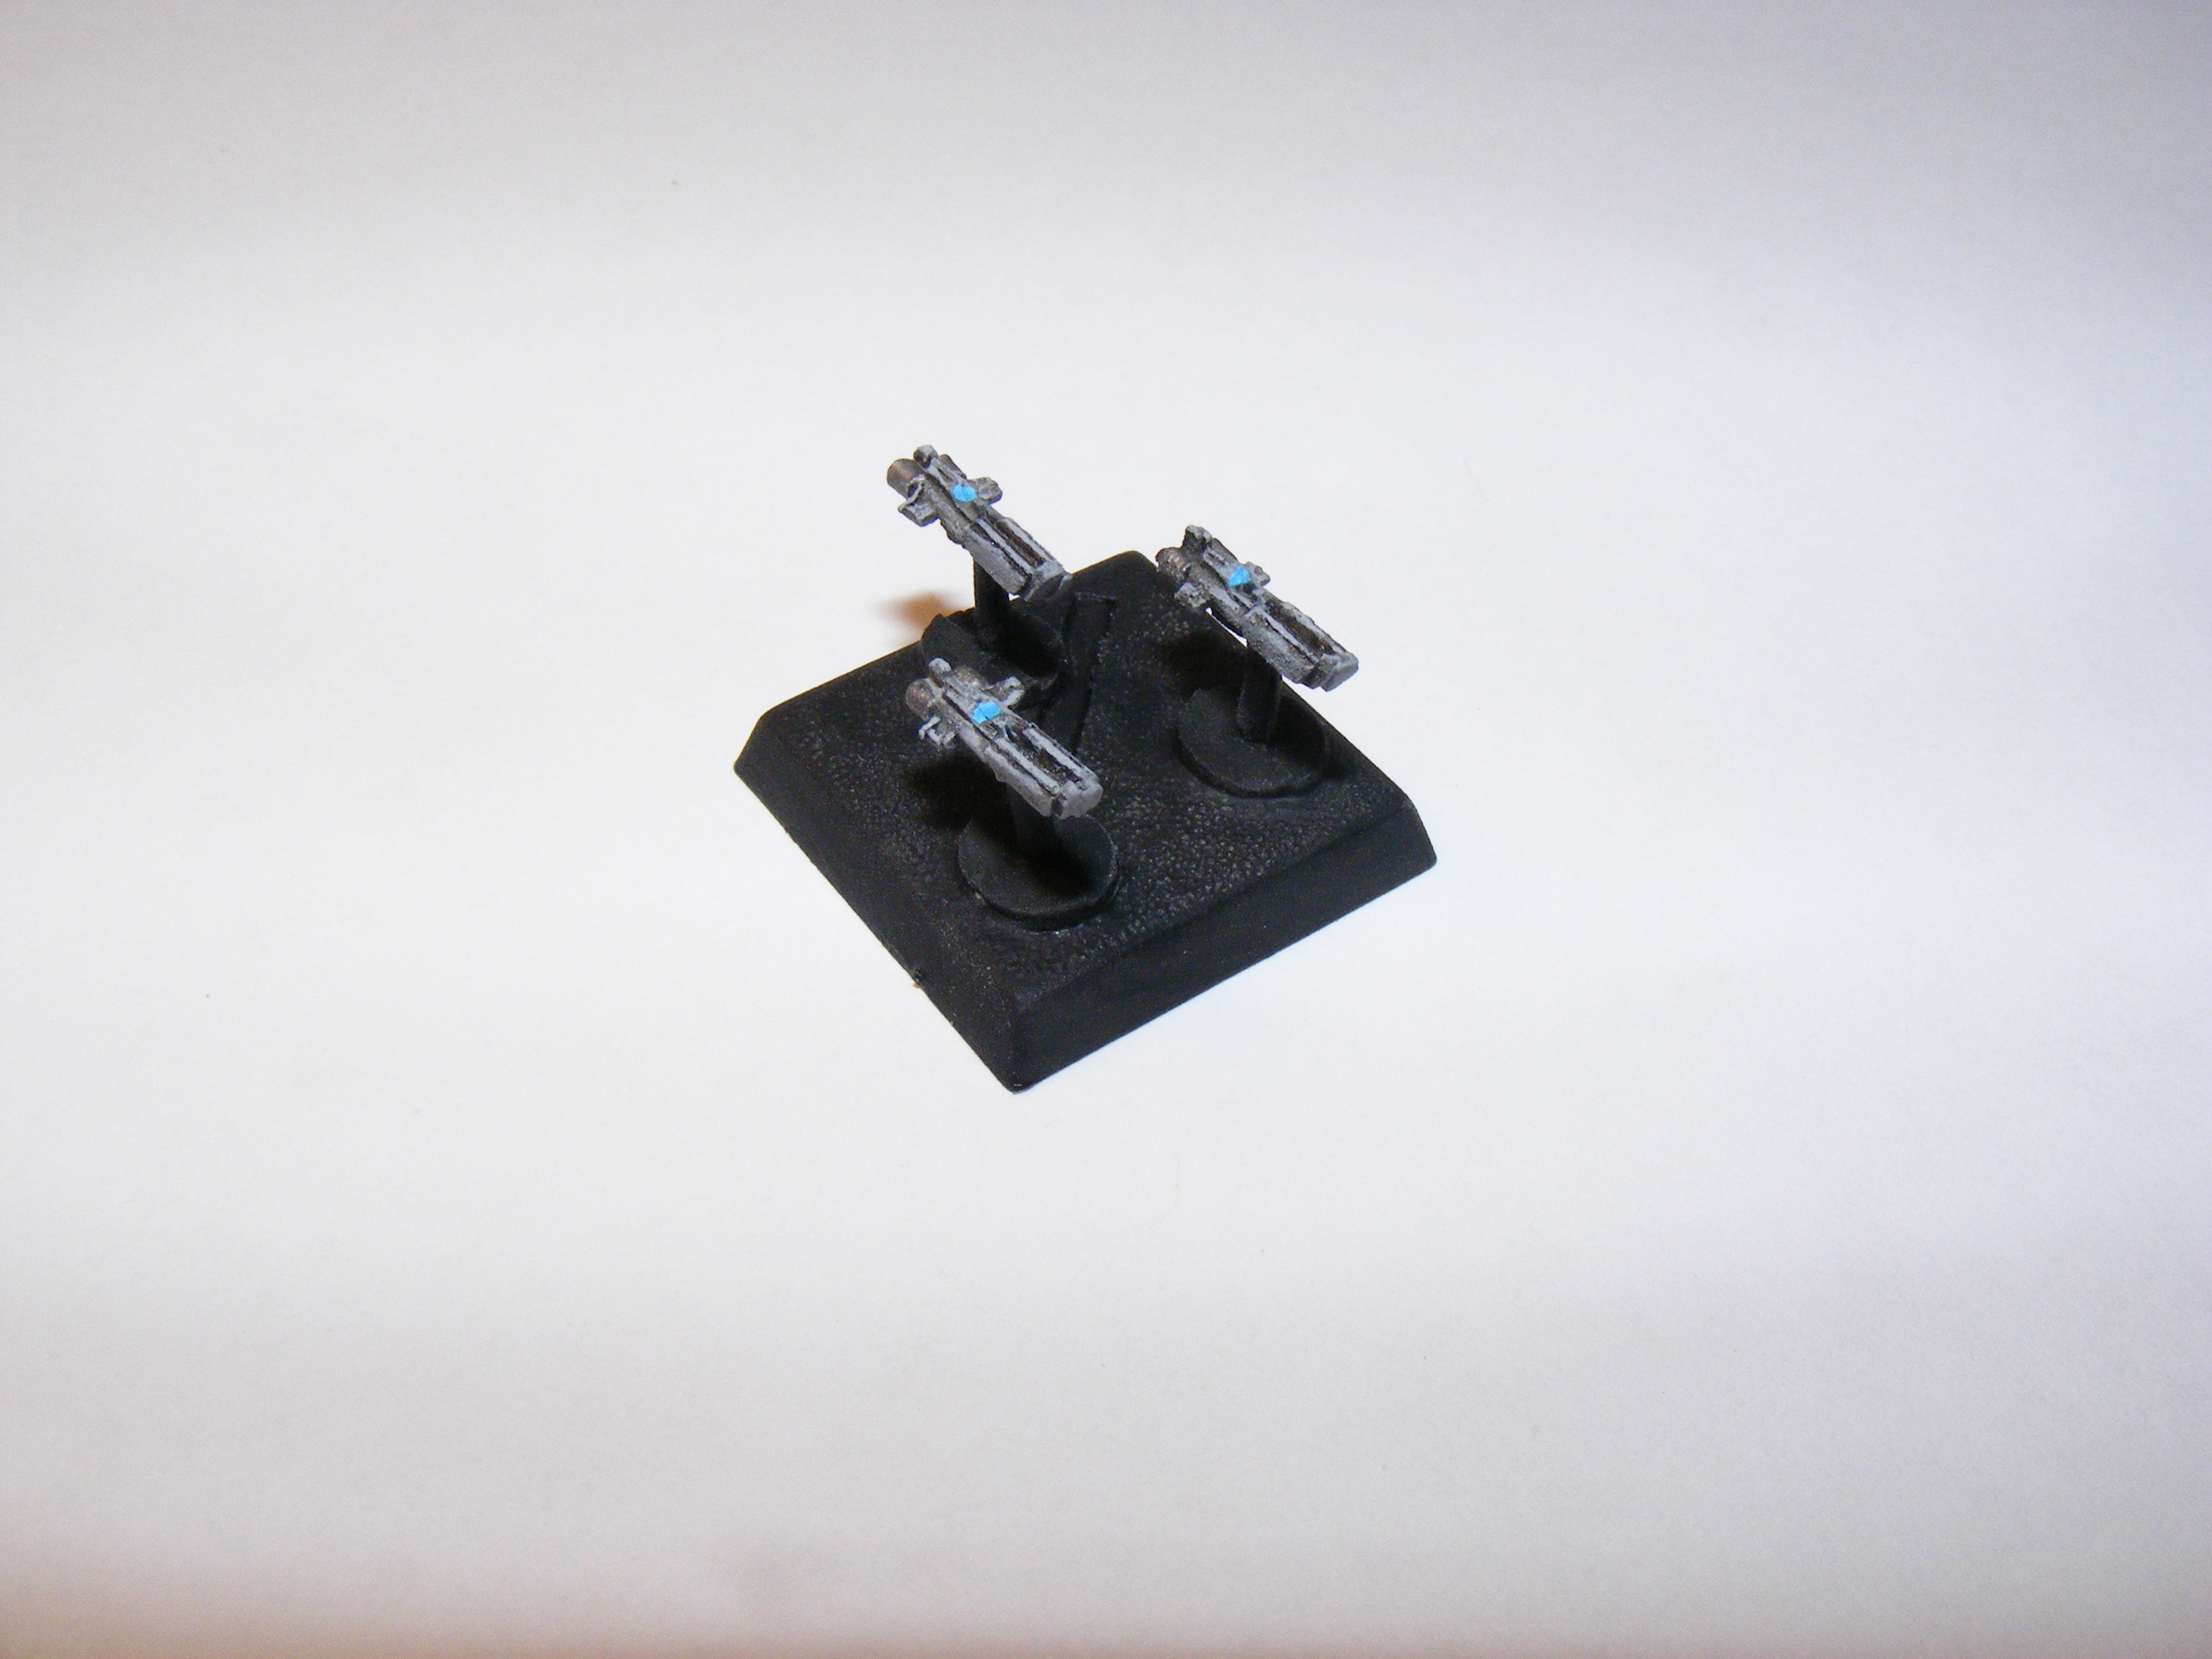
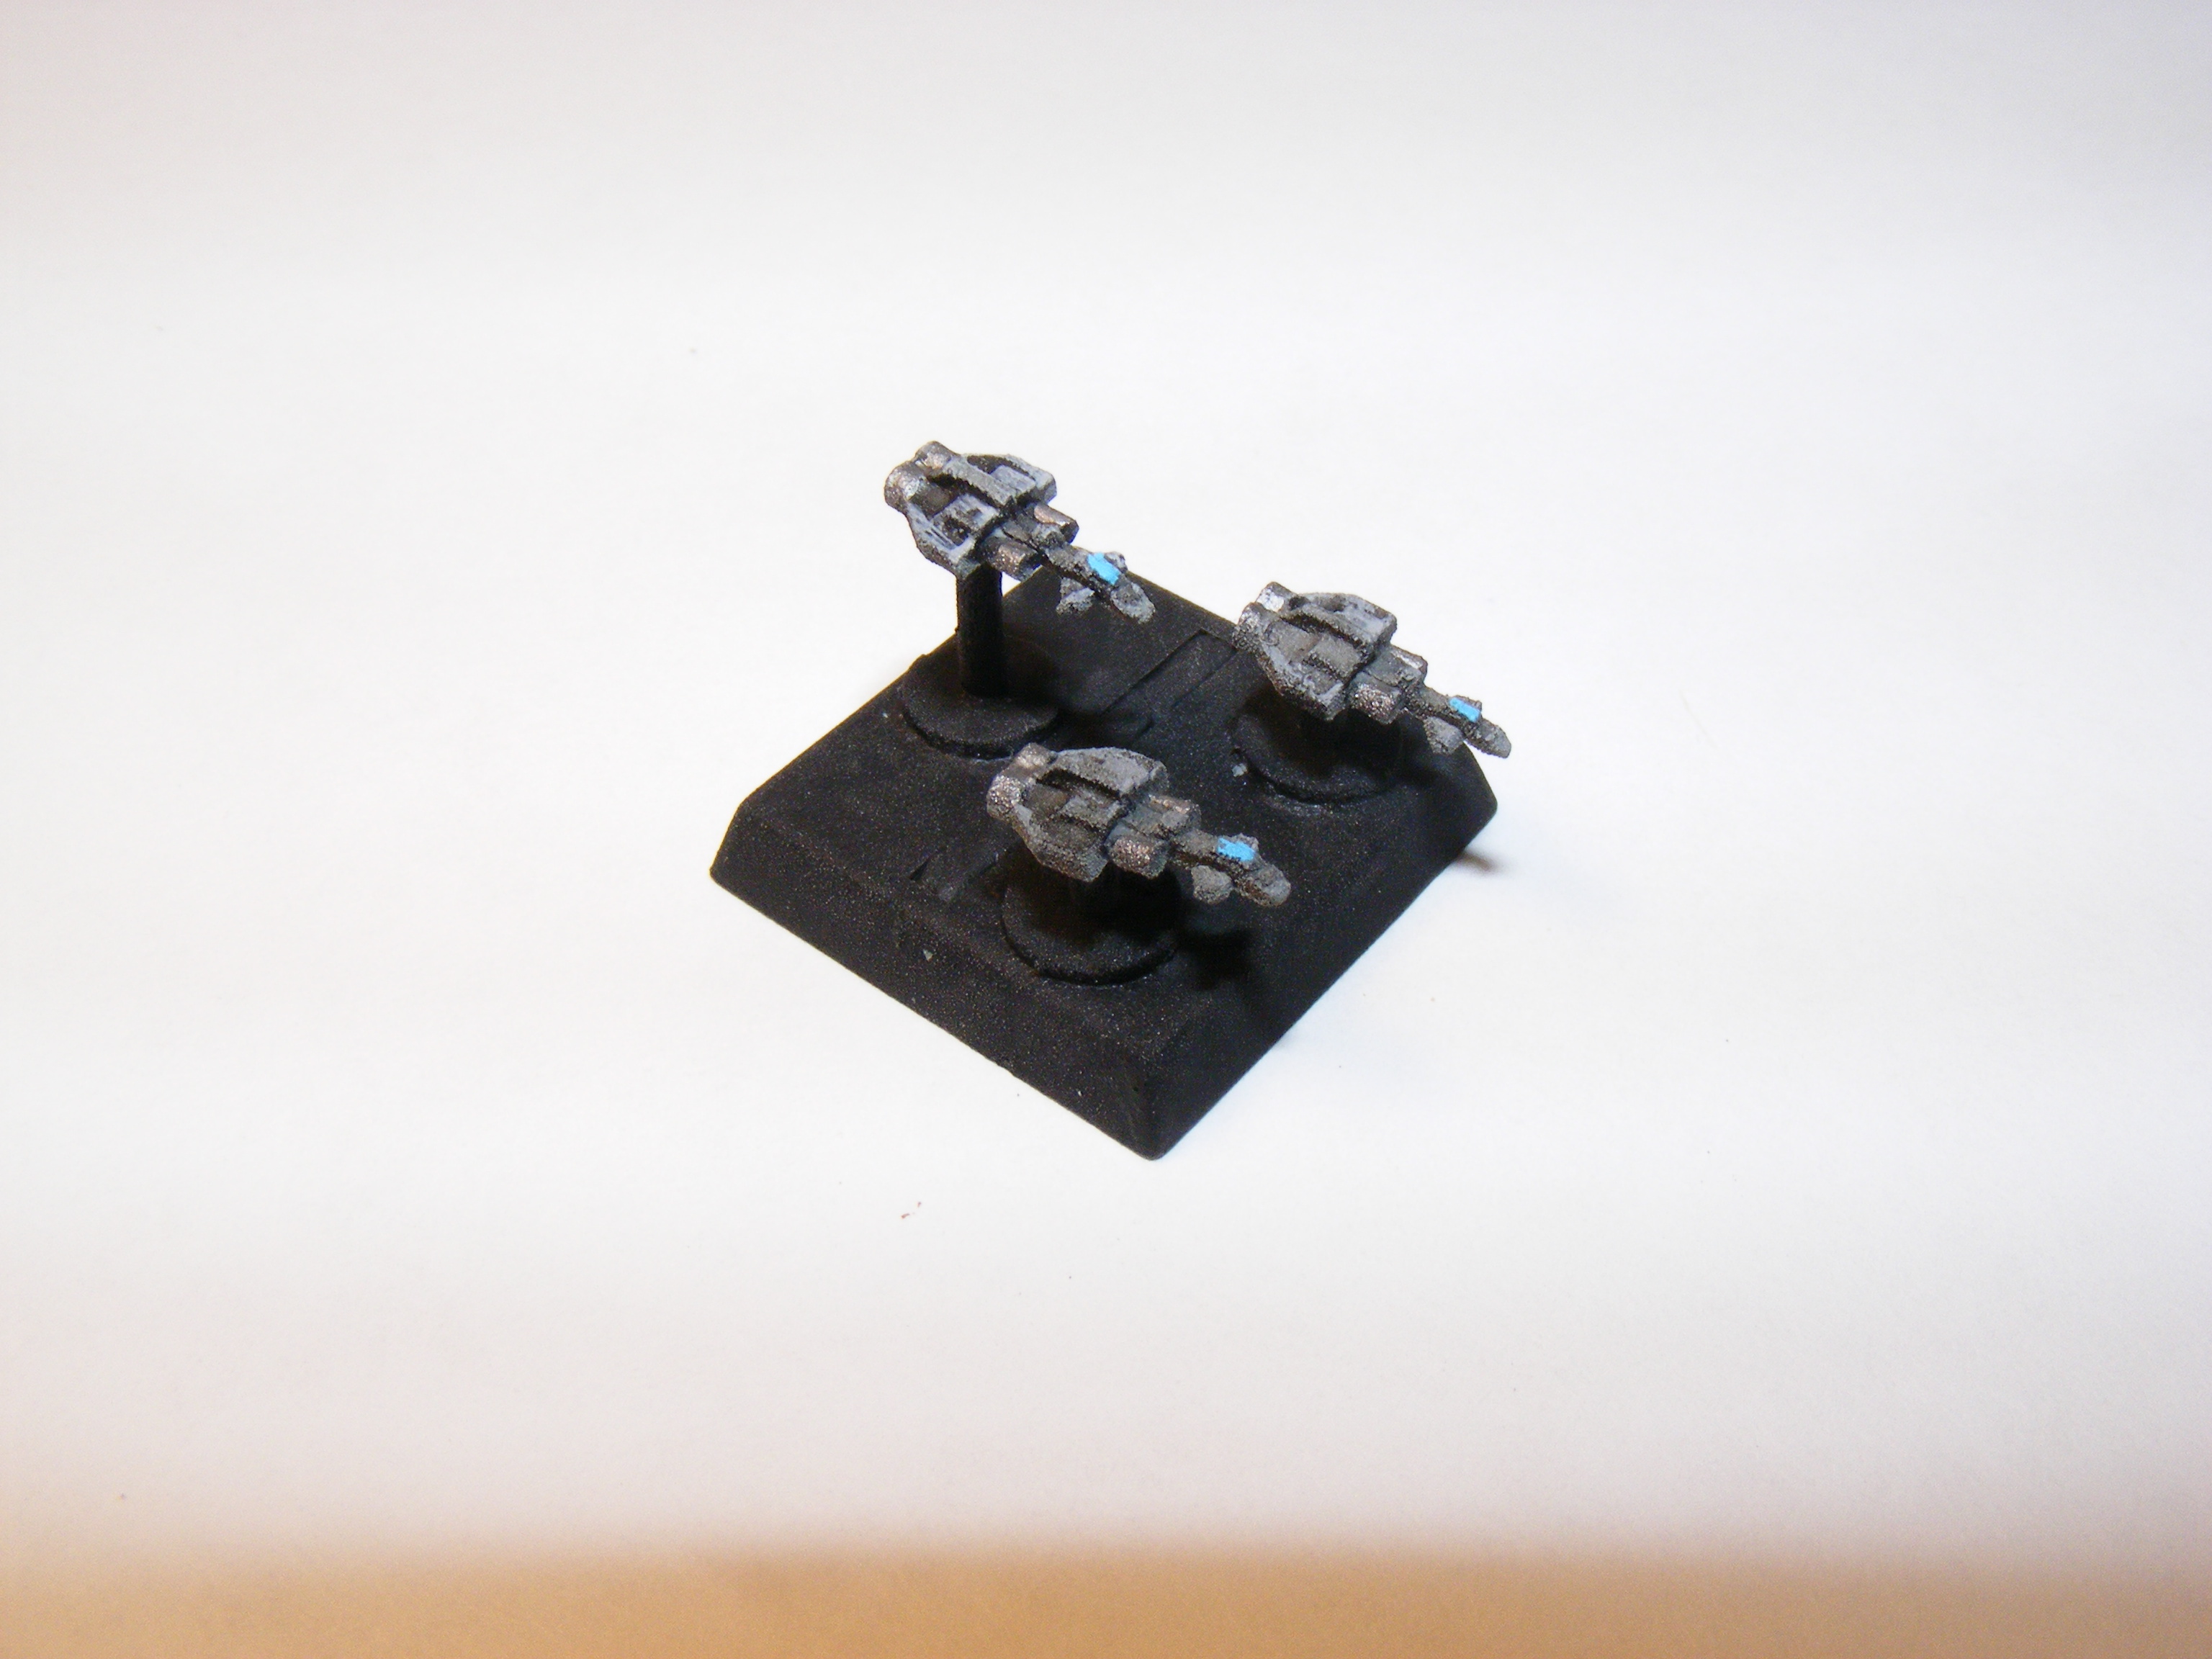
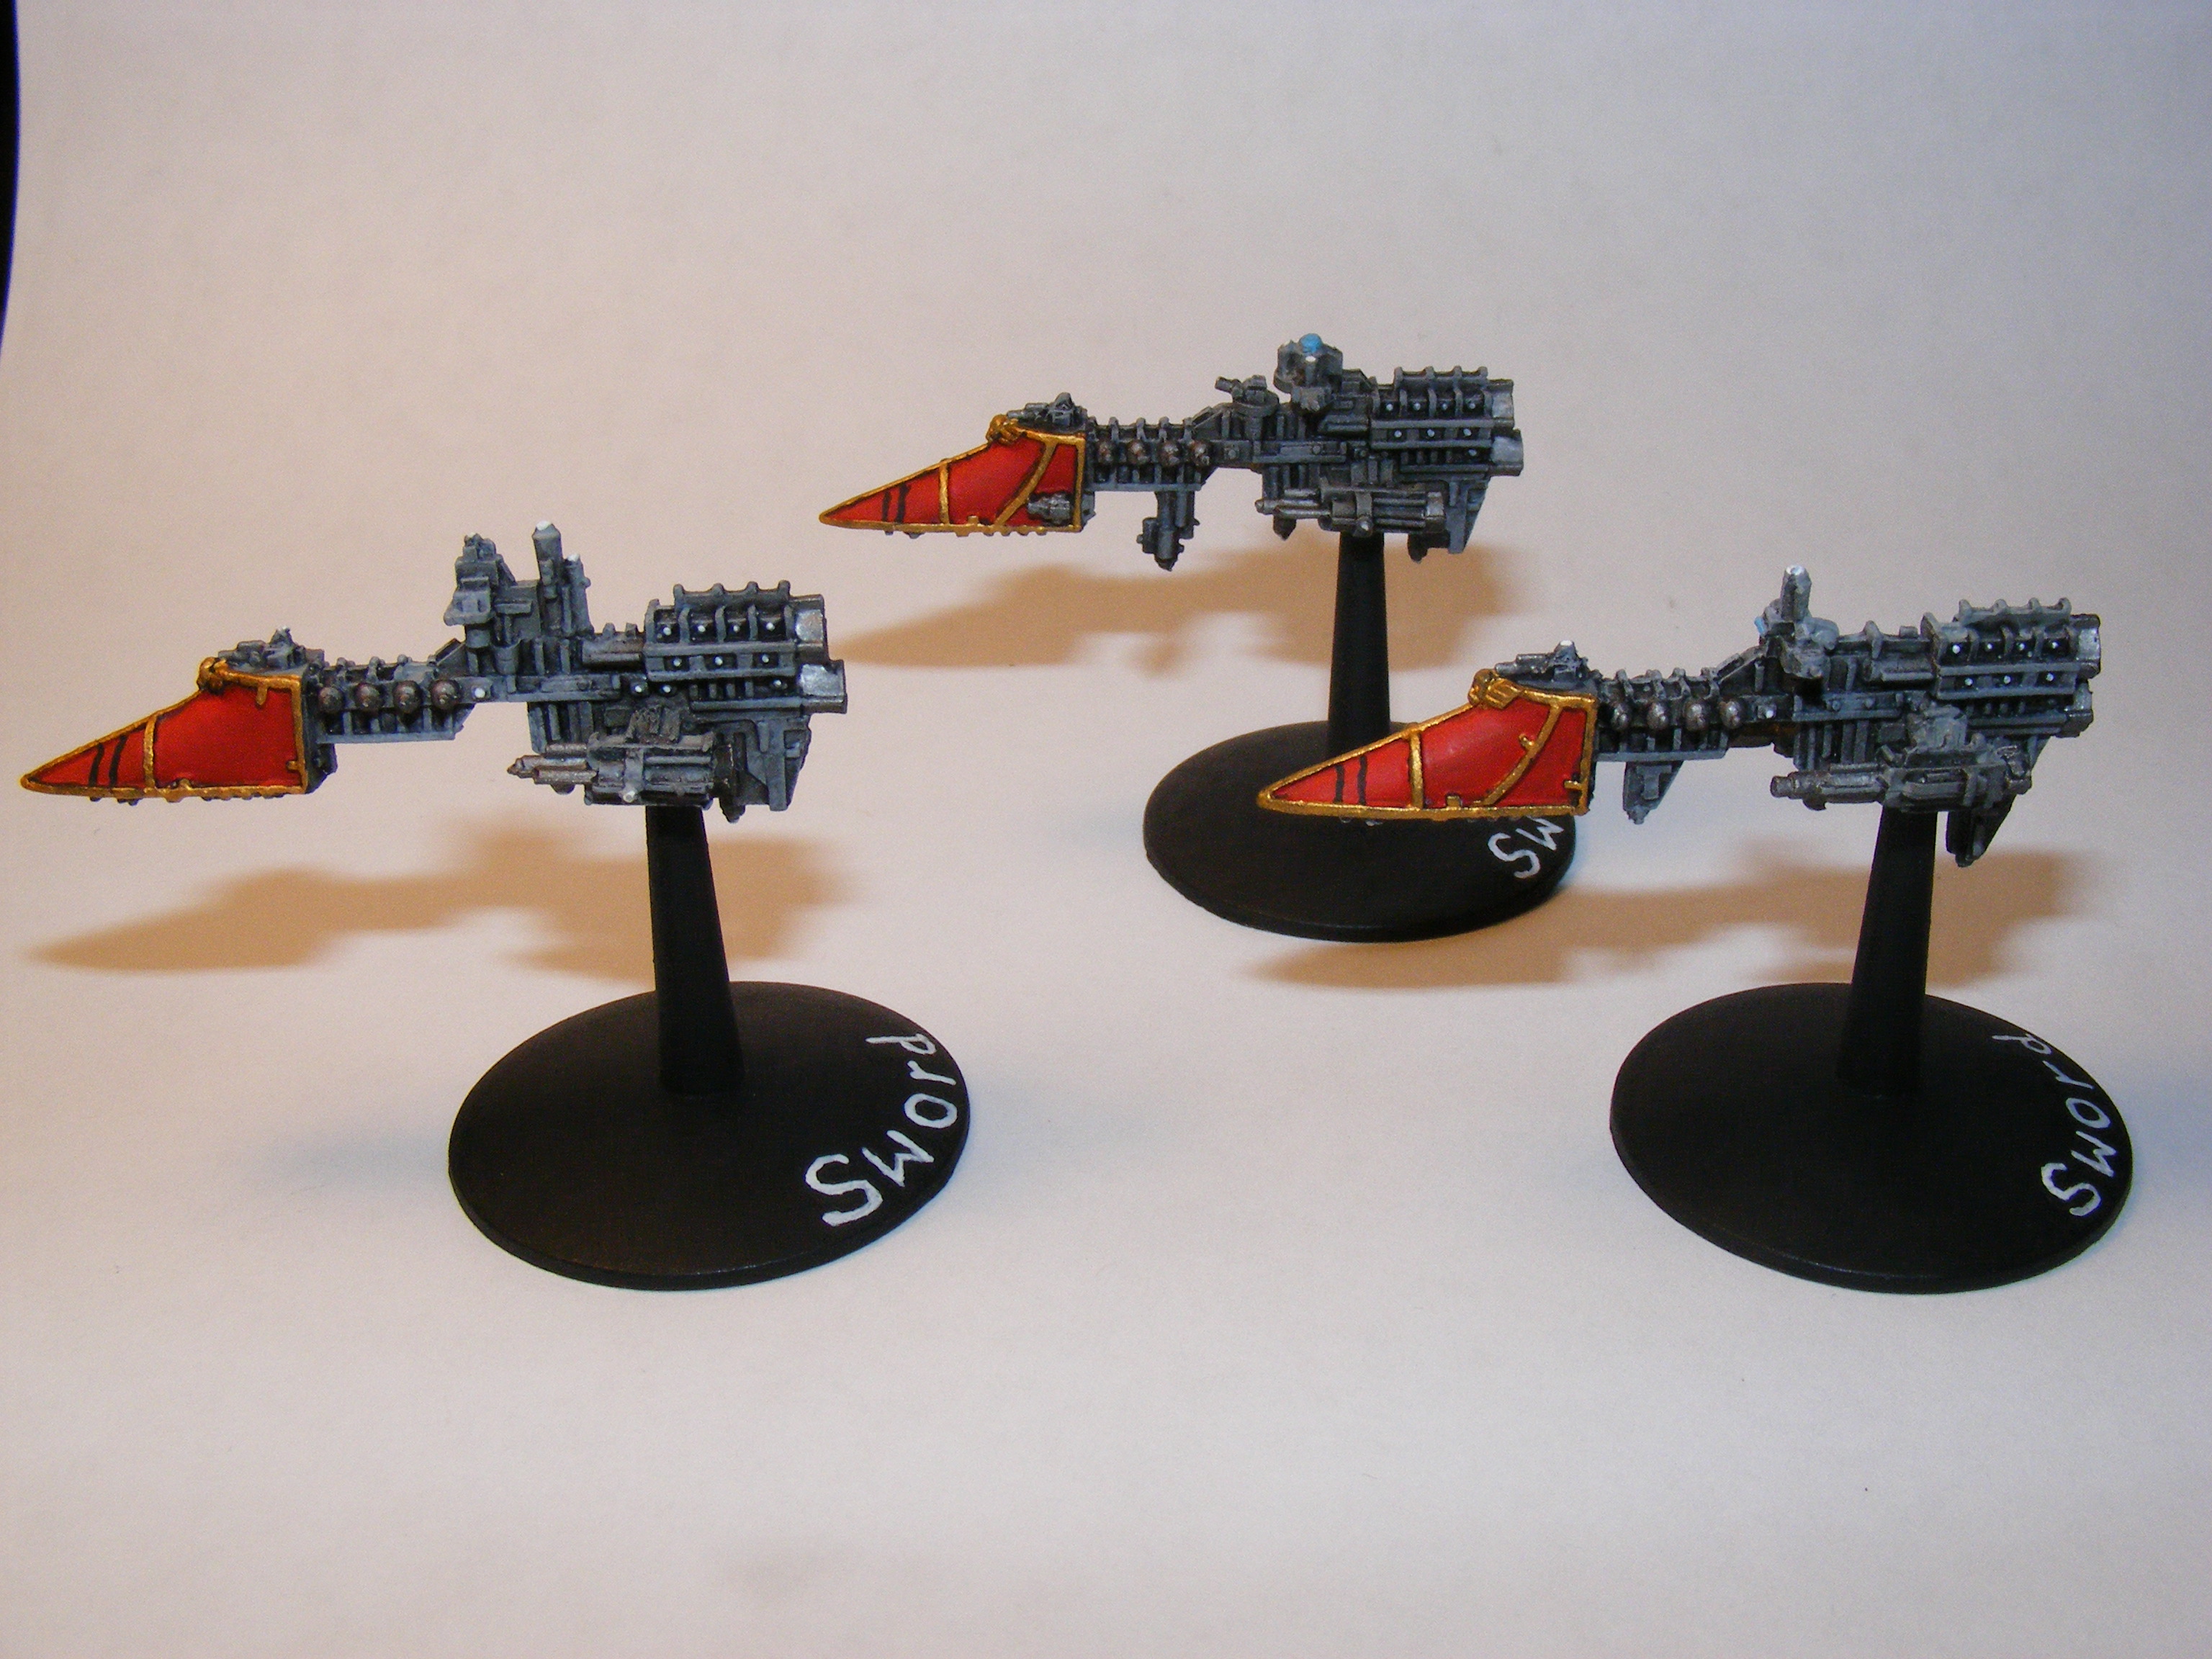
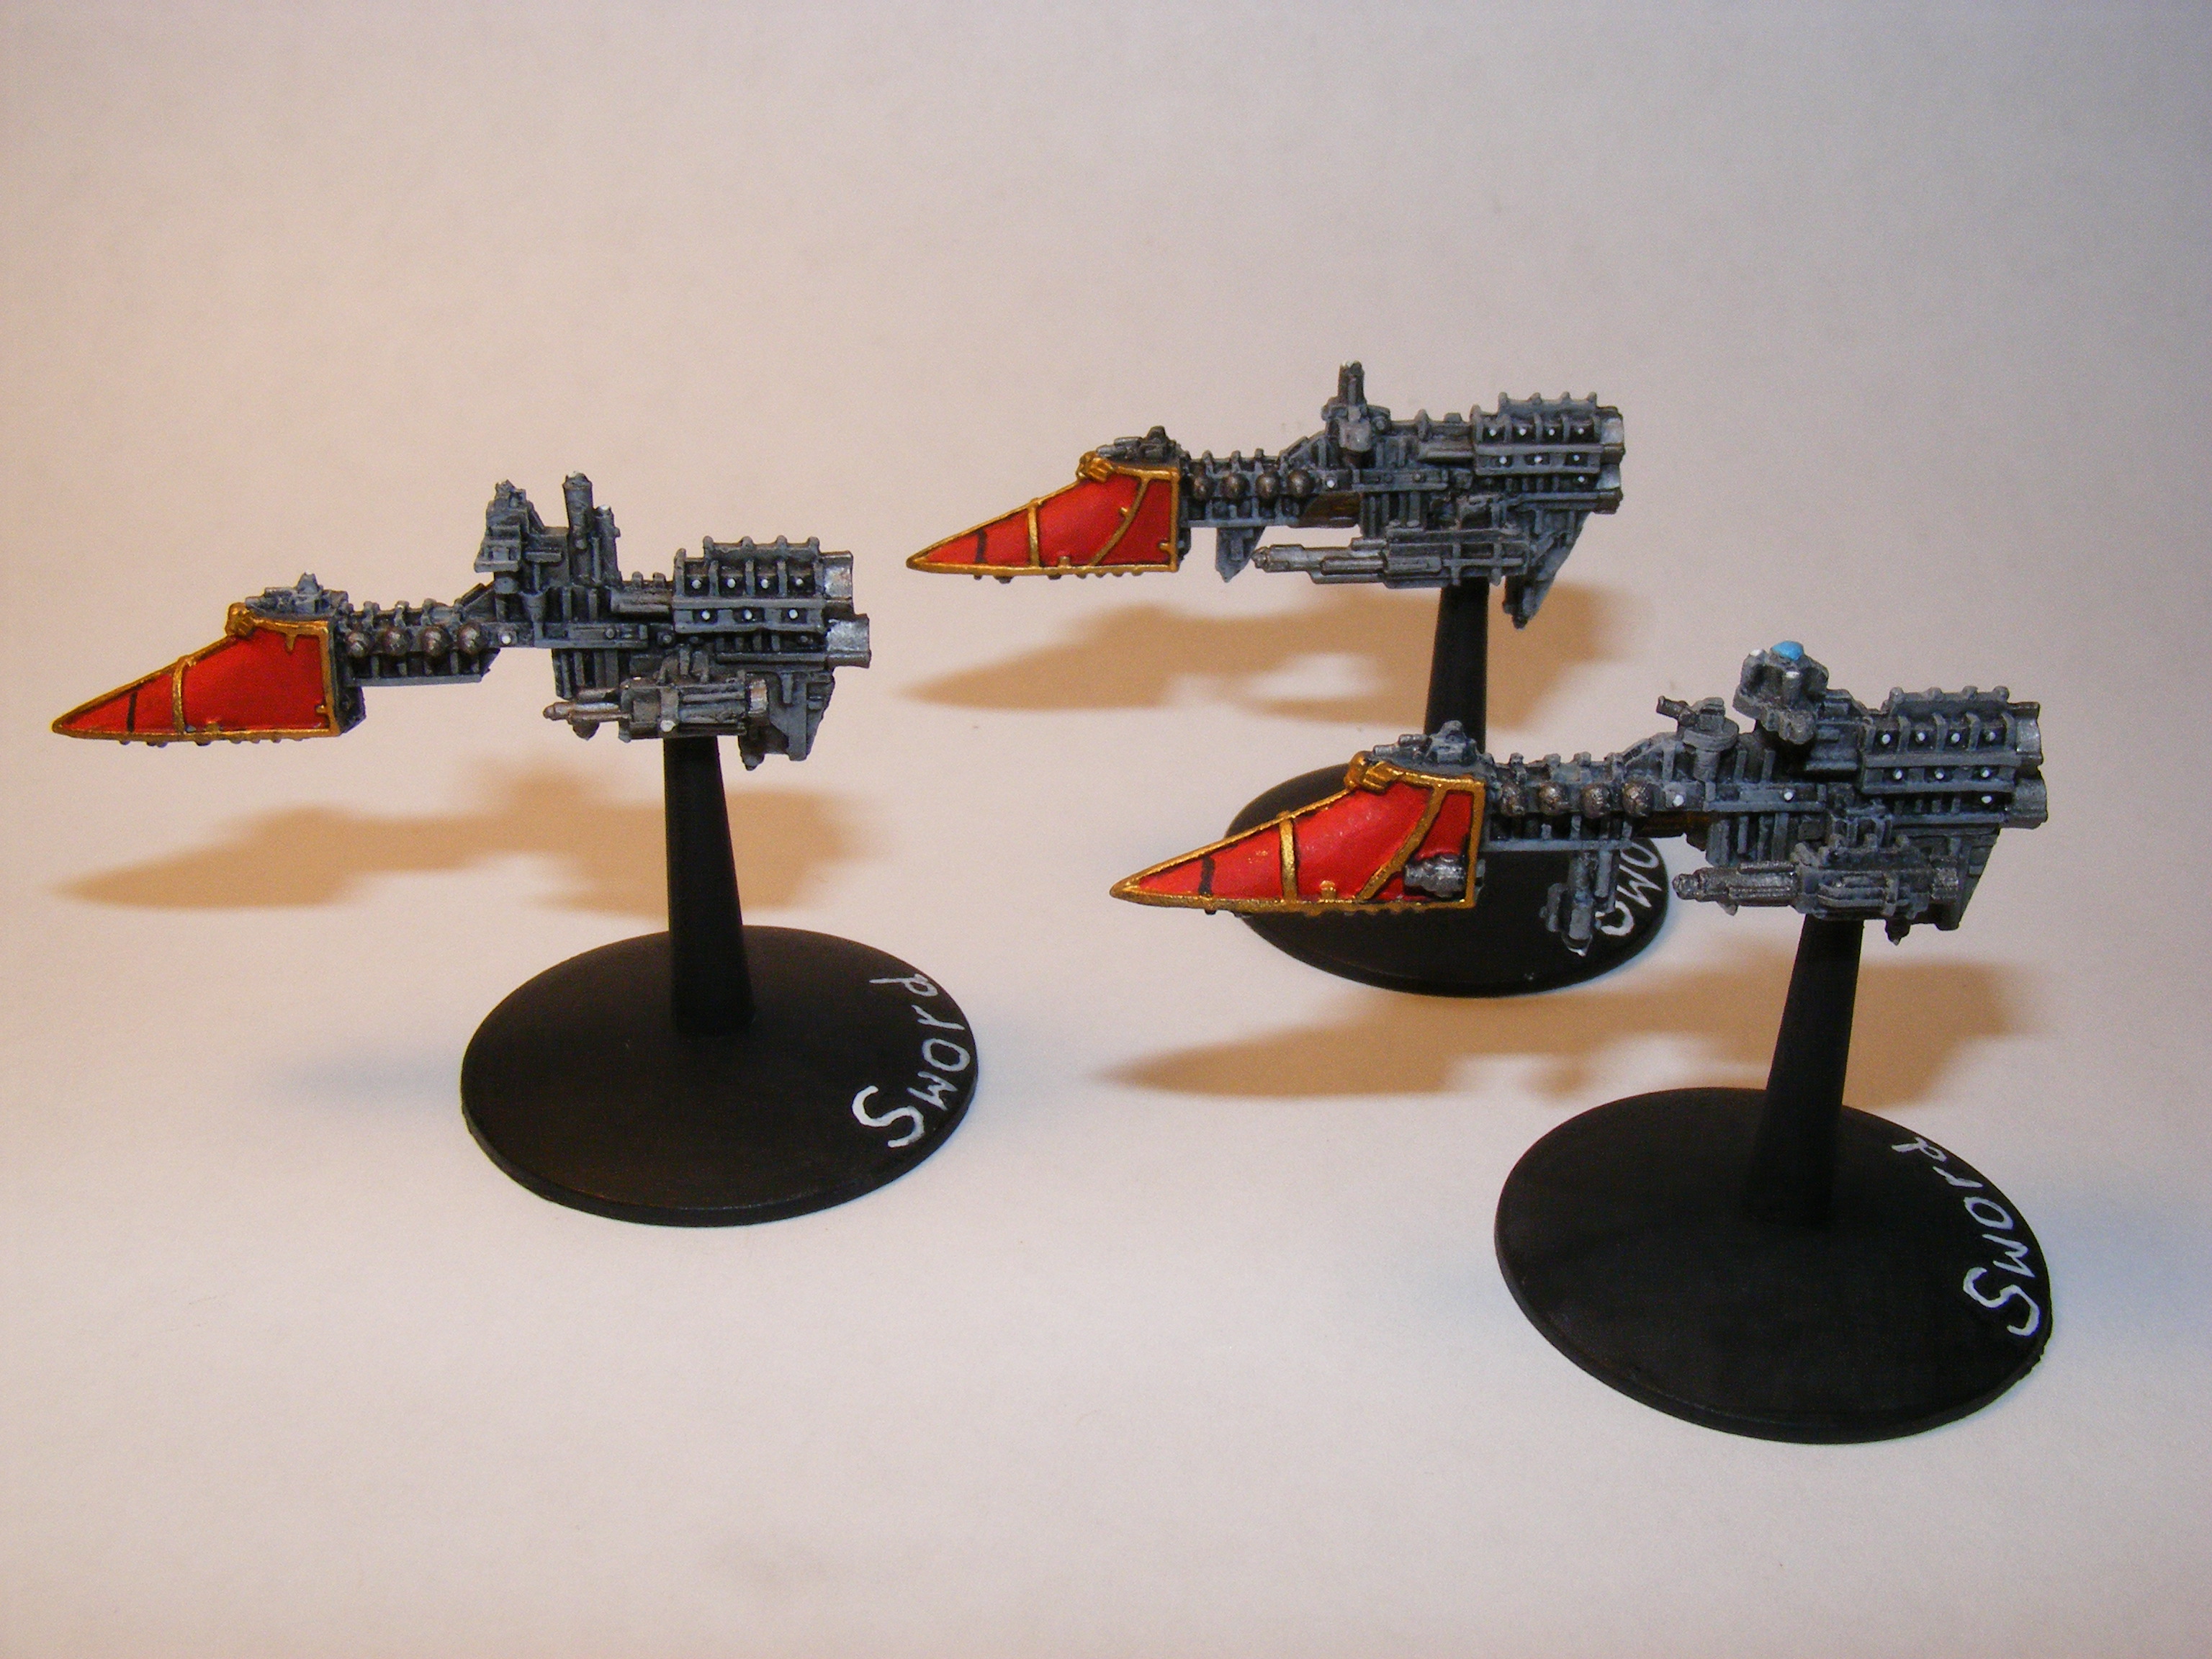
Imperial Navy Dauntless Light Cruisers

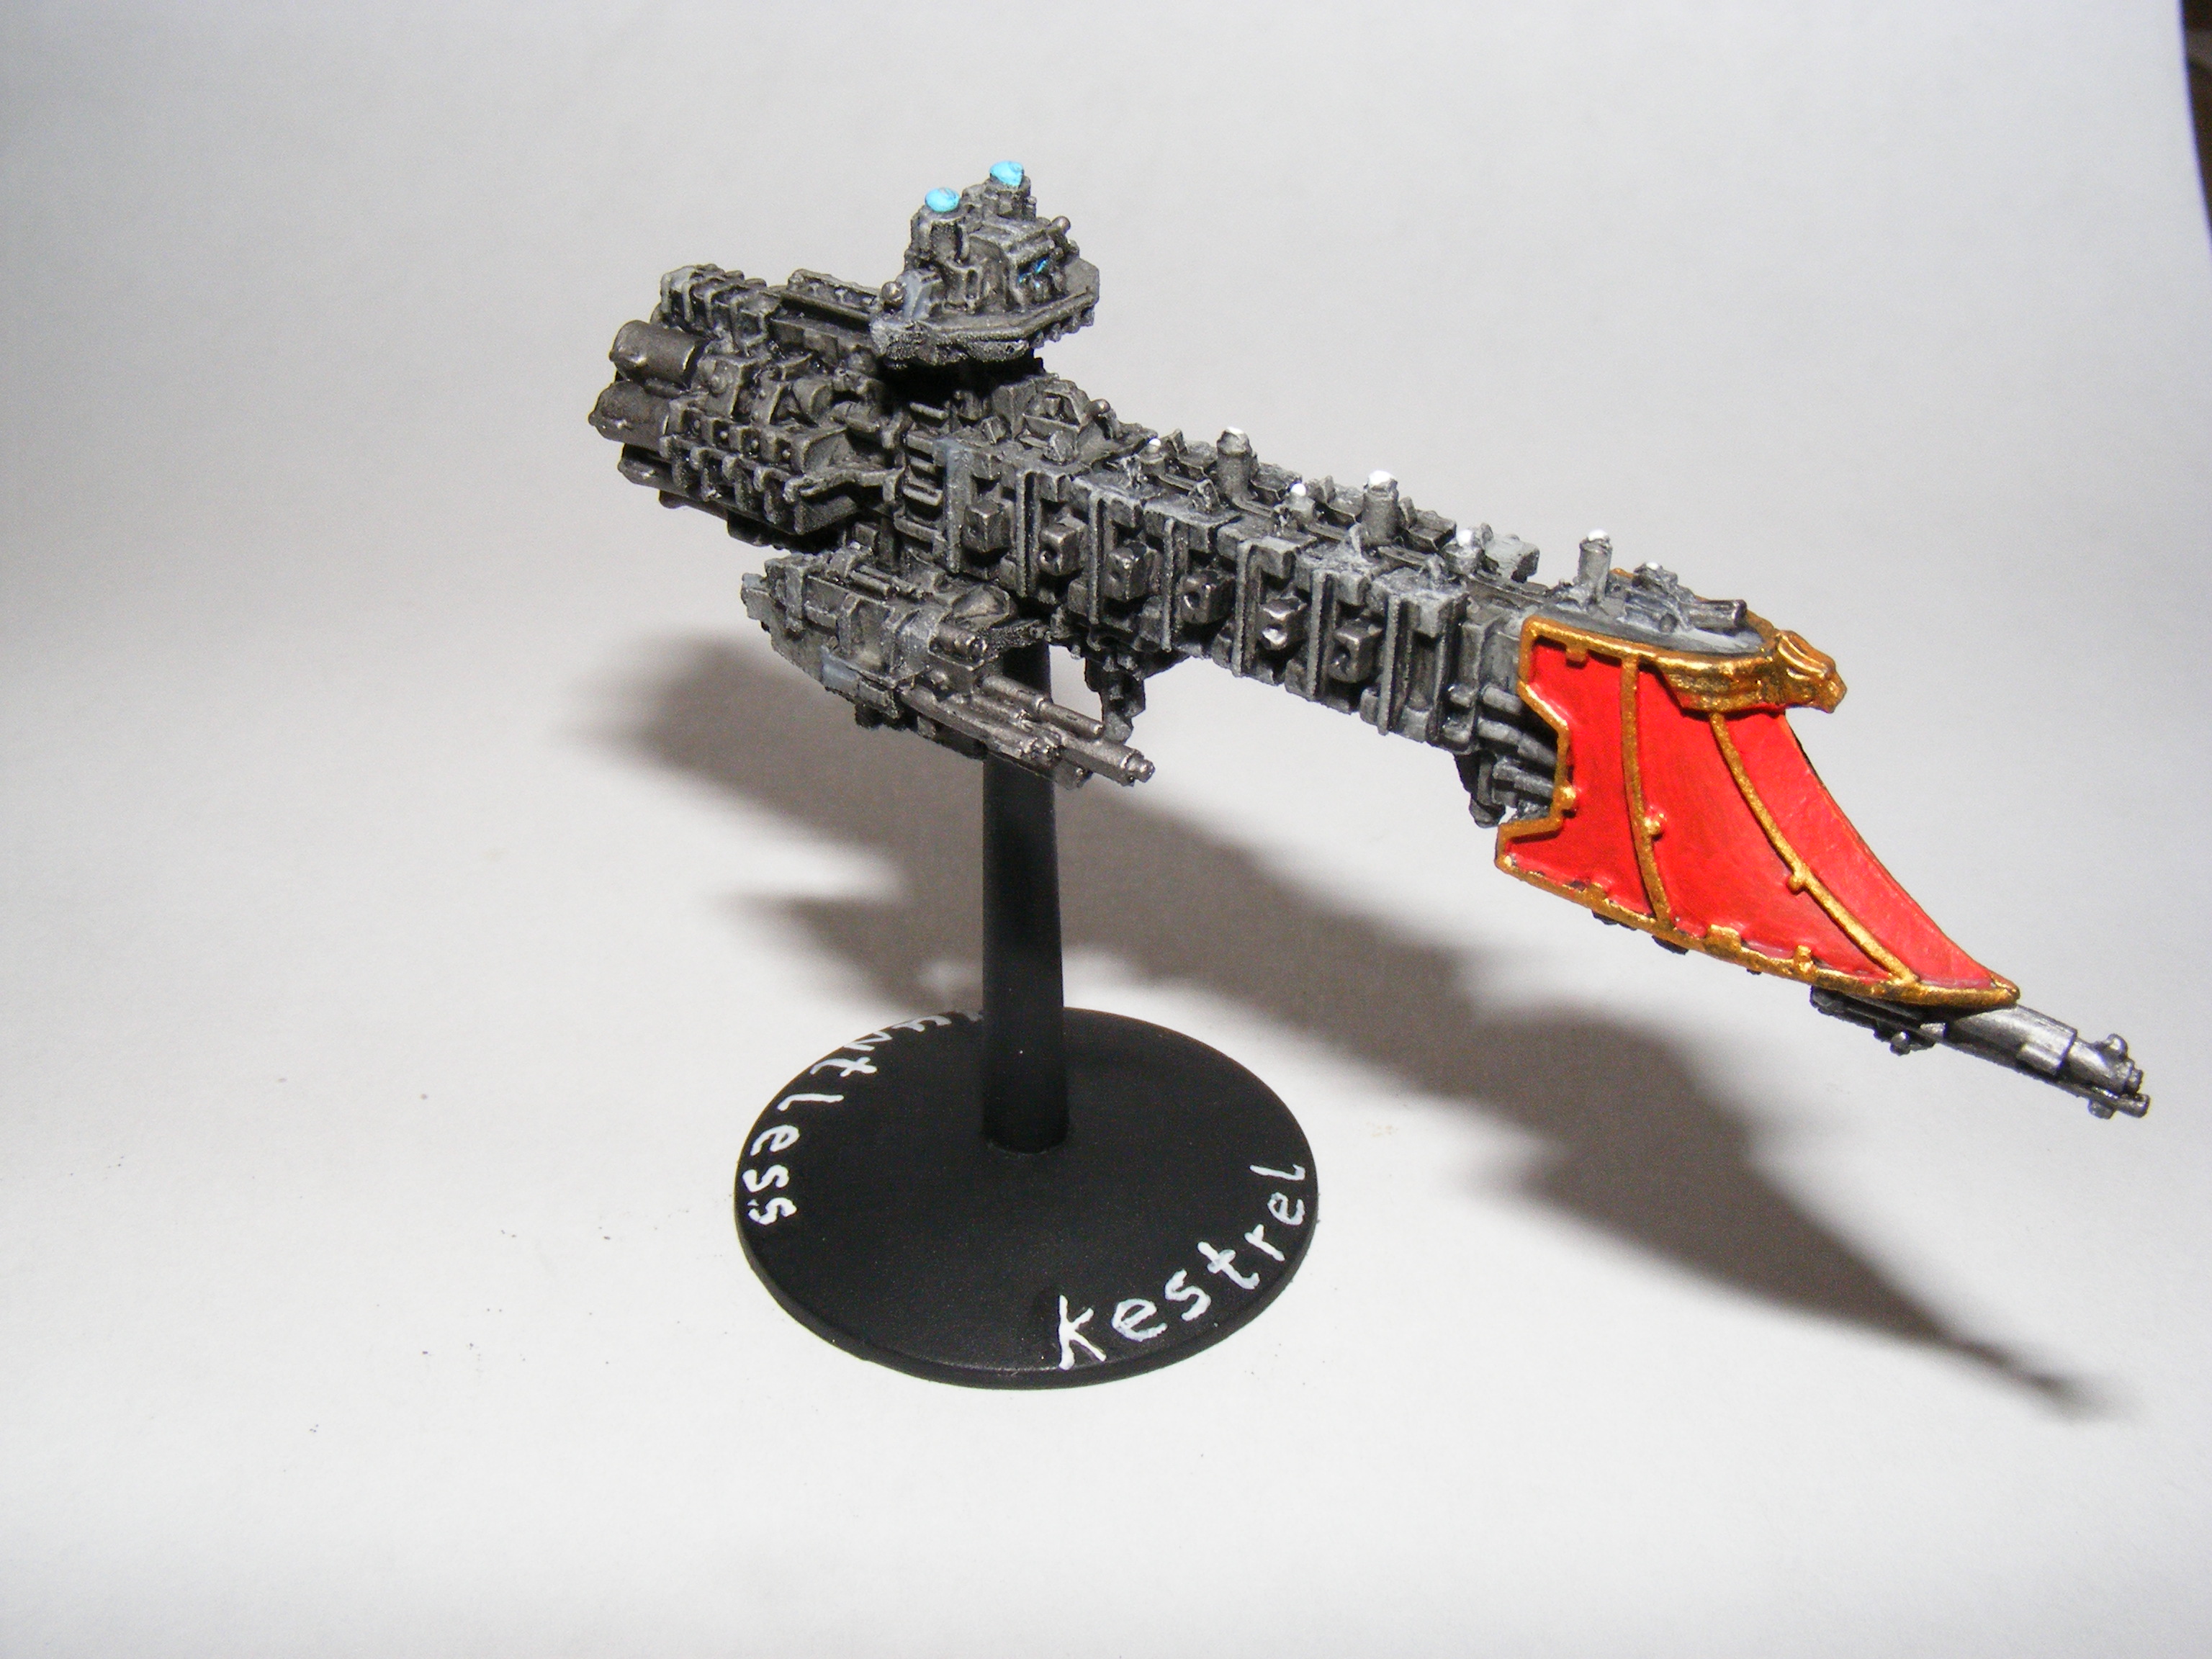
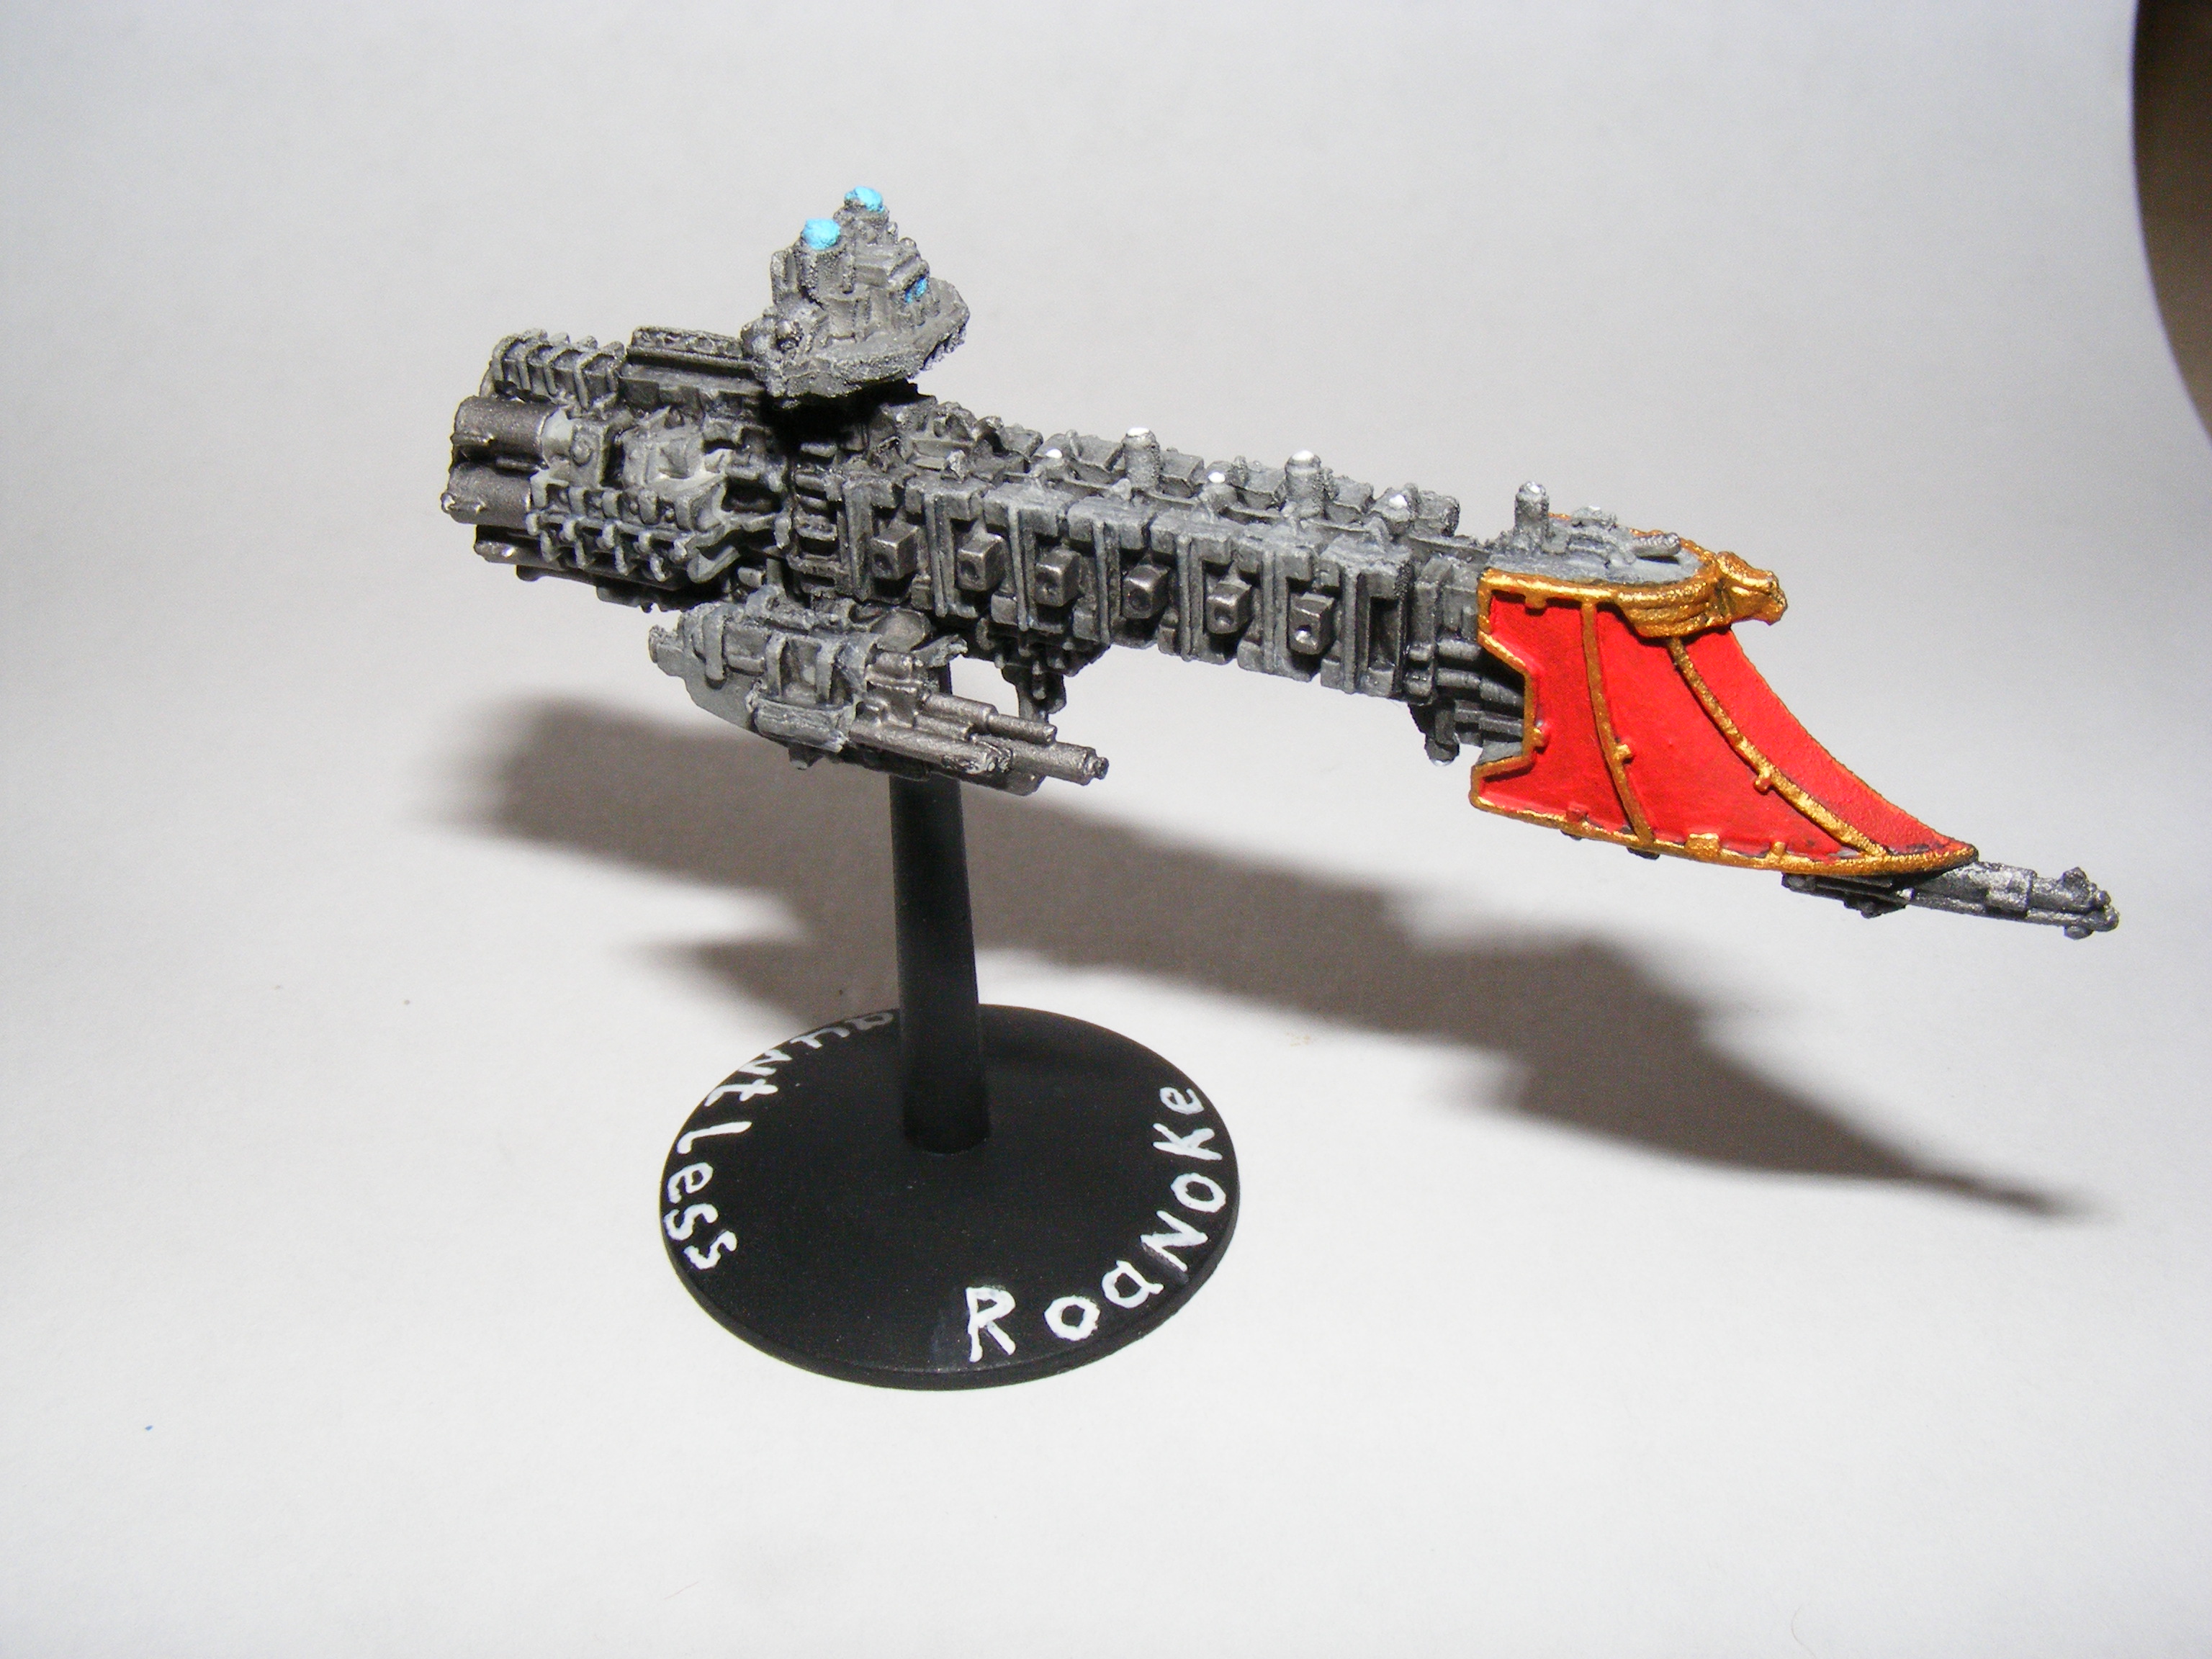
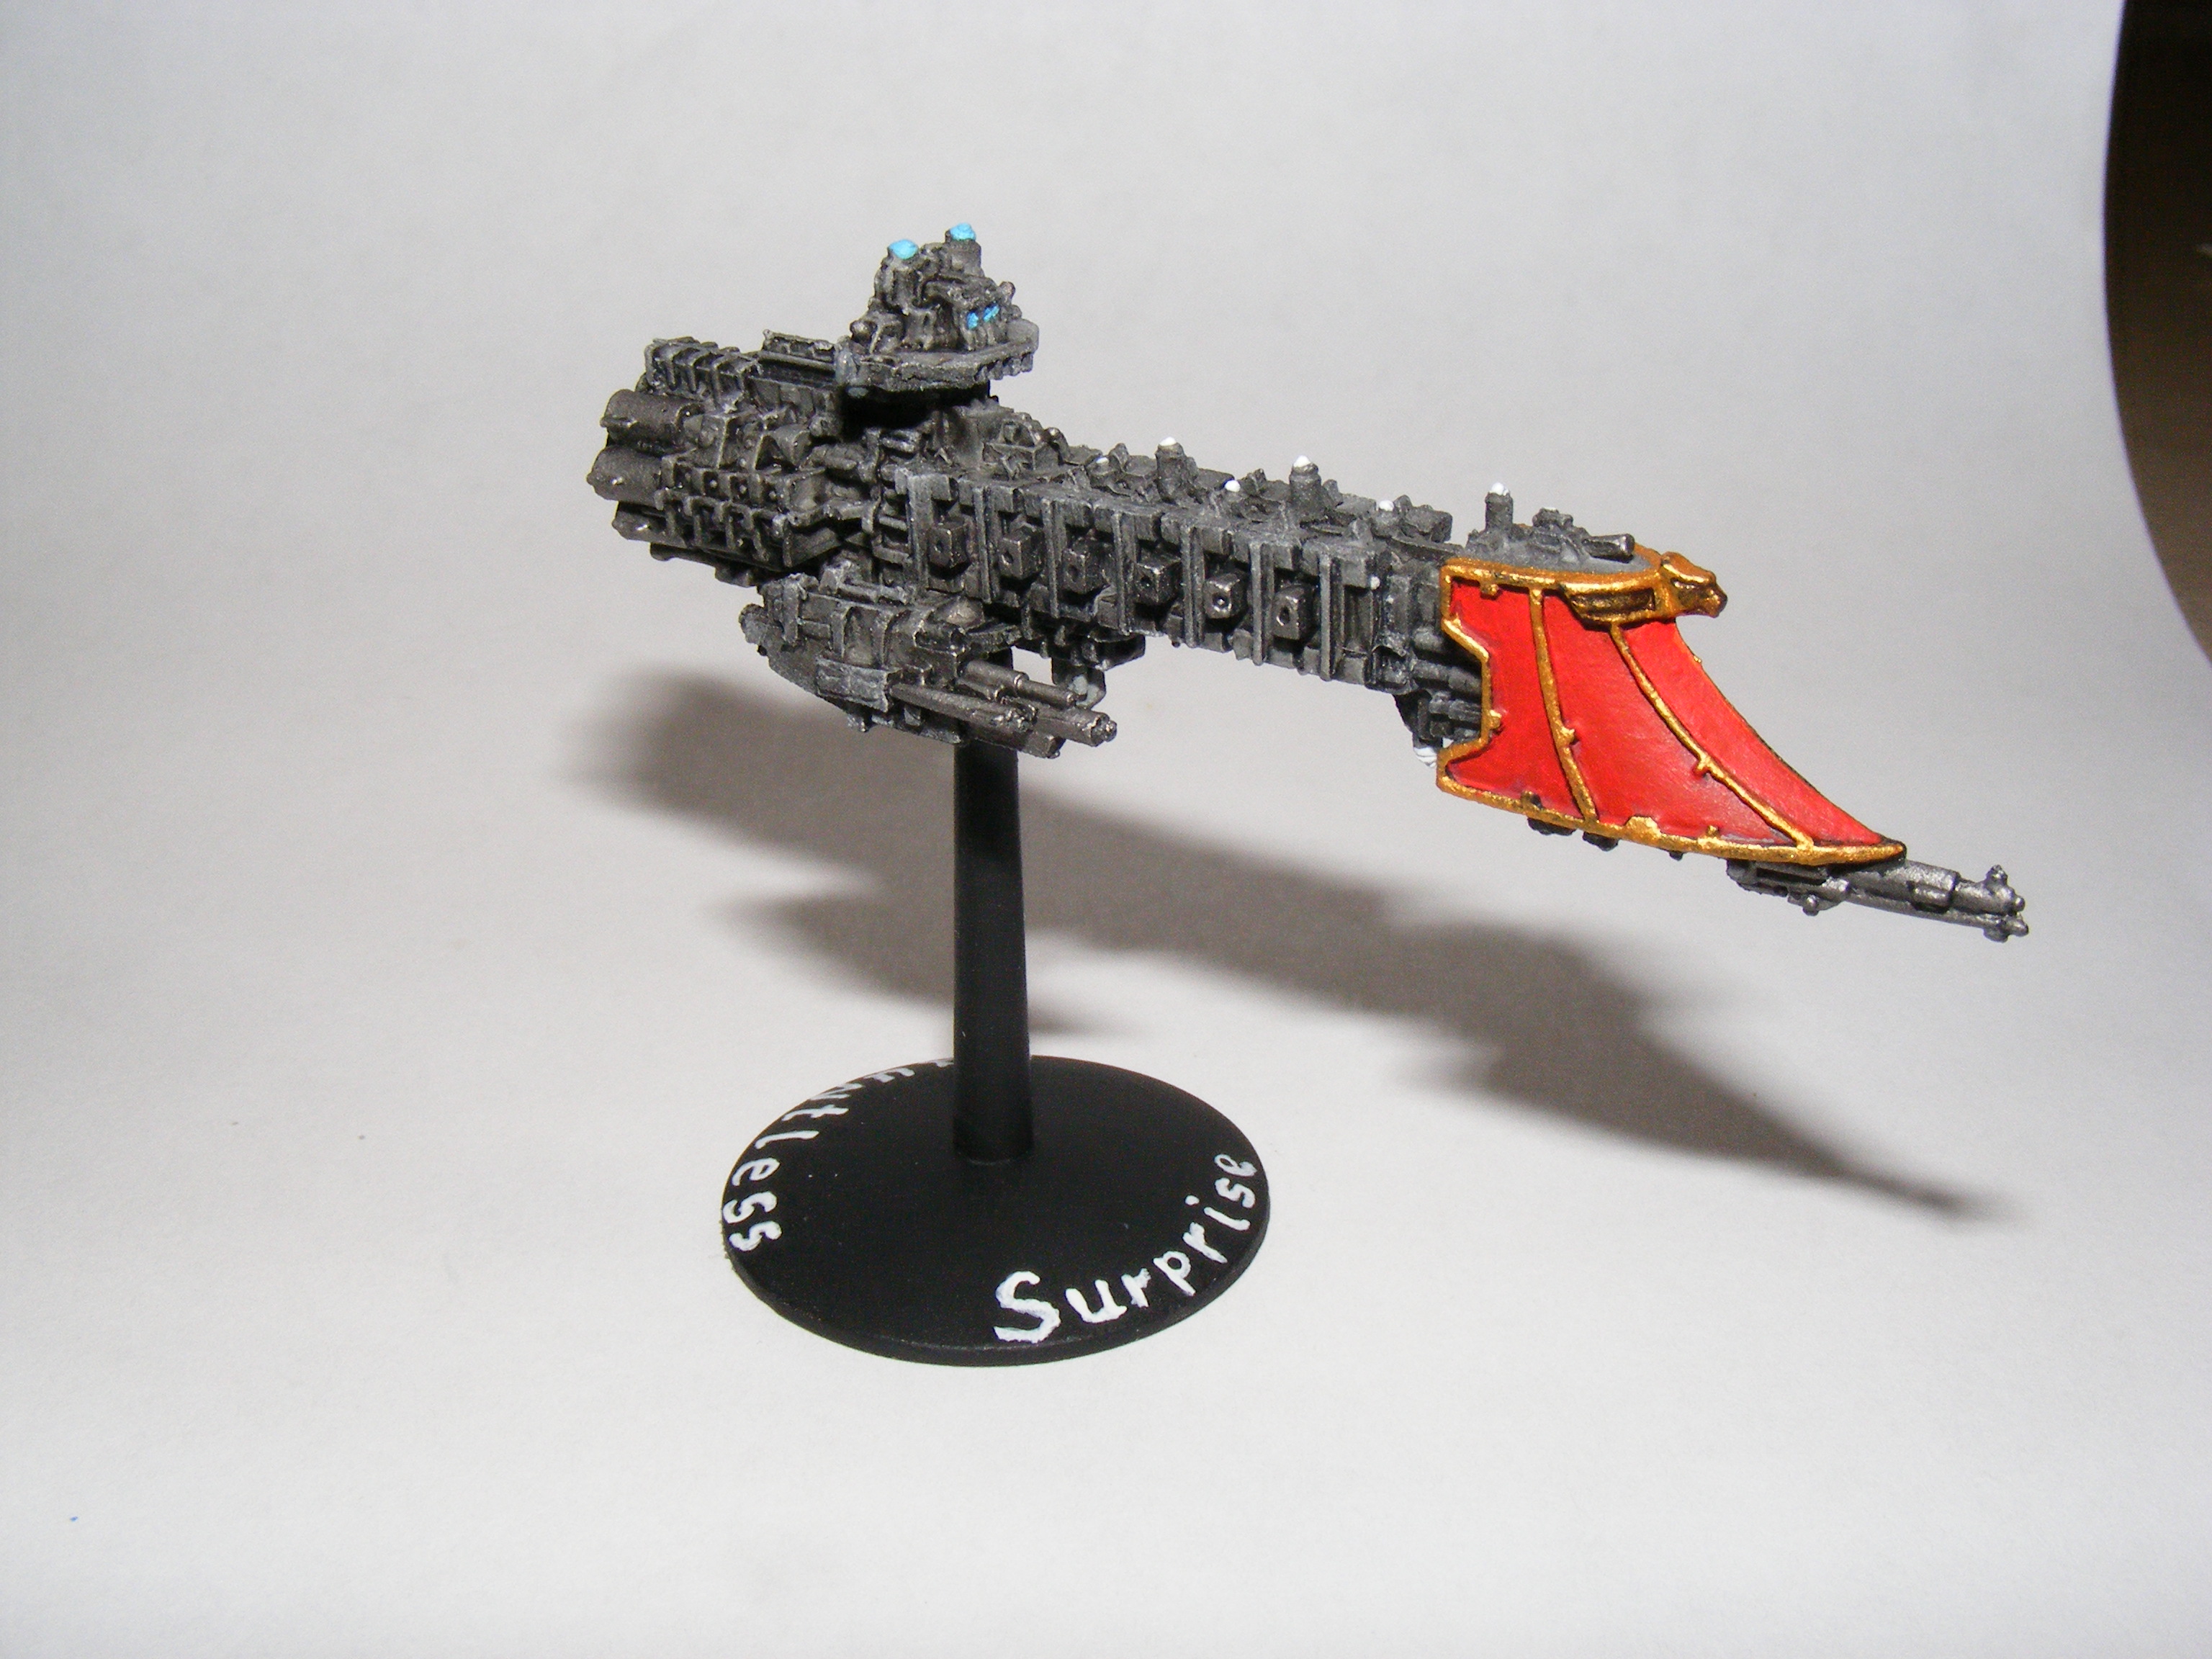
Three Dauntless Light Cruisers, Lance armament. I don’t think I need torpedoes, as I have a bunch of ships that do that.
The Surprise is named after the ship in the made for T.V. scifi movie Star Command. The plot was that Earth is fighting a group of seceding space colonies. An enemy fleet of 5 battleships is on the way to Earth to destroy it, and only the D.R.E Surprise, a destroyer manned by cadets, can stop them. It was a great little movie, though low budget.
The Roanoke is named after both the American colony and the colony in John Scalzi’s The Last Colony.
The Kestrel is named after the best non-military ship from Escape Velocity by Ambrosia Software.
Next: More cruisers and escorts, then Chaos, then Defences, then Done With Gothic!
Retribution Class Battleship: Nieman Lion
 I’ve decided to take an “Imperials First” strategy to painting the rest of my Gothic forces. After this Chaos and then Defences.
Konquata Monitors Cheerleaders and finished team!
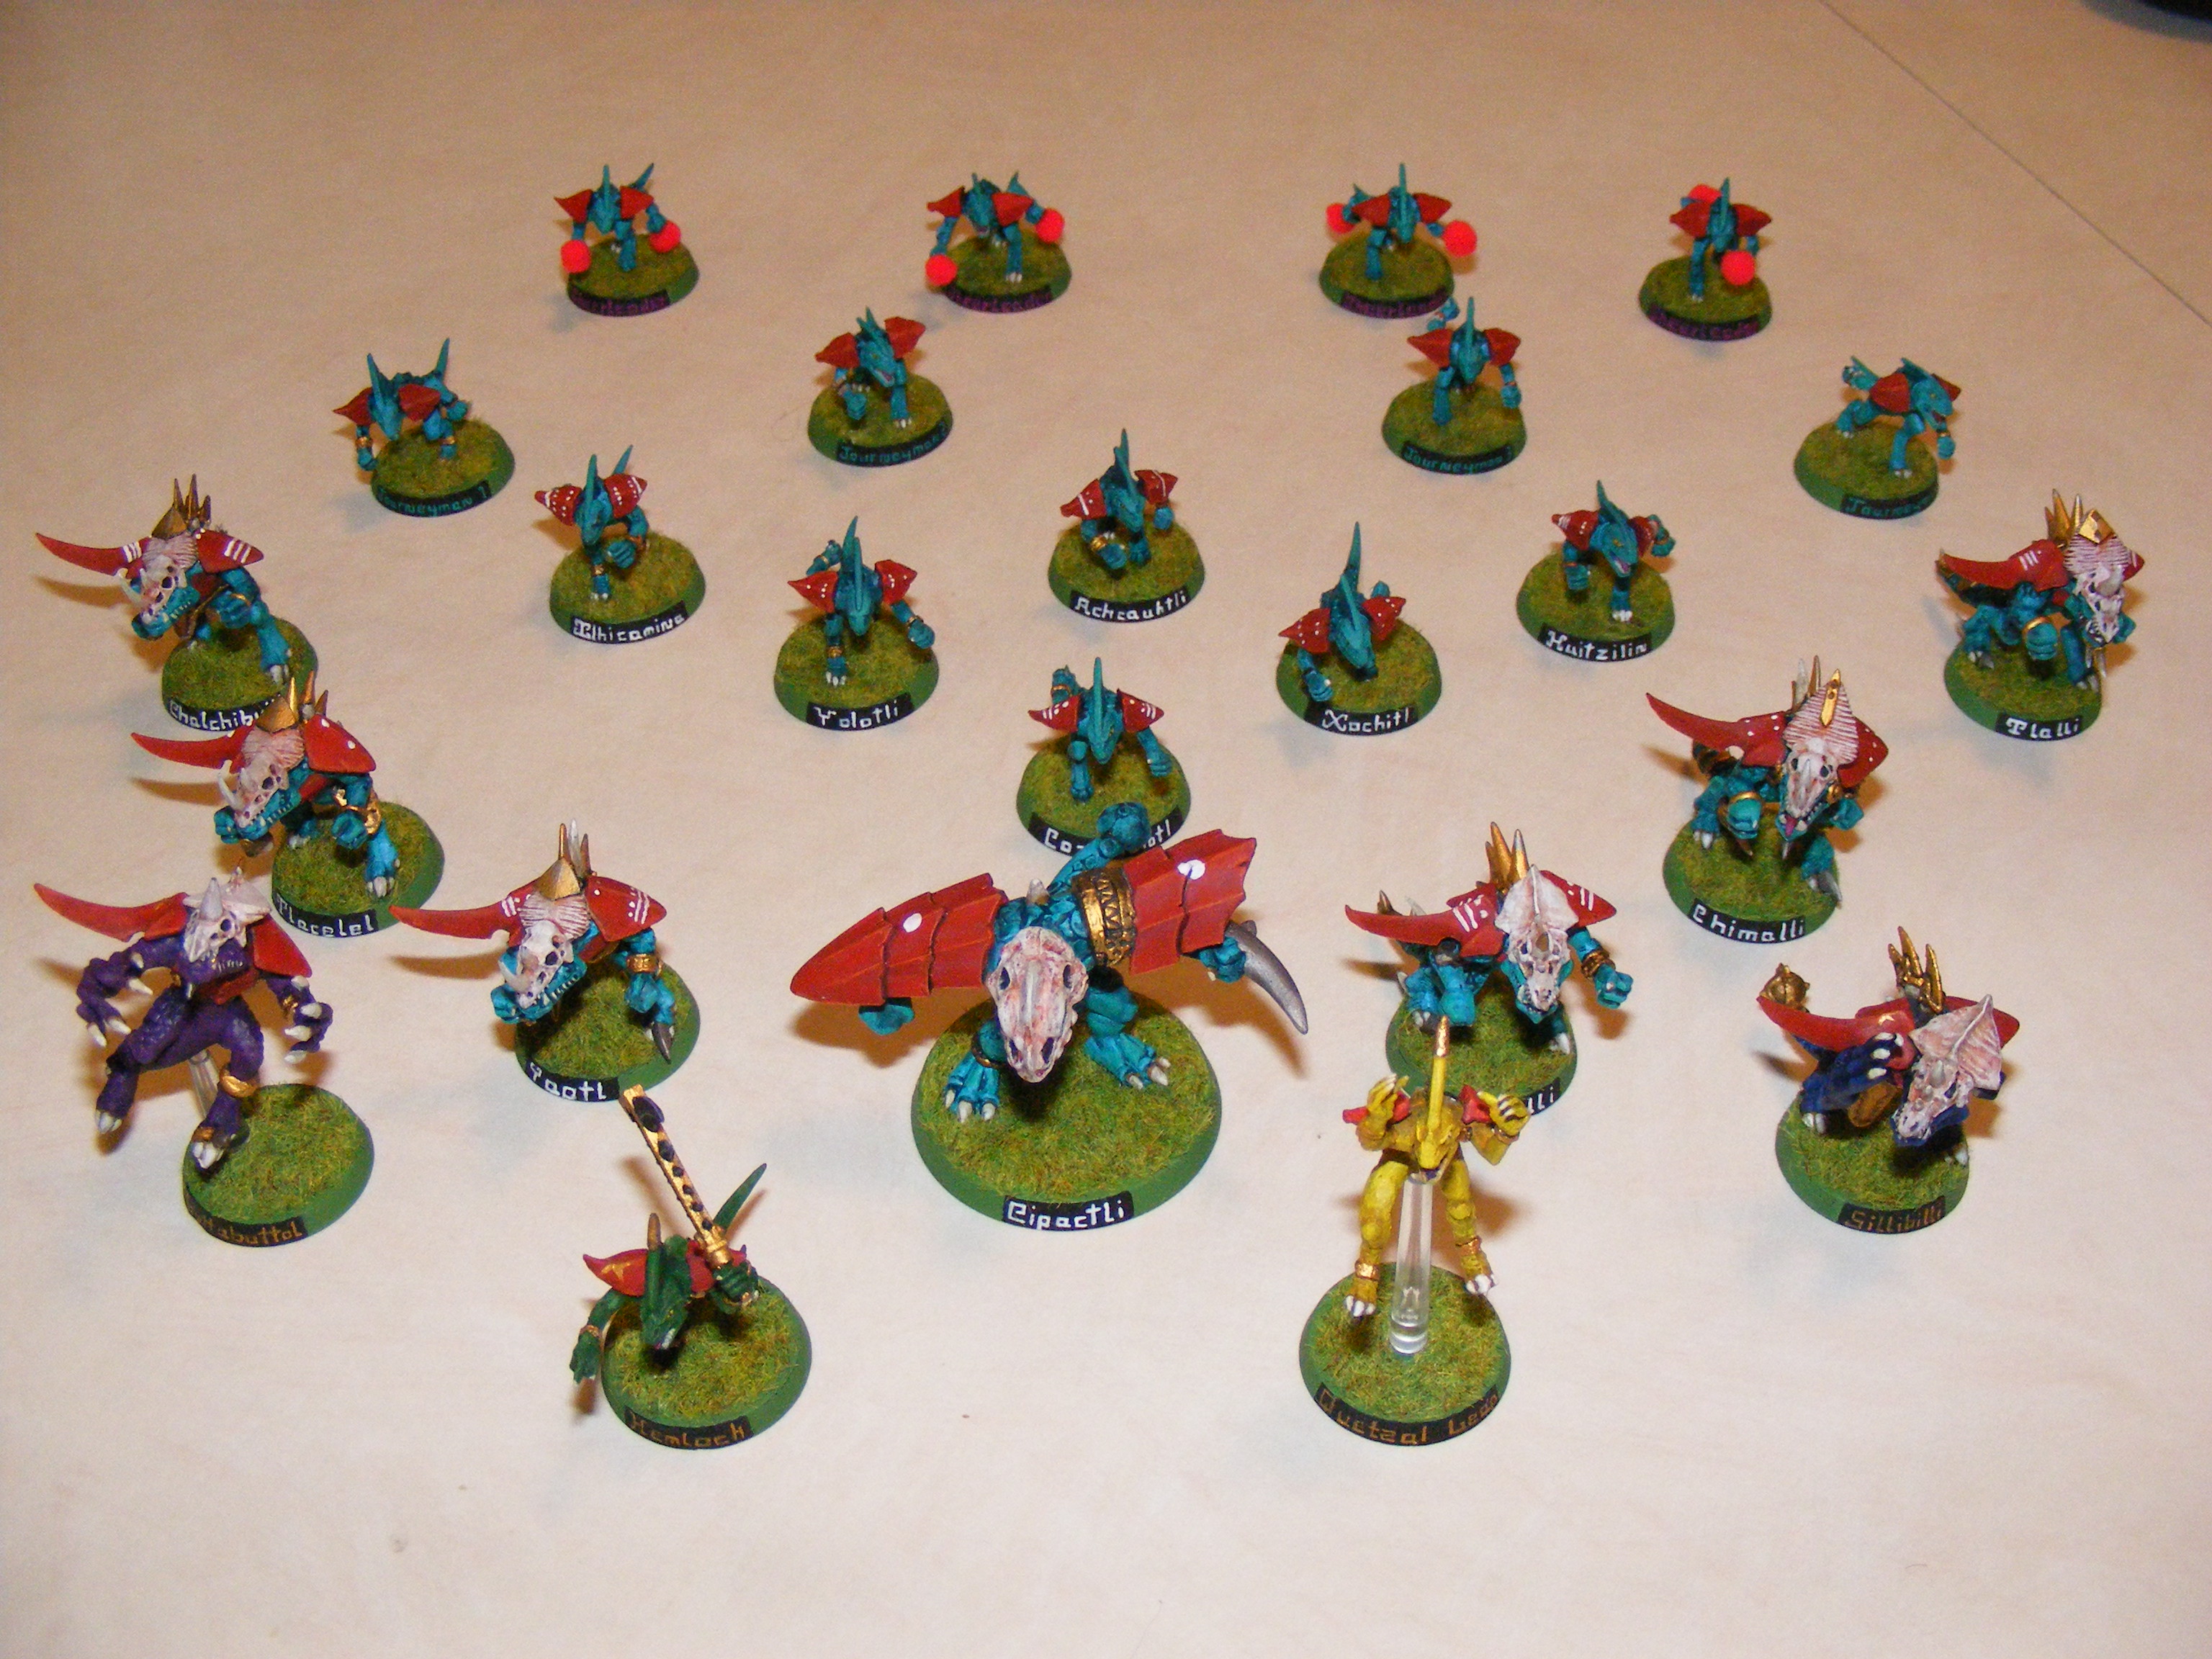

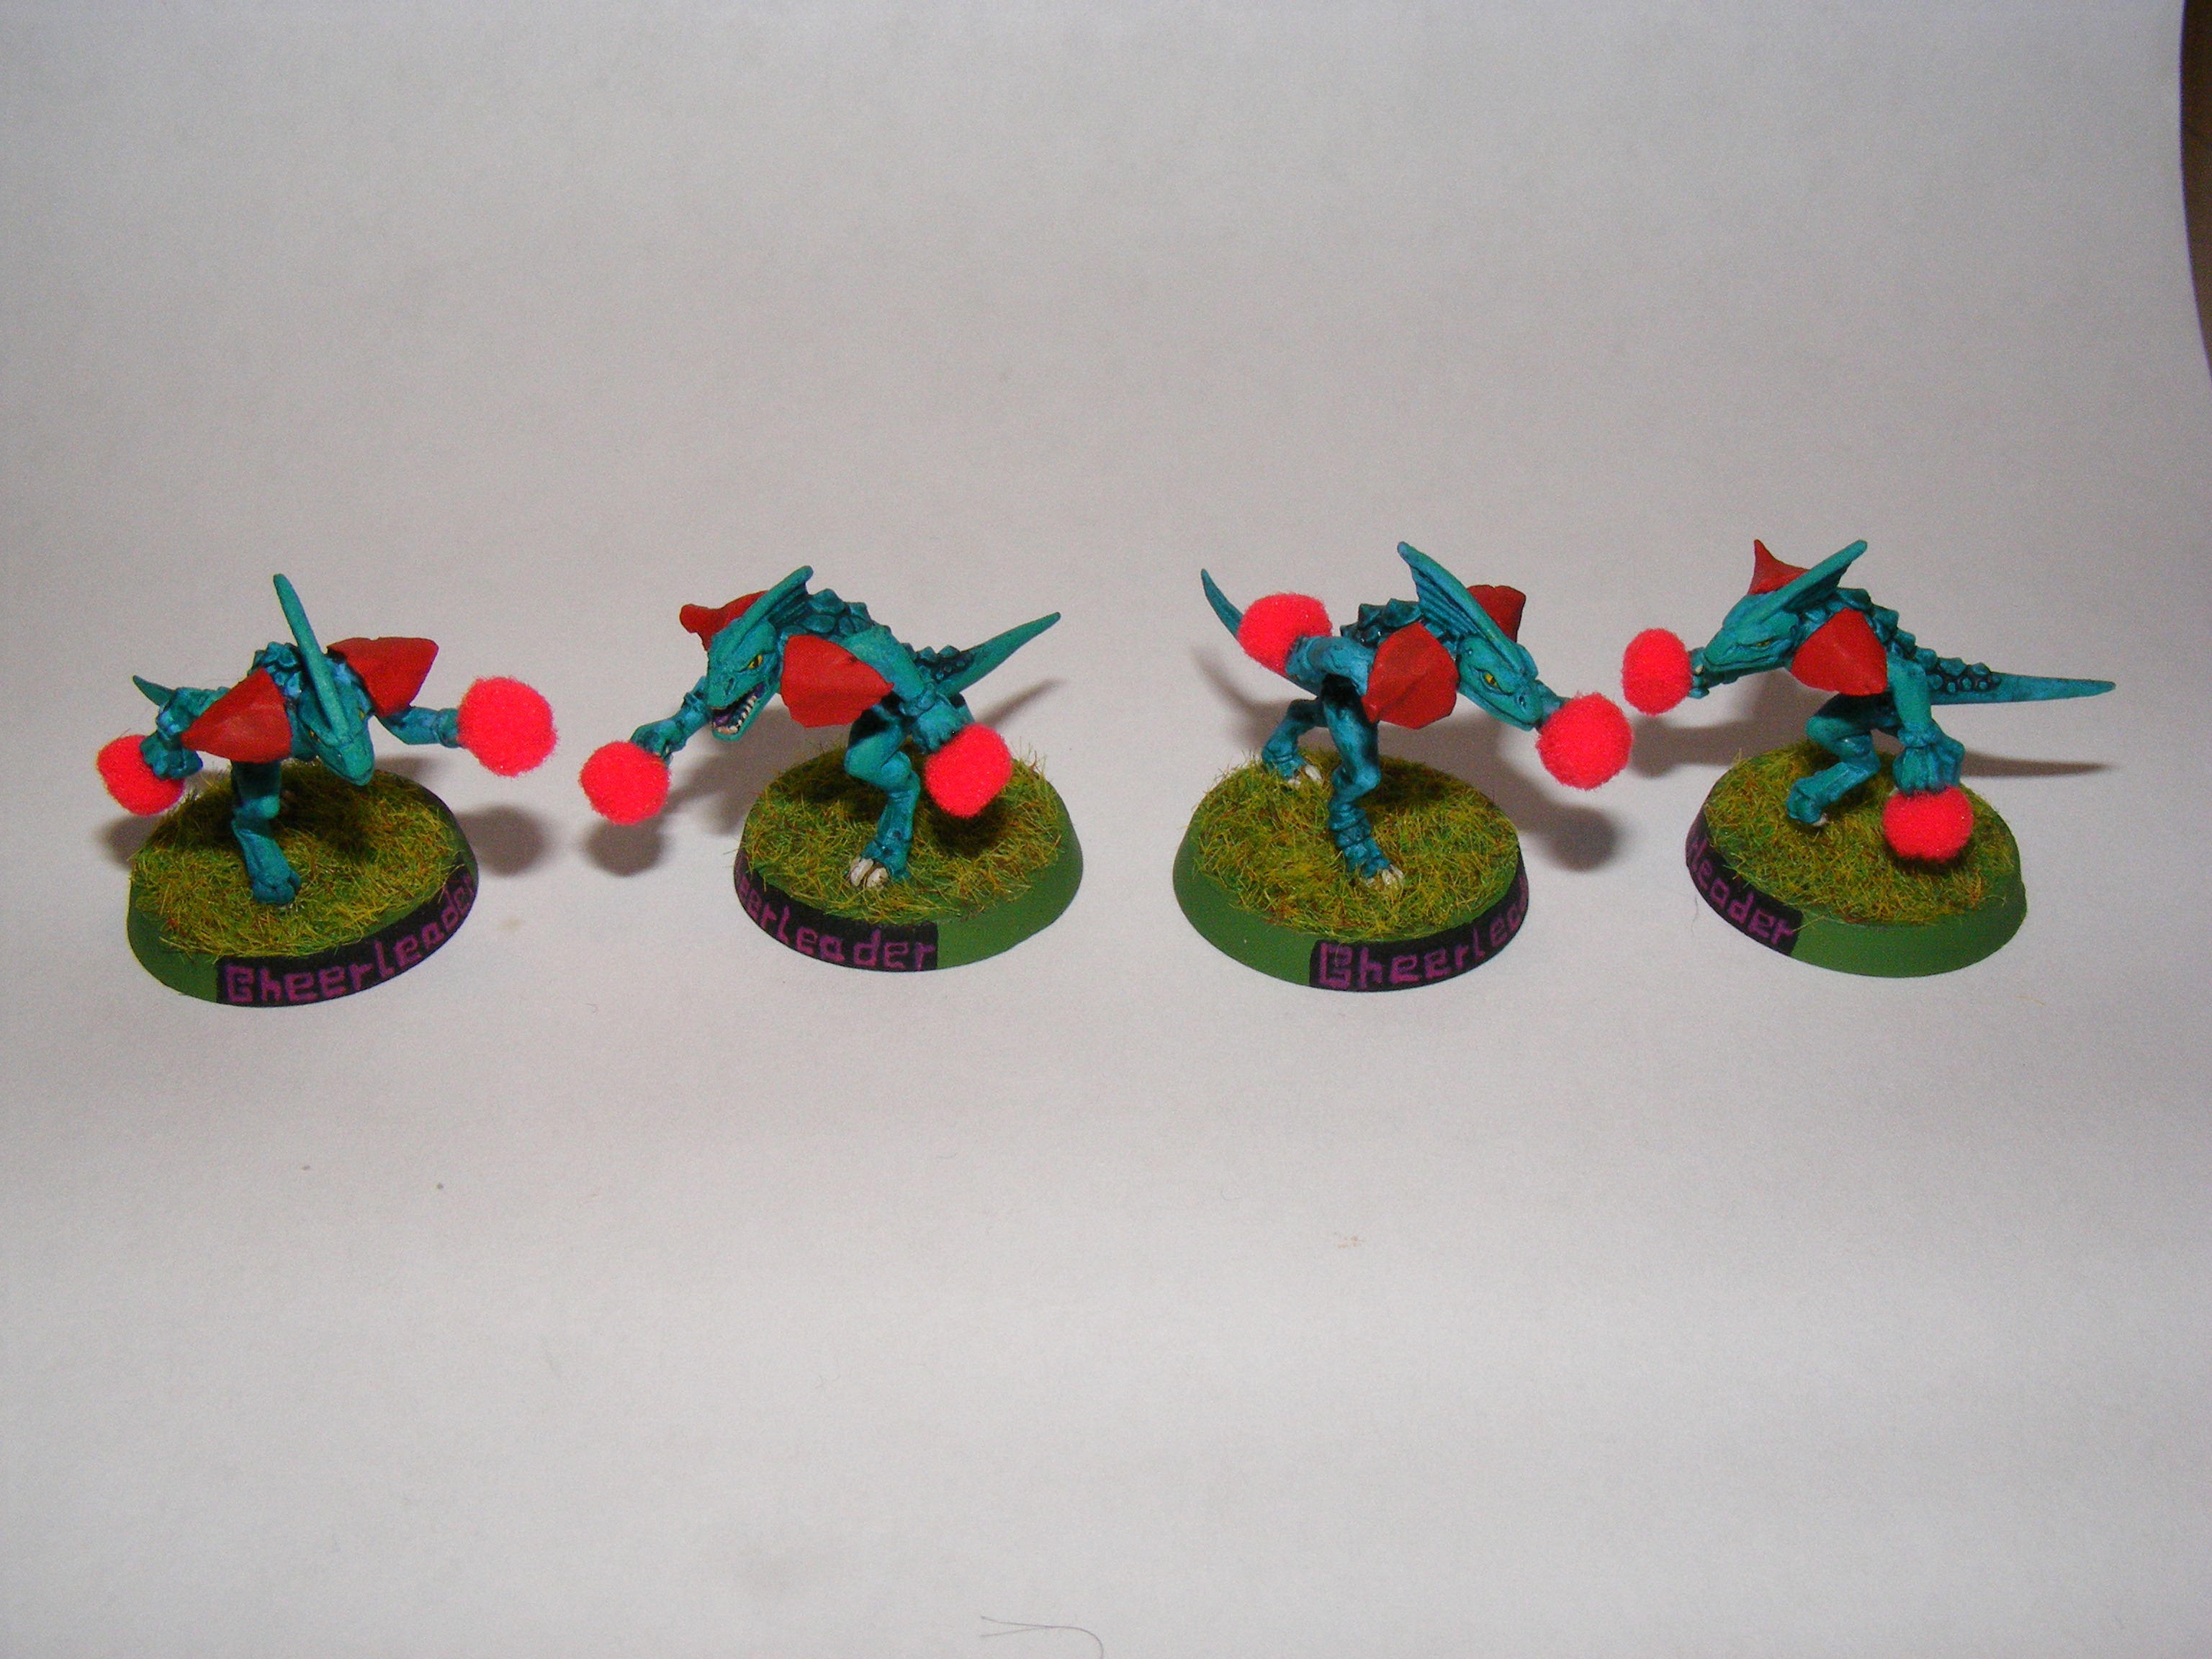
DONE! Perhaps I’ll set up an image gallery in the Features section.
Cheerleader pom poms are from a craft store, superglued on after painting.
Now all I need is a pitch and a second team!
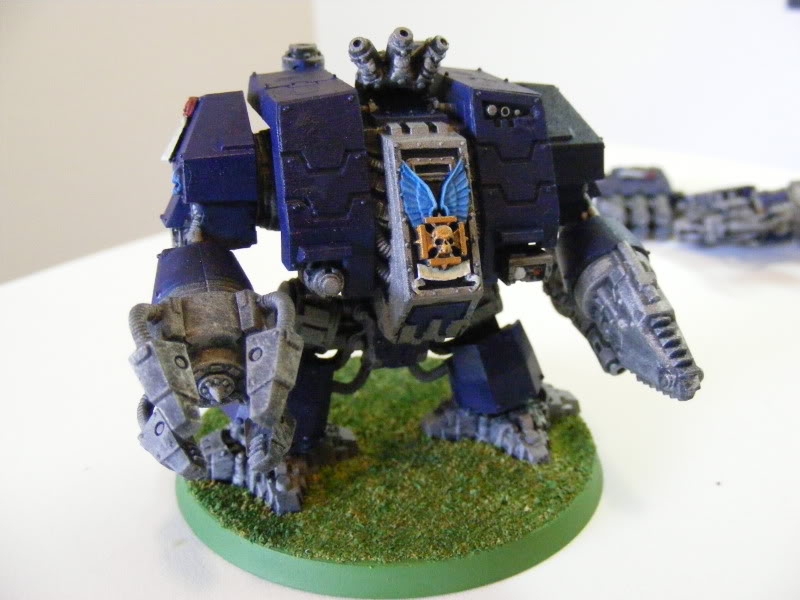
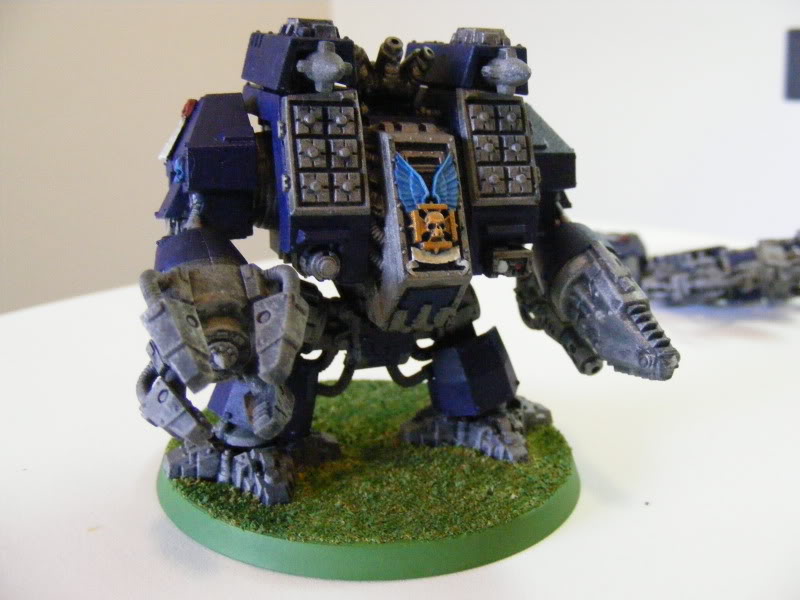
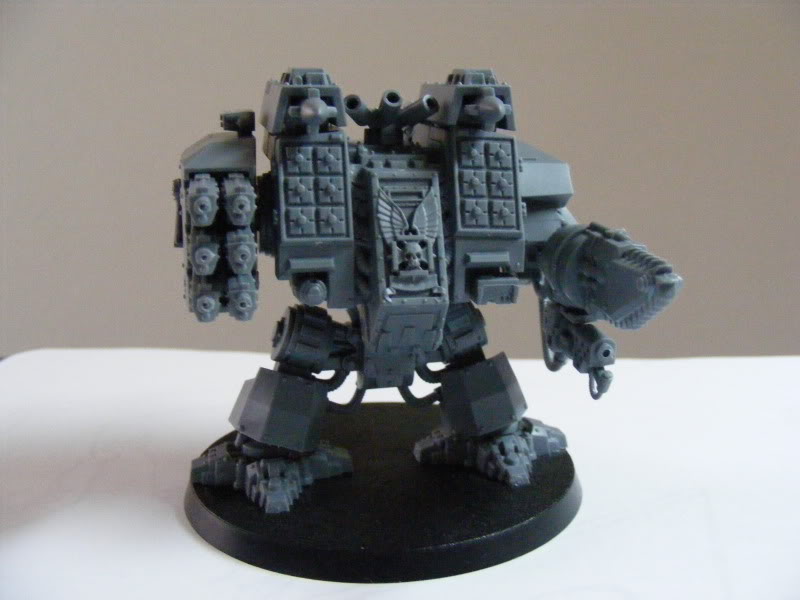
Ironclad Dreadnought

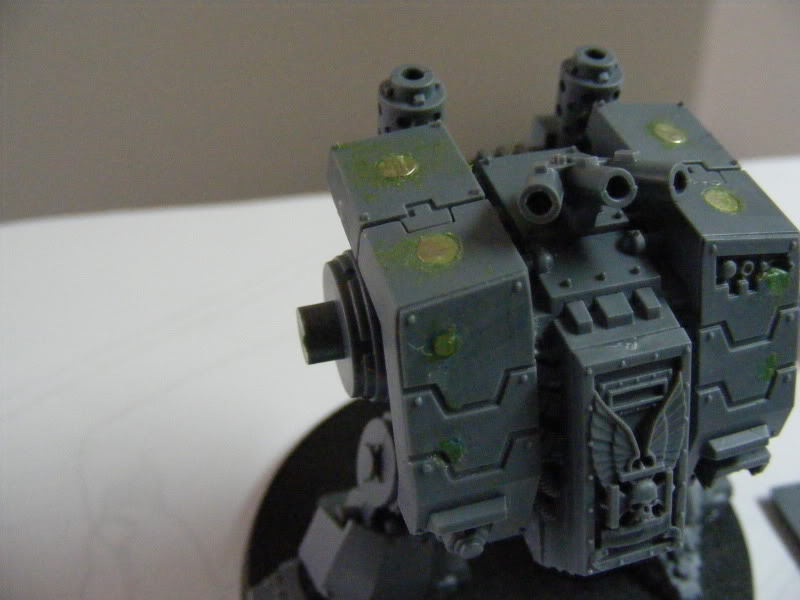
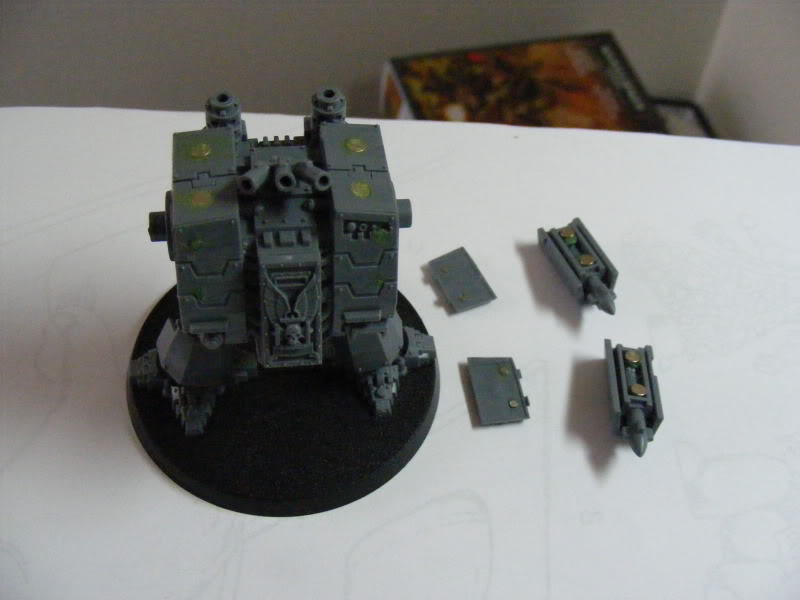

Modeling
I inserted magnets into teh top and front of the body. I then put magnets in the Hunter Killer missiles. To put the magnets in the Frag Assault Launchers, first I placed the magnets that go in the launchers on the body, stuck to the magnets they will be next to when the launchers are on. Next, I dabbed a small amount of paint on each magnet, and placed the launcher on them while the paint was wet. I then used my pin vise to drill into the painted spots. Slowly. I did it one turn at a time, and kept going until the magnet JUST fit.
For the arms, you can see I have not magnetized the arm guns. I chose an appropriate kit-out for situations. Chainfist Hammer Meltagun and Storm Bolter for MEQs and Fist, Hurricane Bolter, and Heavy Flamer for light armor enemies.
Painting was done in the Azure Flames style.
Lottabottol, Star Player for the Konquata Monitors
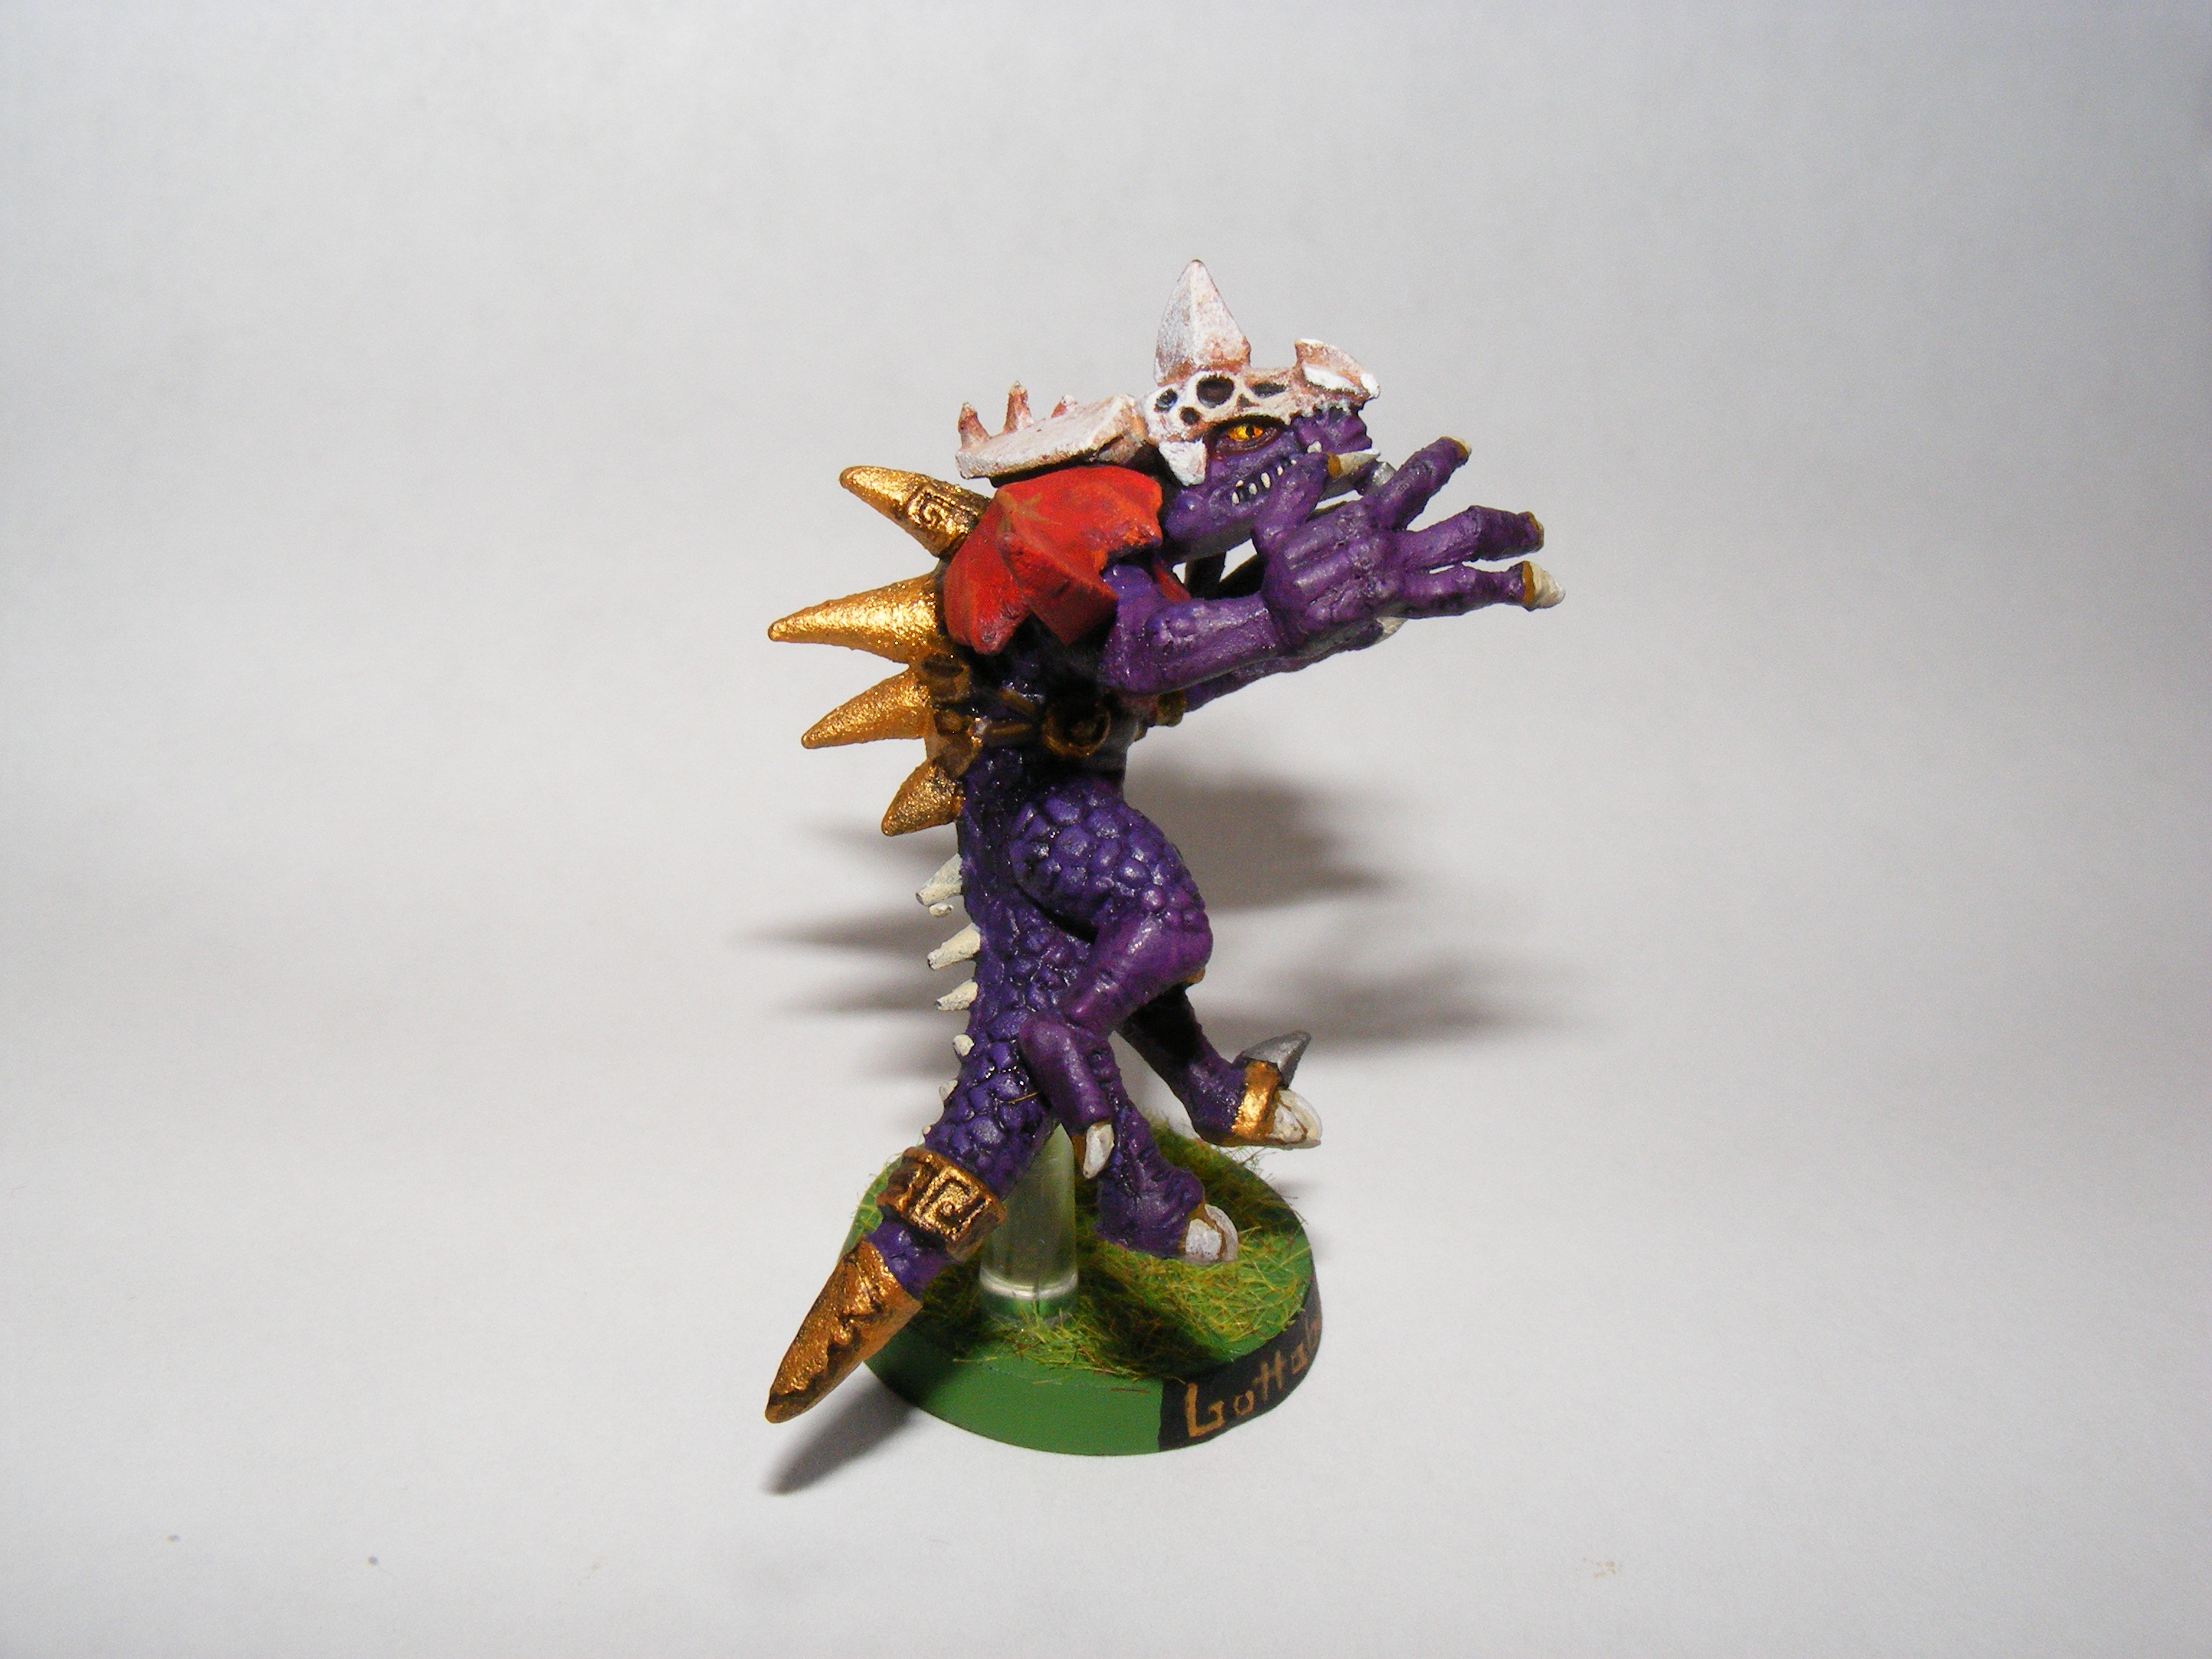
Lottabottol, like Quetzal Leap, was glued to his stand after varnishing.
Next: four more Skinks! I don’t actually NEED more. Perhaps I’ll buy some pom-pons at the hobby store and make them Cheerleaders.
Quetzal Leap and Sillibilli, Star Players for the Konquata Monitors
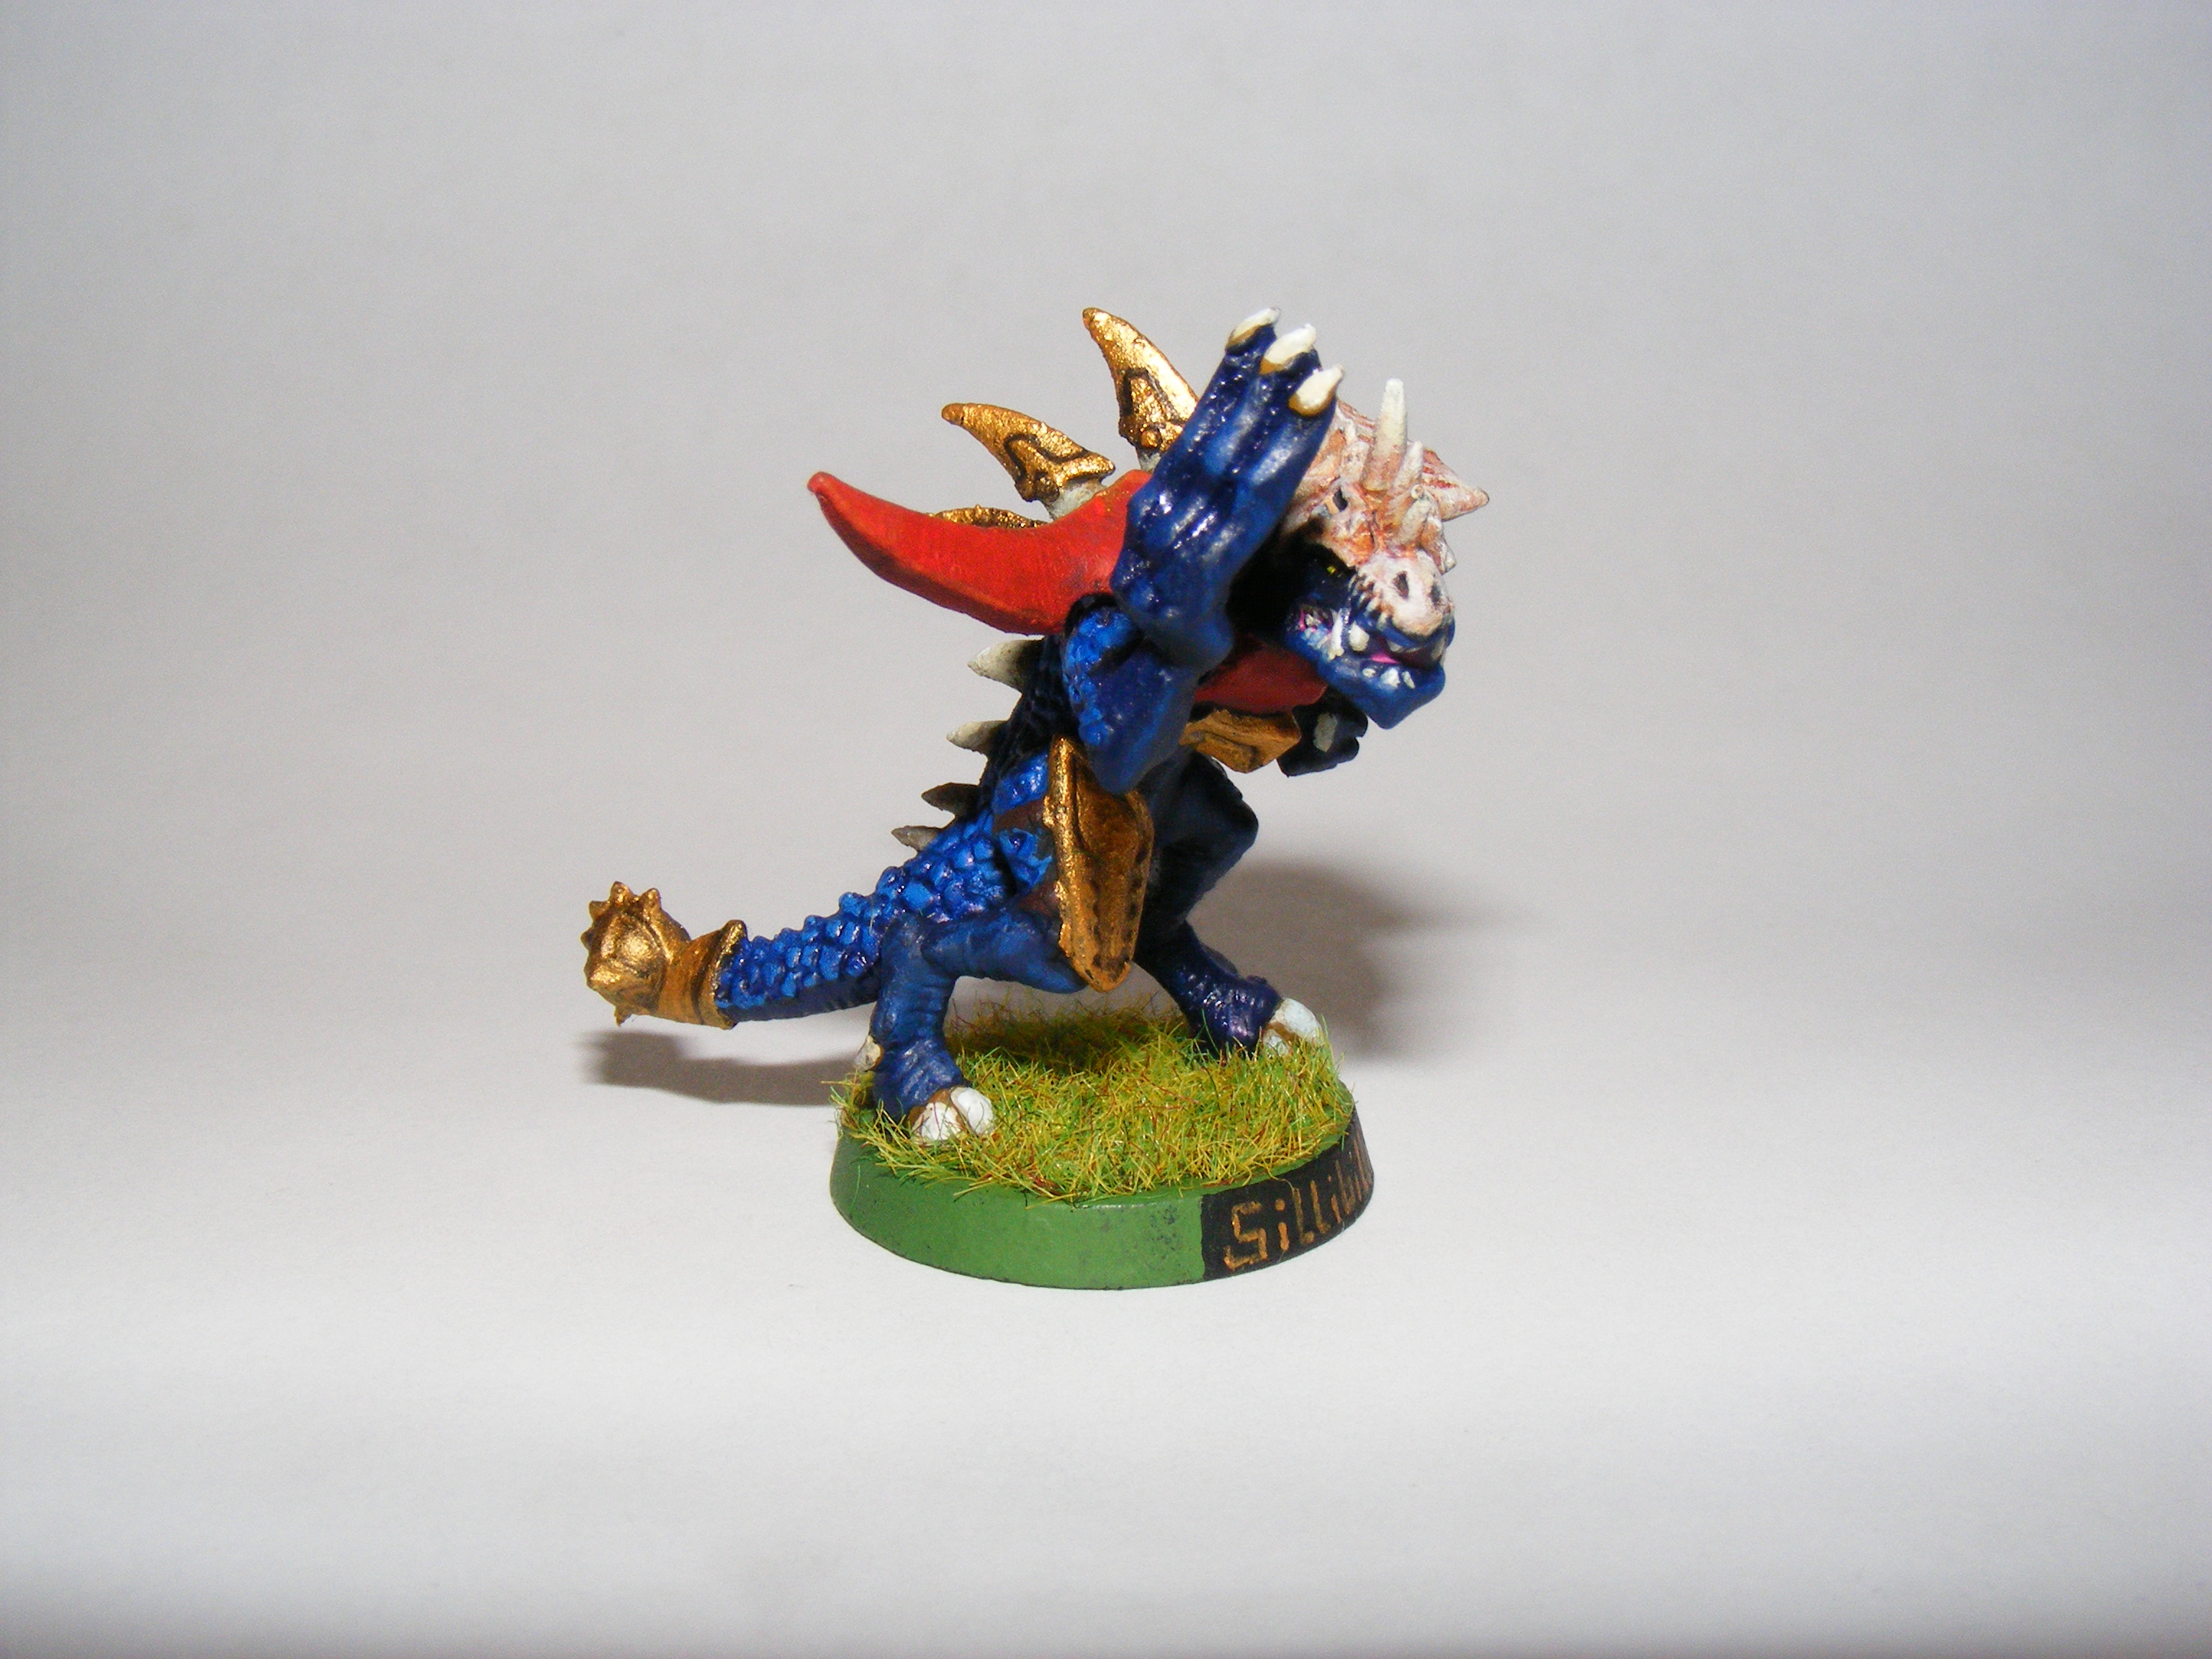
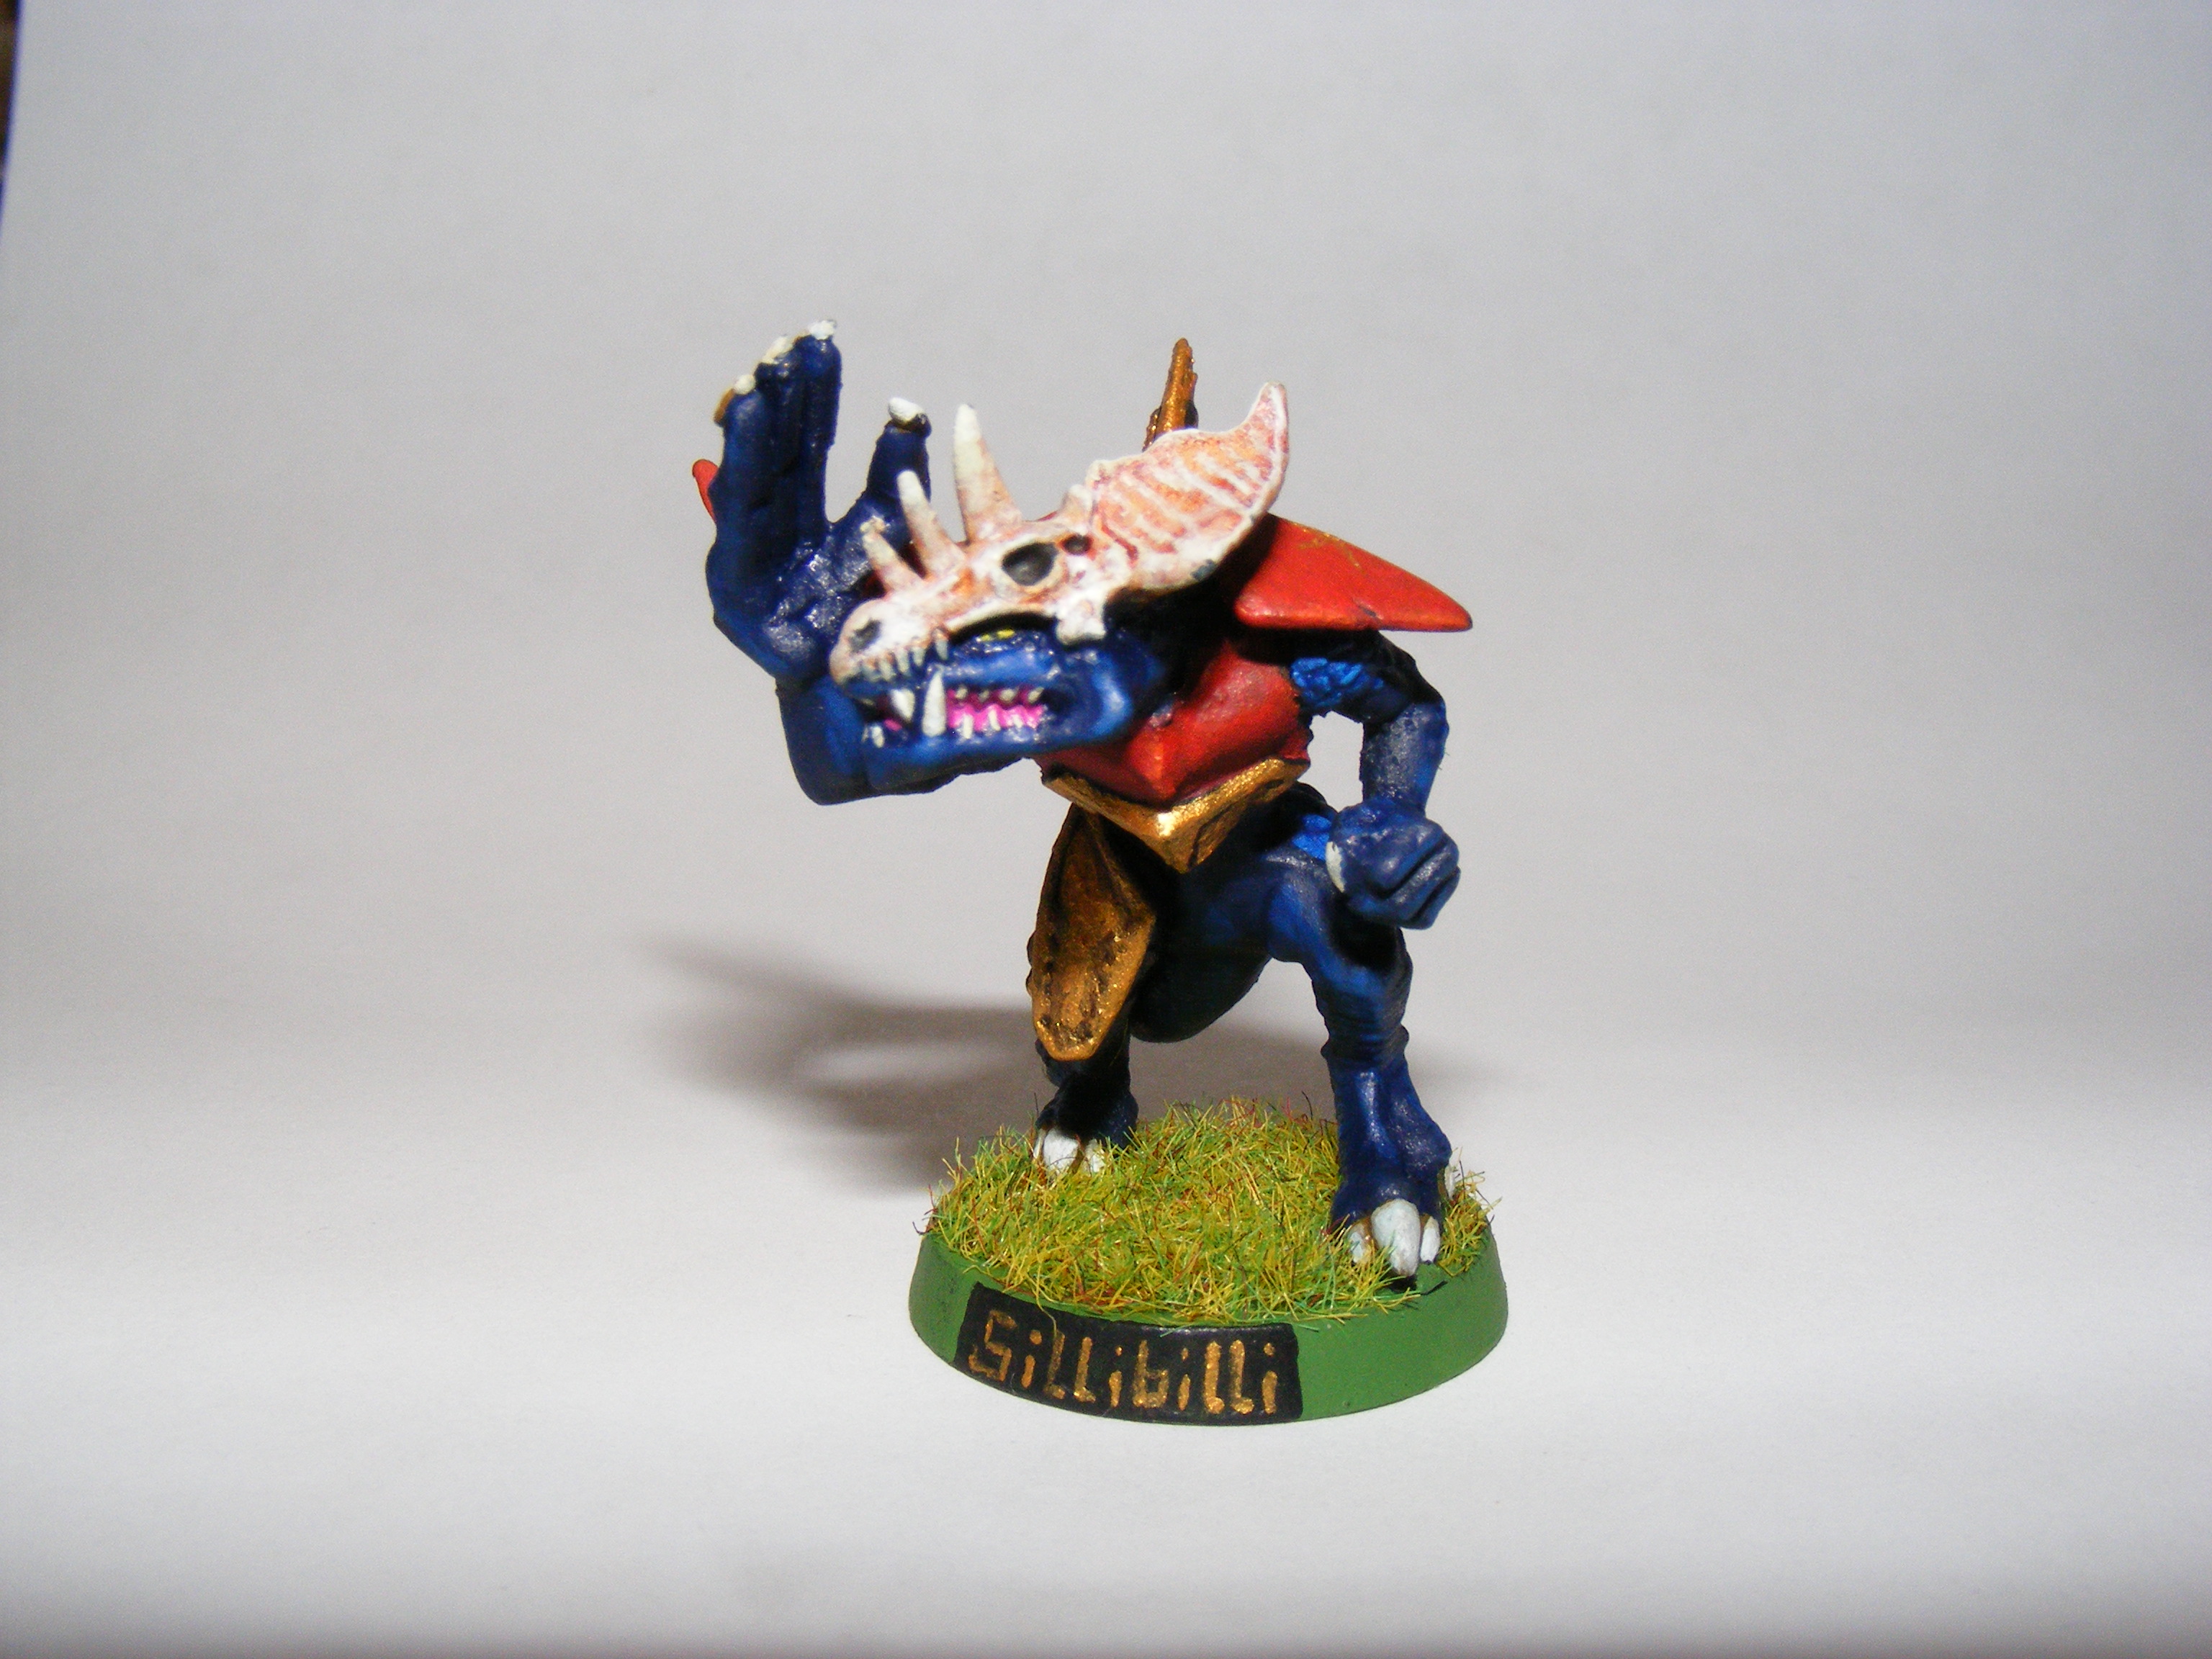
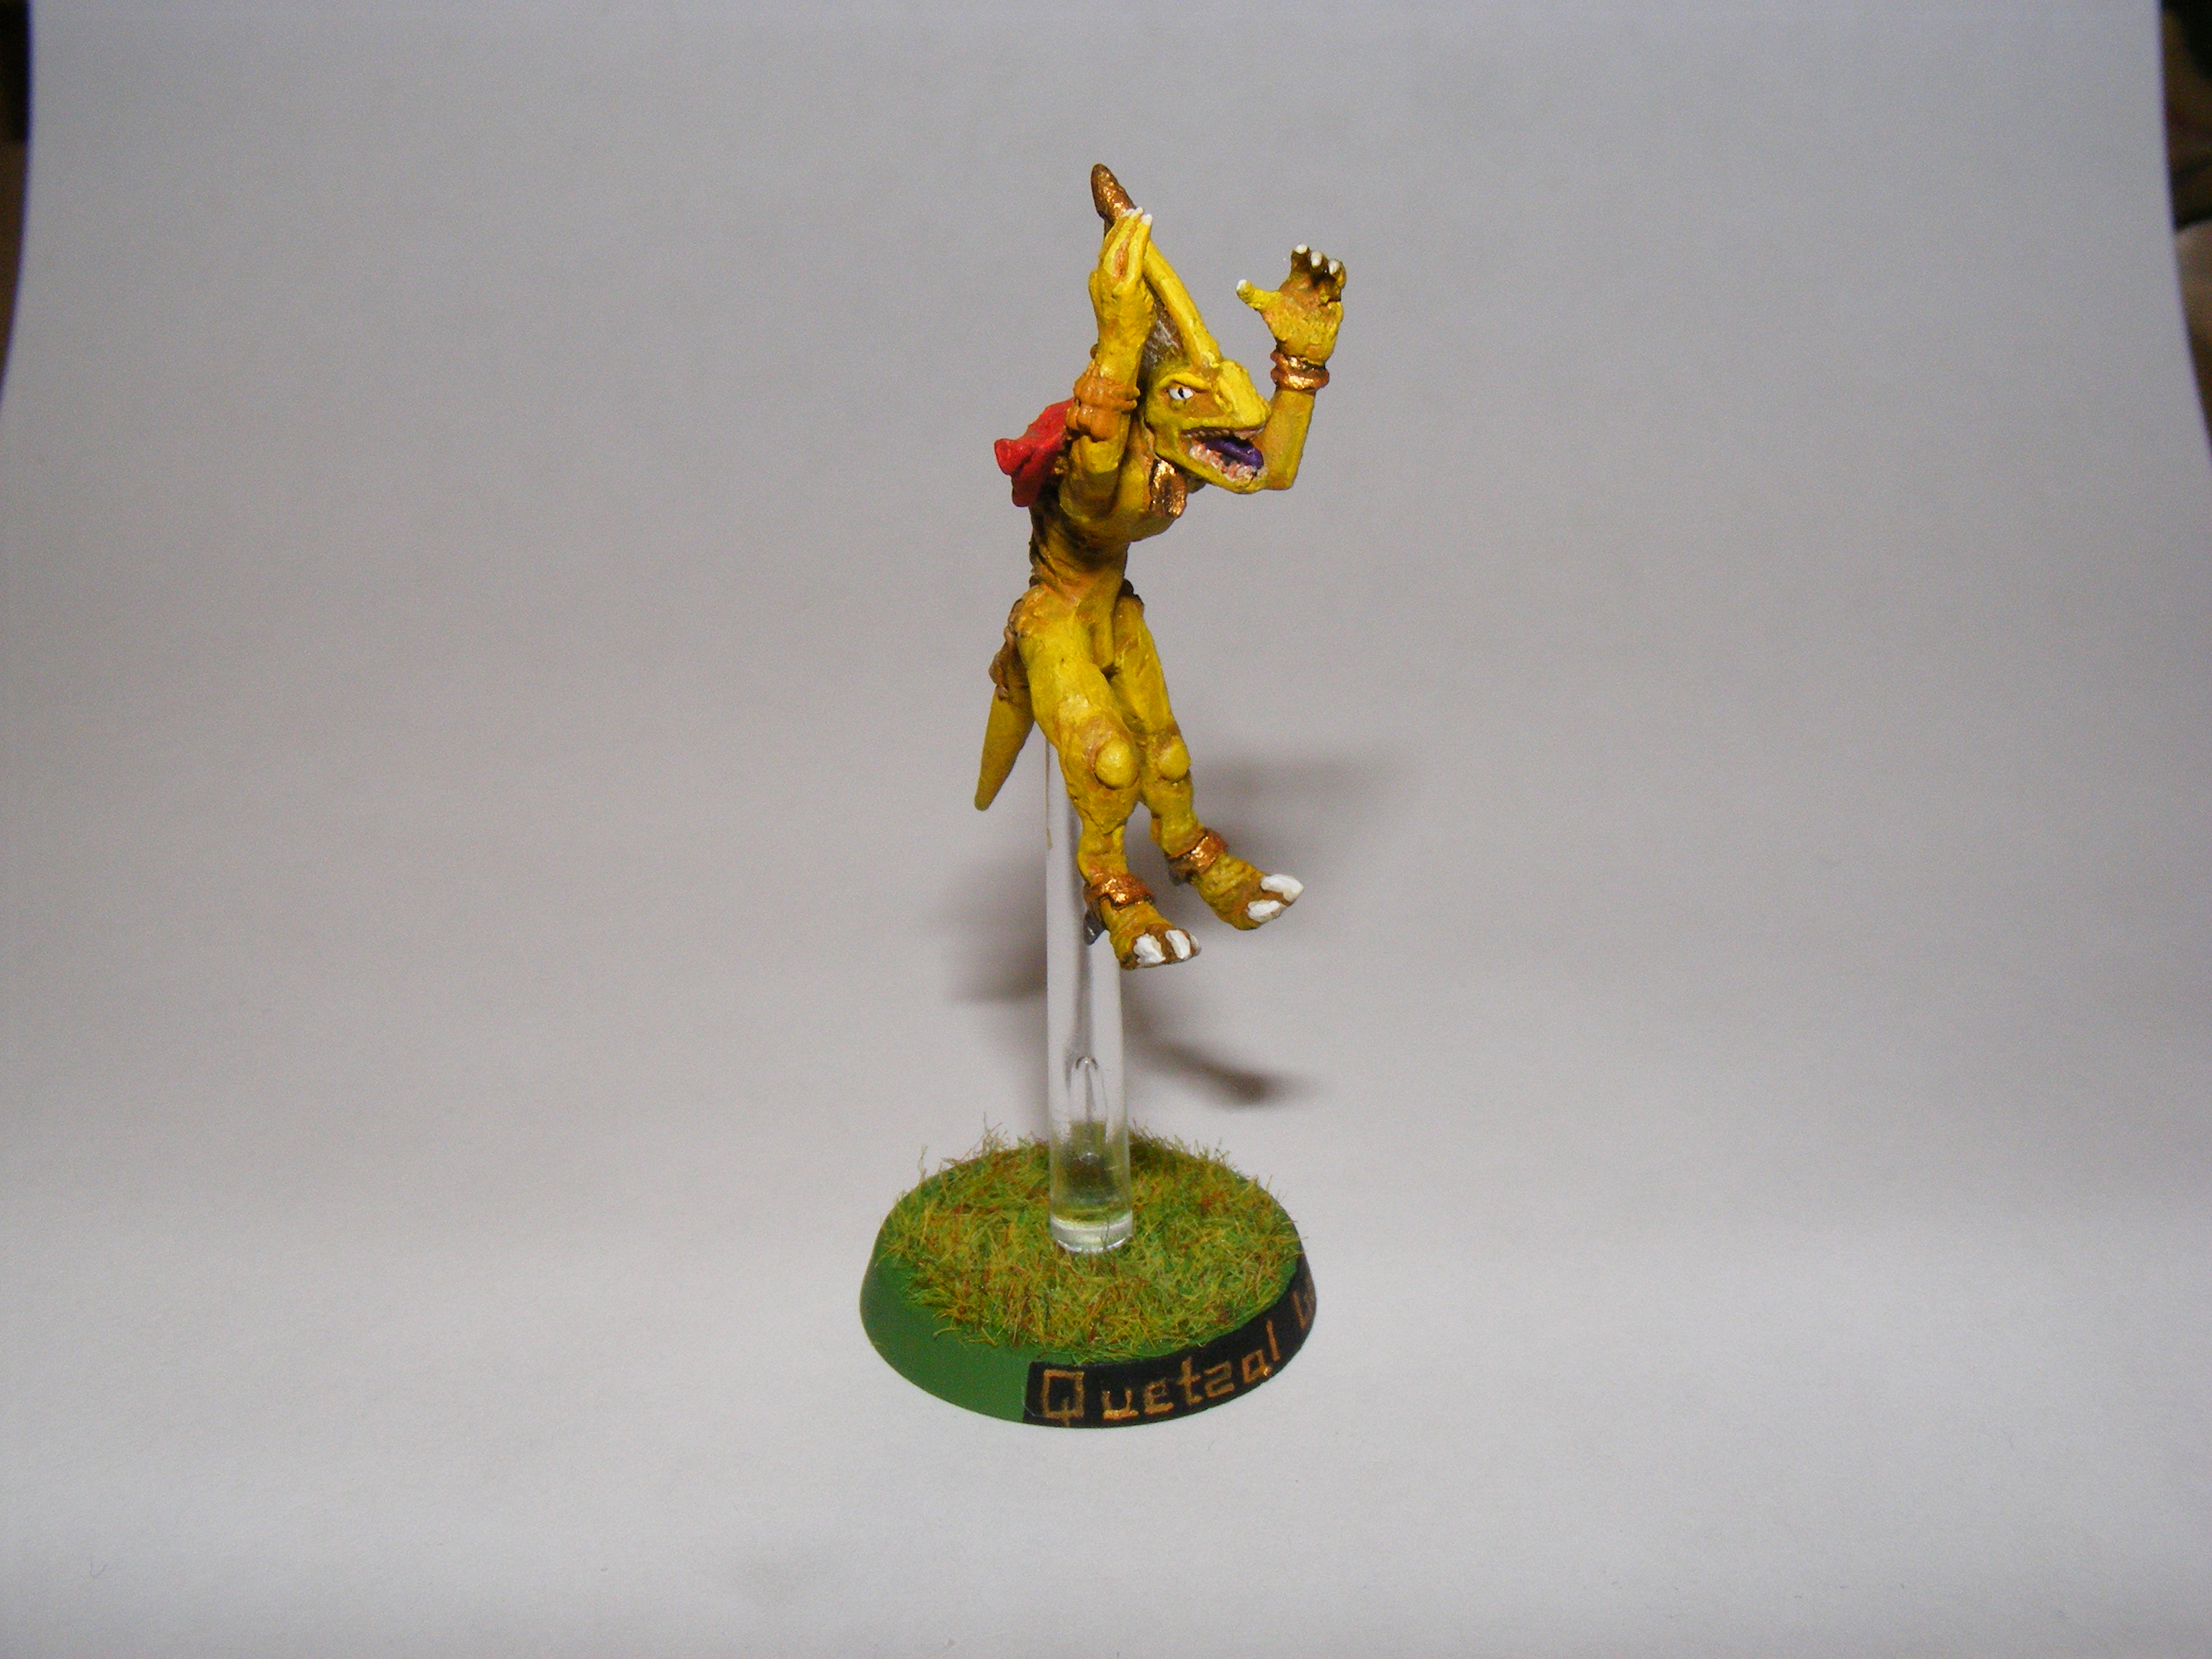

…and here they are! Quetzal Leap’s flying stand was glued after he and his base were painted and varnished. One to go, then four more skinks, then BLOOD BOWL IS DONE!
When things go Wrong
Recently I had to strip 3/4 of my Blood Bowl Star Players. I tried a new painting technique and it didn’t look good.
I’m painting Quetzal Leap right now, but on his left hand the Pine Sol damaged the integrity of the putty. Two fingers broke and I lost the tips. So I had to re-sculpt them. Currently allowing them to cure.
It seems that Pine Sol can make putty more brittle.
This isn’t the first screw up, but that’s the best part of this hobby. When you screw up you can easily fix it or start over.
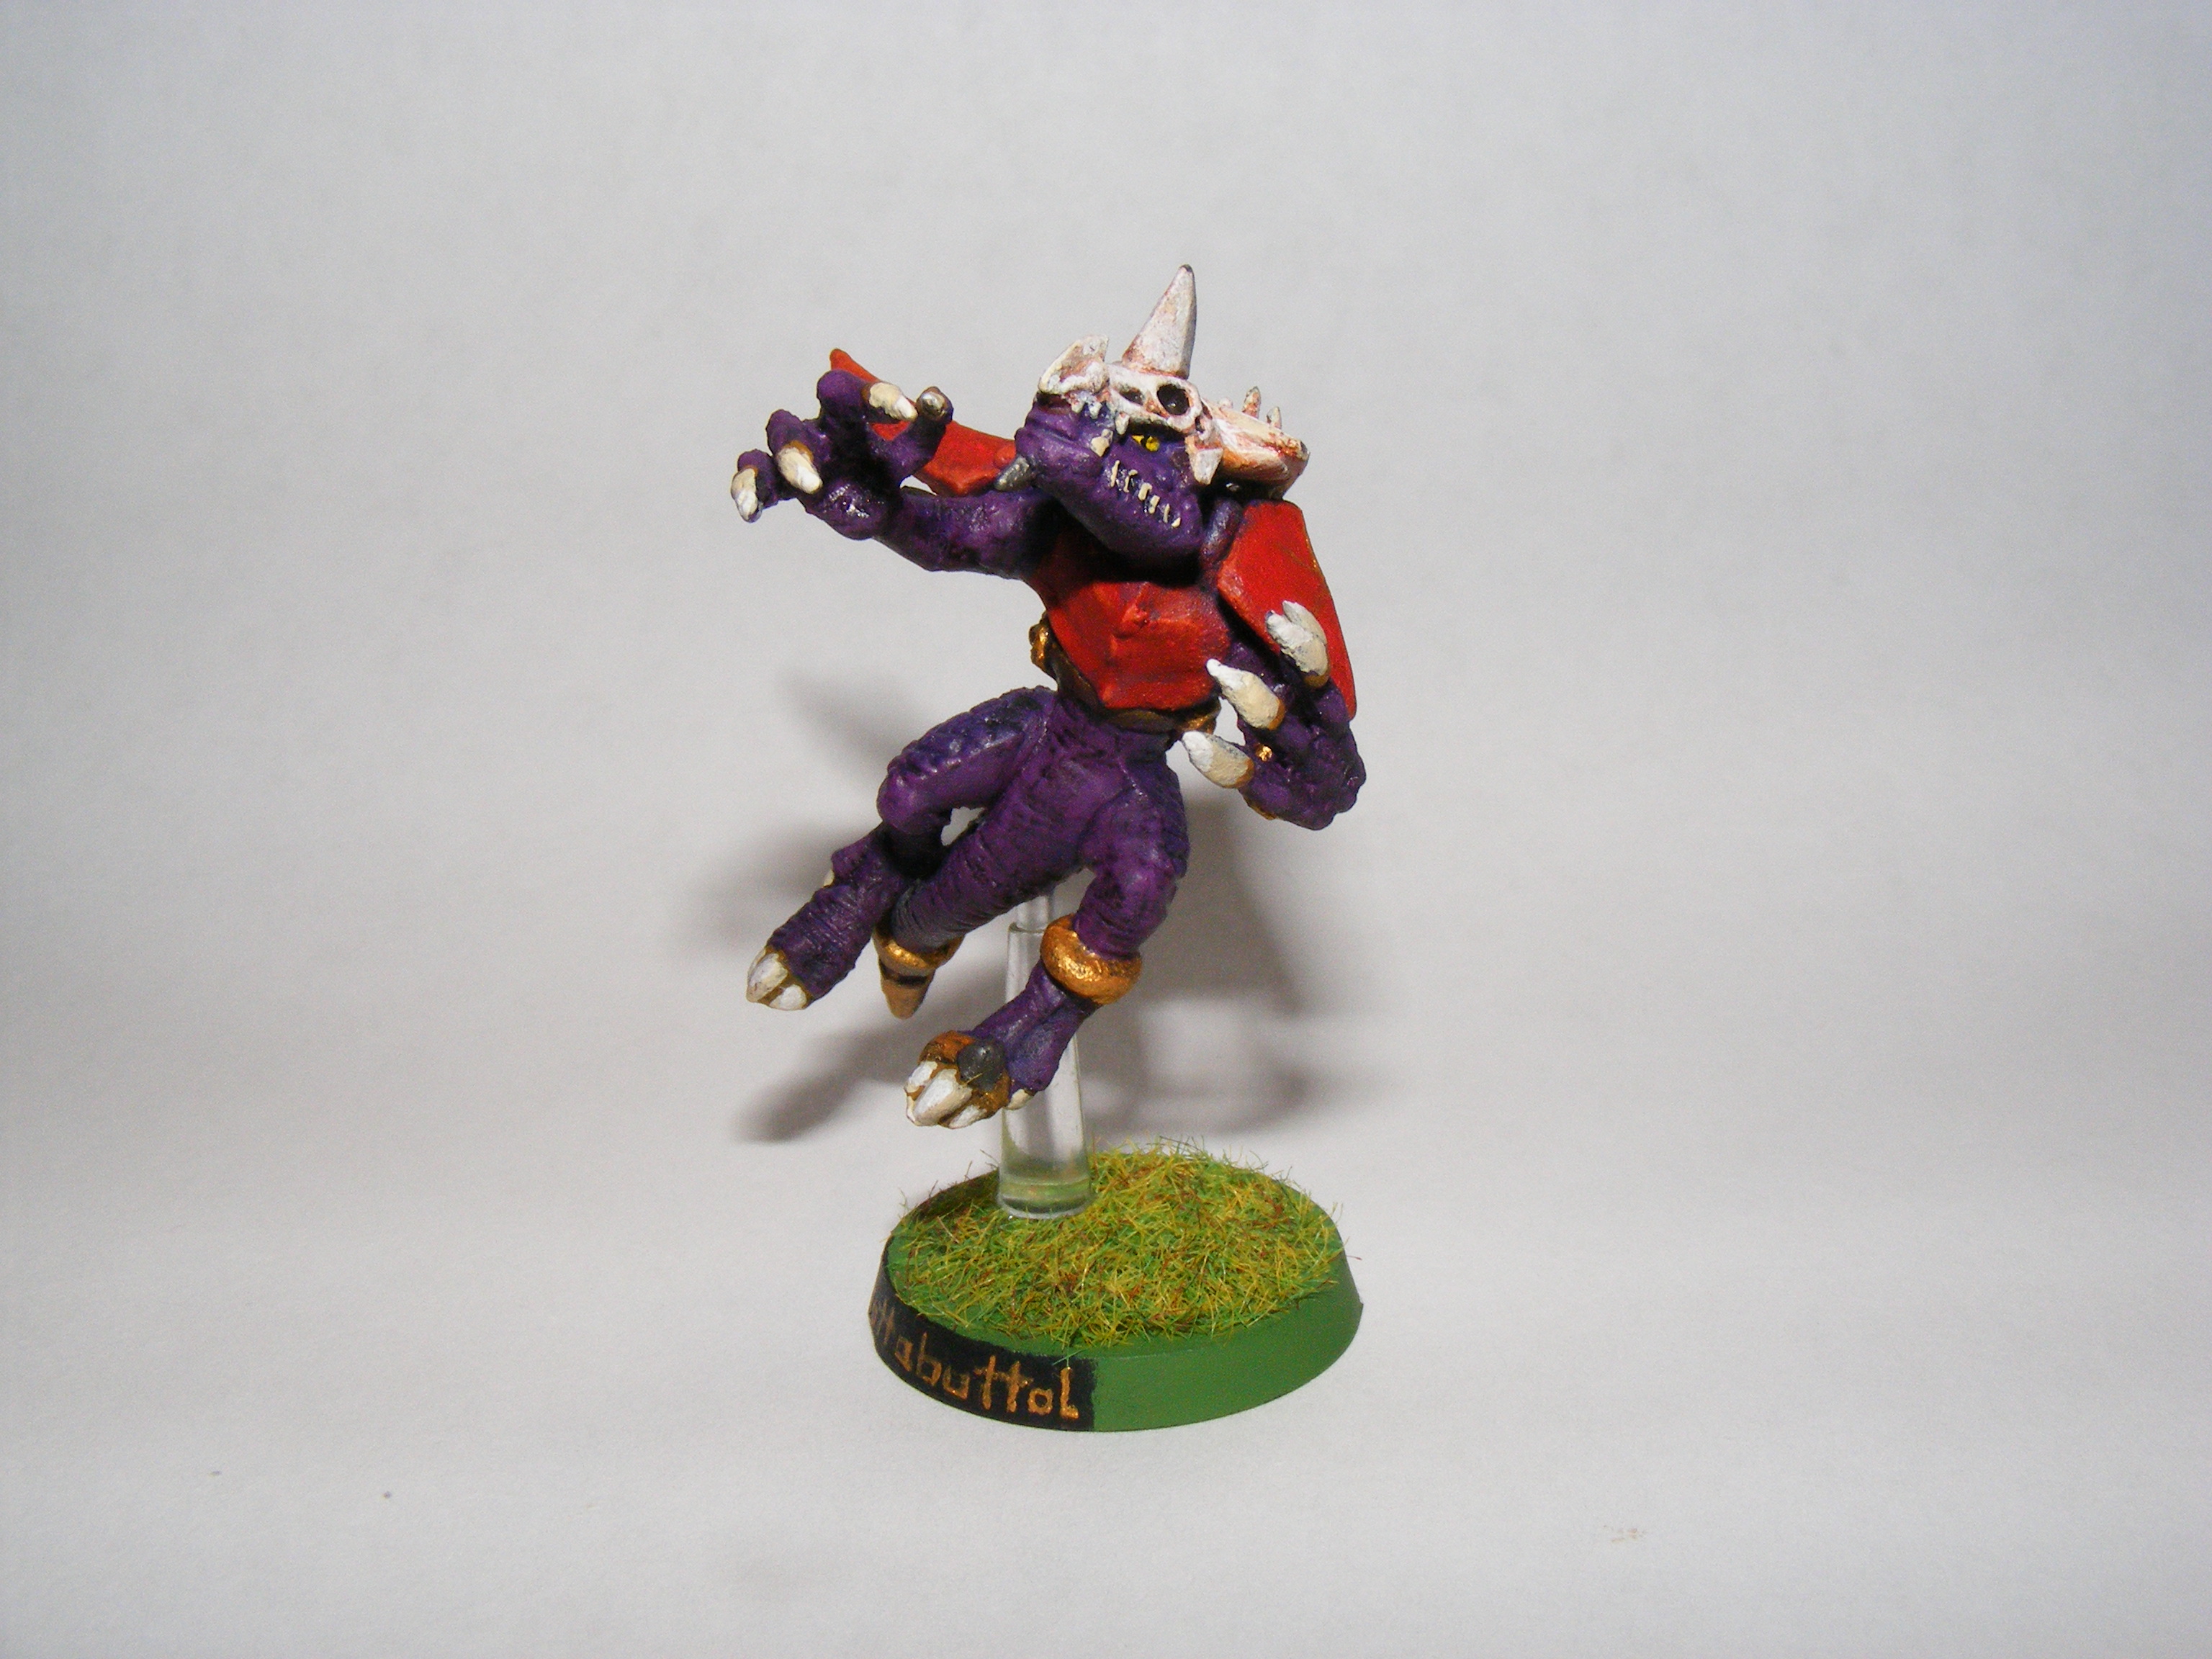
Hemlock, Lizardmen Star Player for the Konquata Monitors
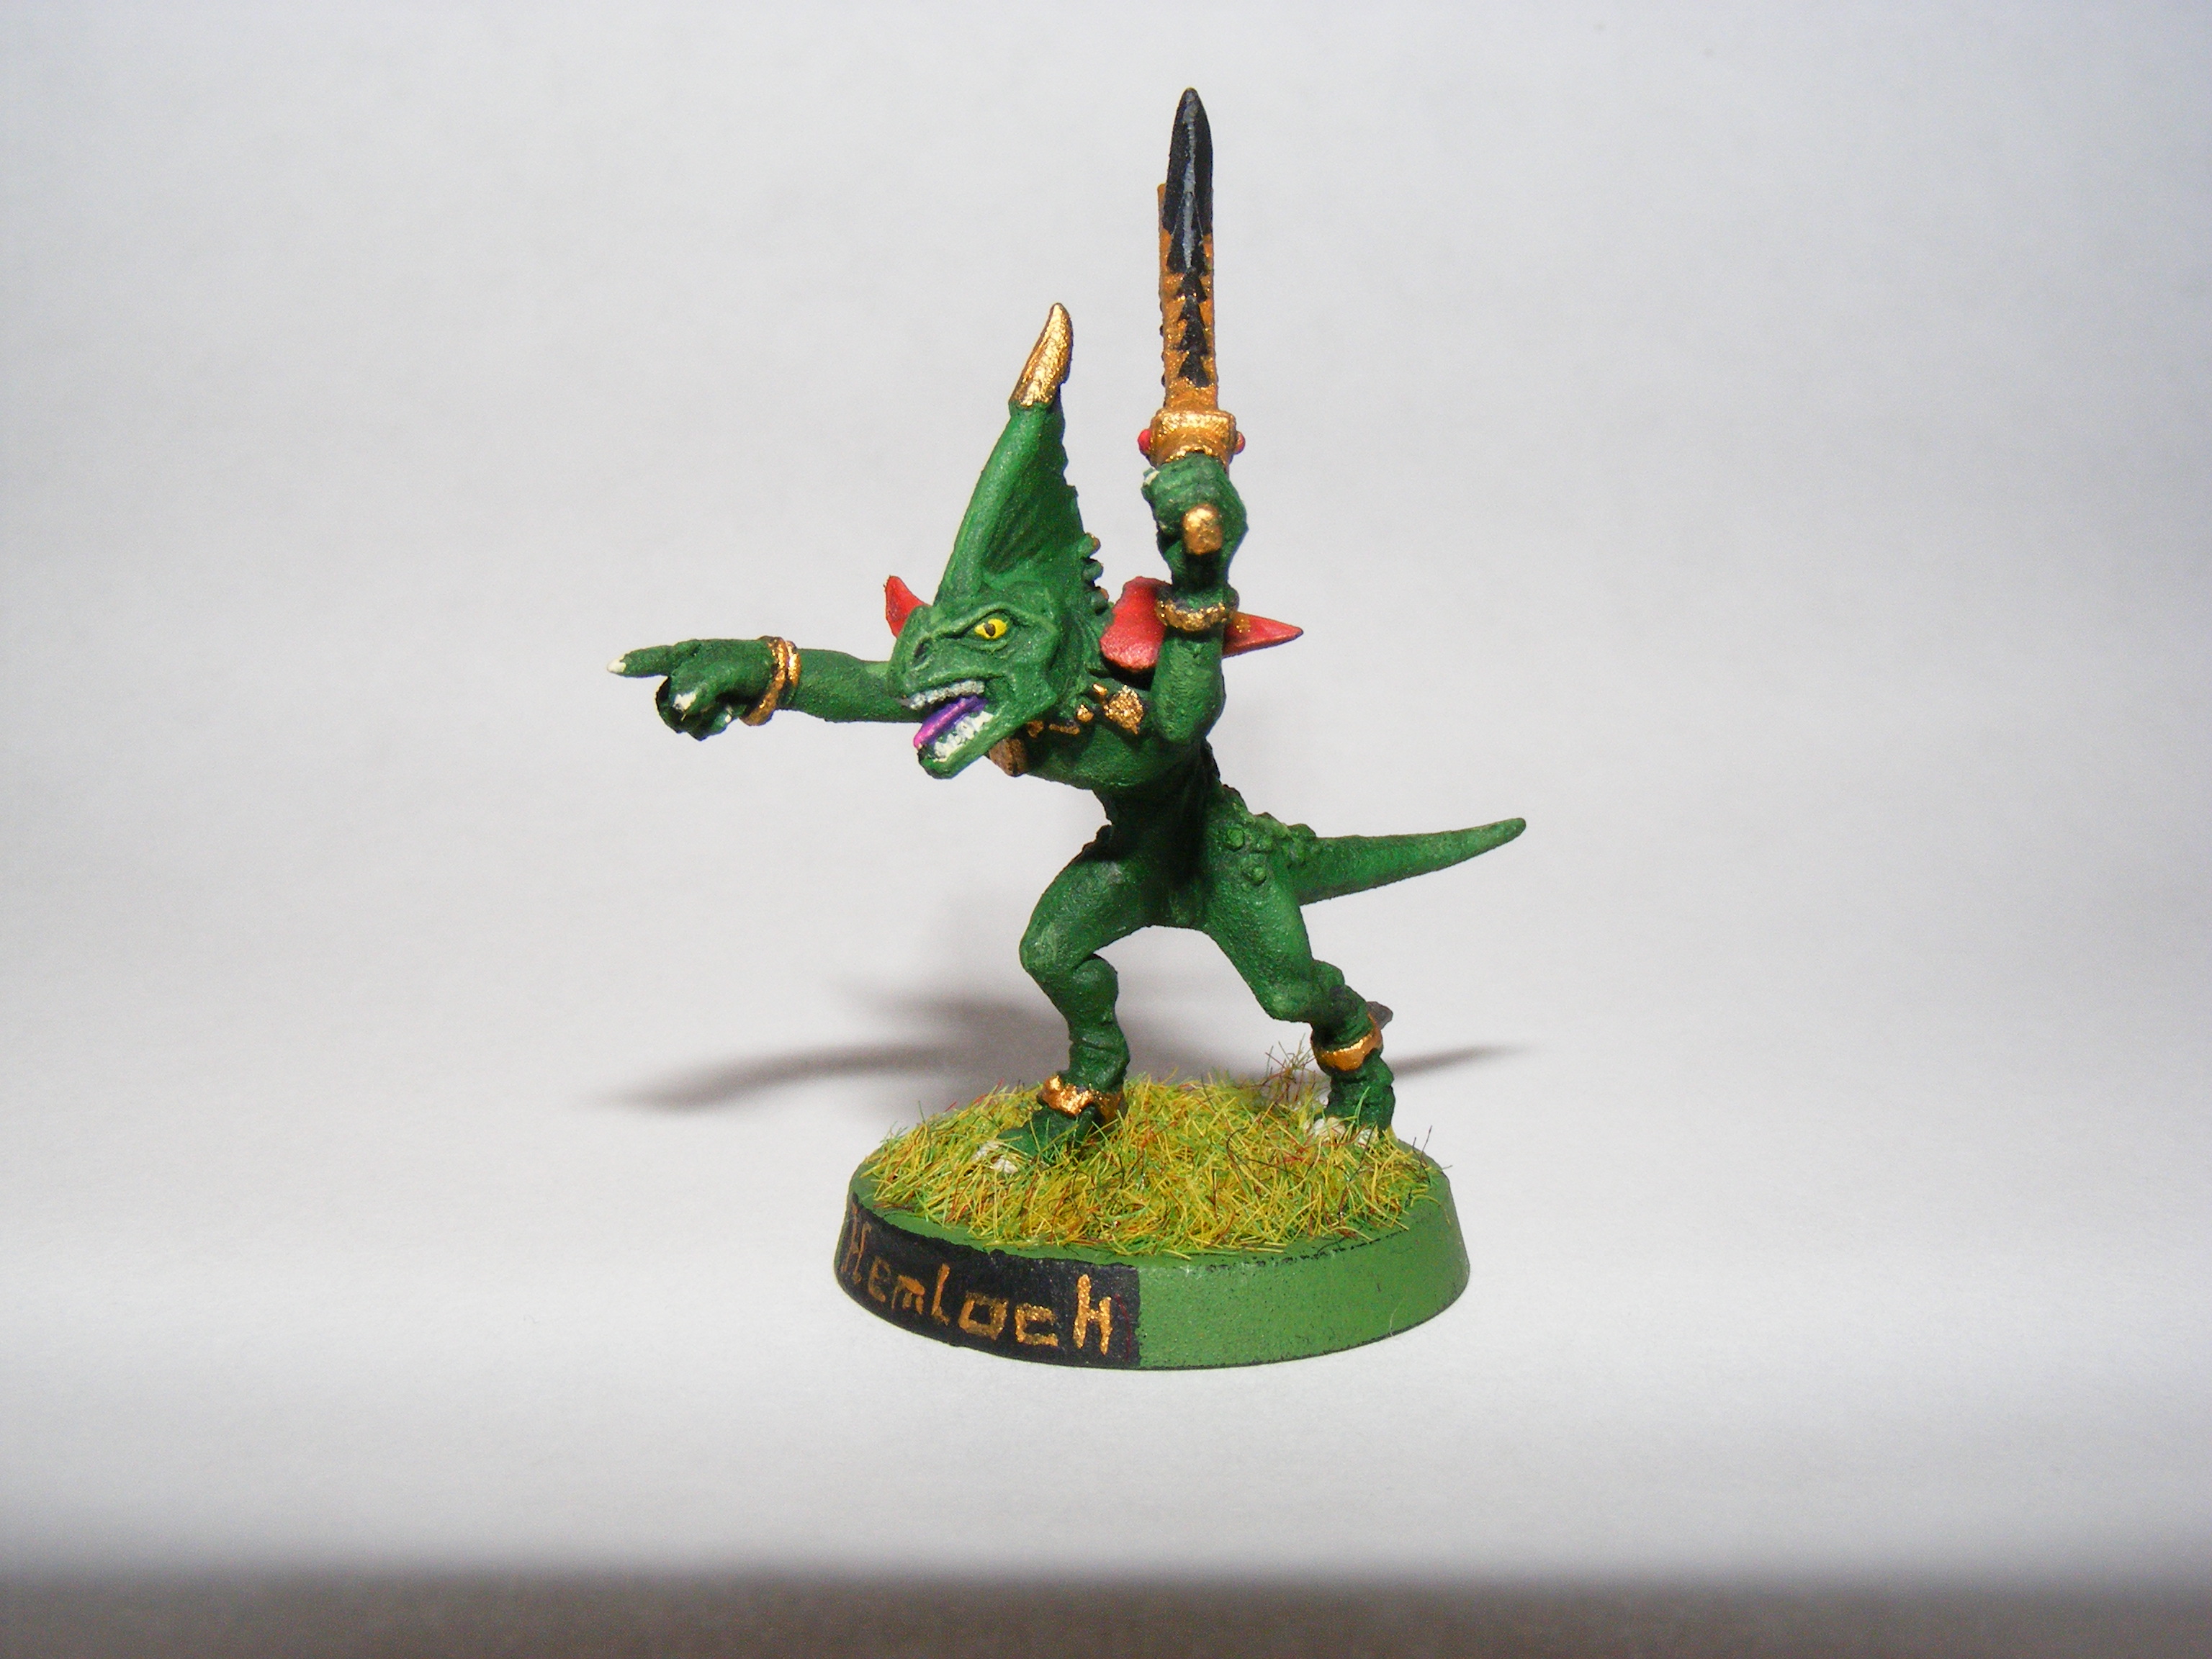
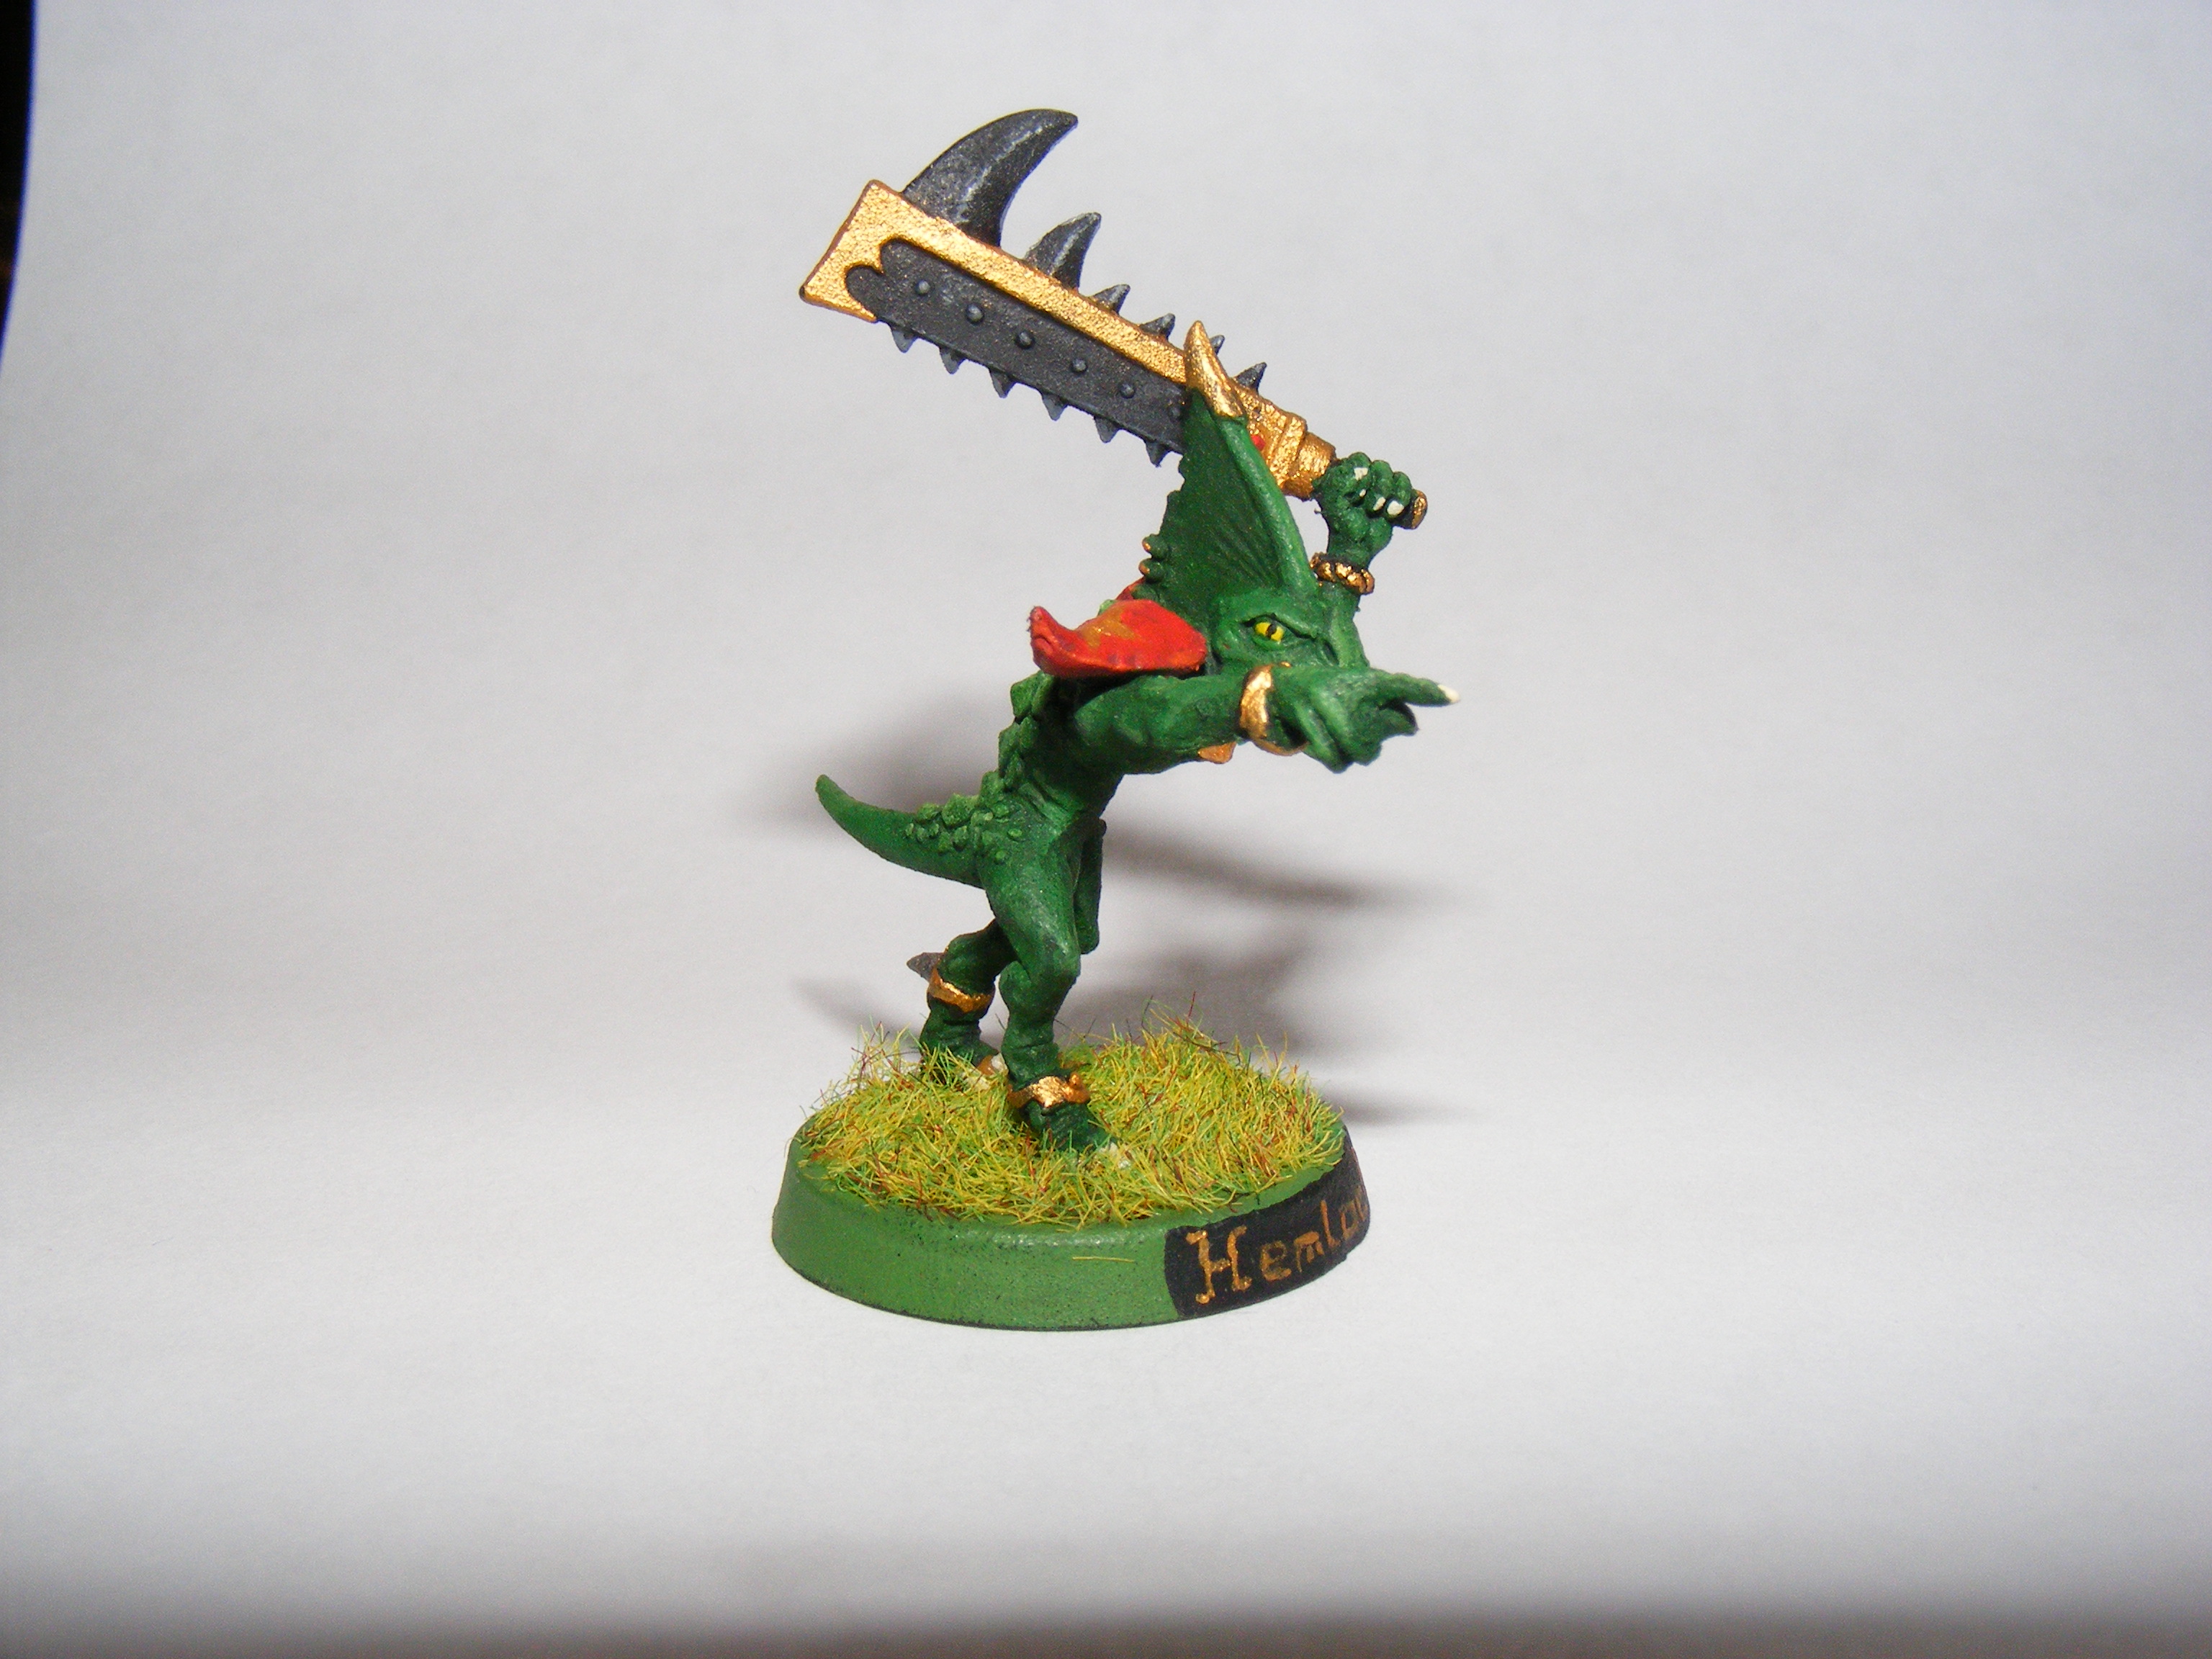
…and here’s Hemlock! I used him in my first Blood Bowl game. He tried to stab an enemy Skink, and then got tackled and injured. Dammit
The paint scheme is different from the Konquata Monitors because the Star Players were not born on Albion!