Xmas Gothic with John – Part 2 – Fleet Engagement
Time for the second battle report with John, this time a Fleet Engagement.
————————————————————–
Bozeman – Imperial Navy Segmentum Obscurus Gothic Fleet List
- Fleet Admiral (Ld8), two re-rolls
- Saratoga, Mars class battlecruiser, left shift, extra turret
- Forthright, Lunar class cruiser, Nova Cannon
- Kar Durniash, Dominator class cruiser
————————————————————–
John – Tau Kor’vattra Fleet
- Il’fannor (Merchant) class ship, Ke’lshan configuration, +2HP
- Il’fannor (Merchant) class ship, Ke’lshan configuration, +2HP
- Lar’shi (Hero) class ship, Tolku configuration
- Lar’shi (Hero) class ship, Tolku configuration
- Kass’l (Orca) gunship x4
- Skether’qan (Messenger) class starship
————————————————————–
Setup: Map B
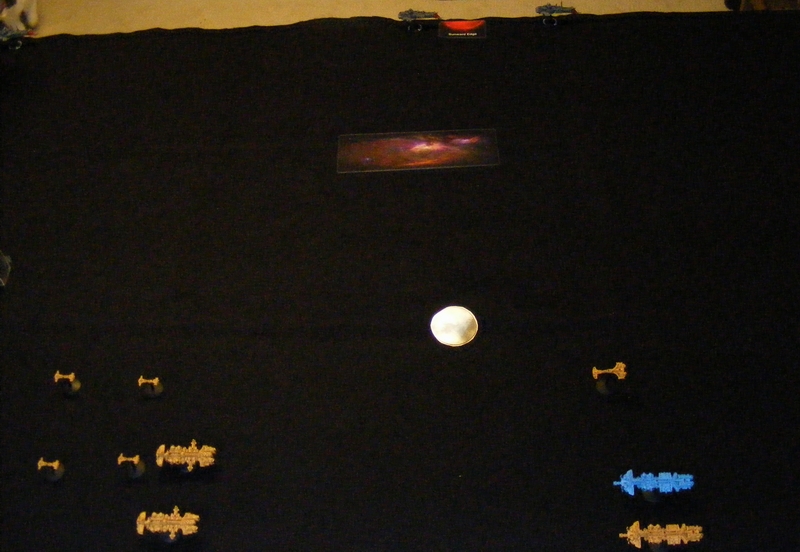
Turn 1 – Imperial Navy
The Saratoga and the Forthright go on Come to a New Heading. All three ships fire their Nova Cannons. One of the Hero class ships takes two damage, and one of the Merchants takes three, crippling it. The Saratoga fires four fighters that go on CAP for the fleet.
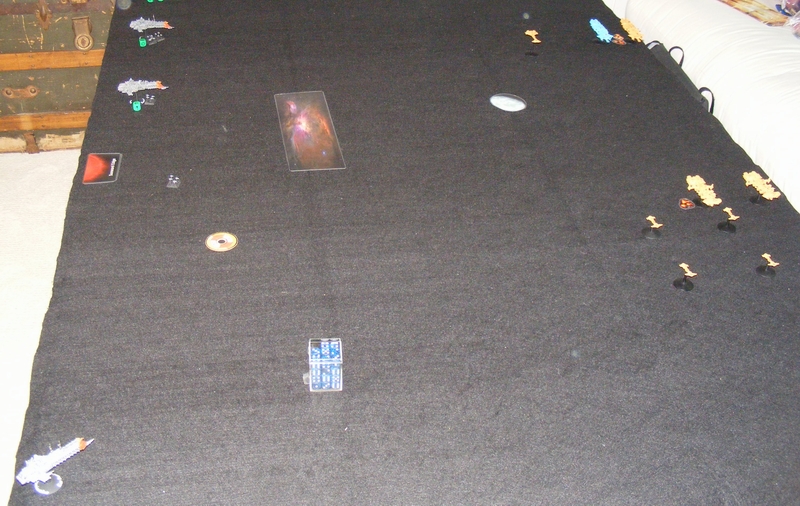
Turn 1 – Tau
The crippled Merchant disengages. The rest of the fleet comes about.

Turn 2 – Imperial Navy
Nova Cannons fire, one Hero loses a shield.

Turn 2 – Tau
Fleet advances.

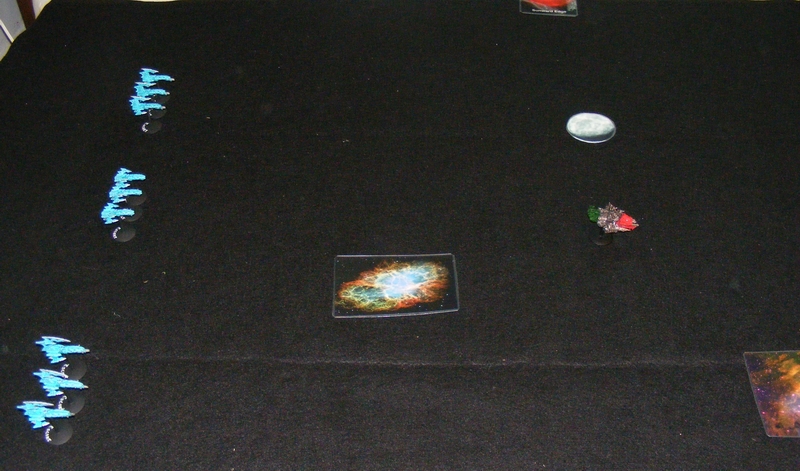
Turn 3 – Imperial Navy
All three Nova Cannons miss, but dorsal lances from the Saratoga destroy the Messenger.

Turn 3 – Tau
Hero class ships launch missiles and bombers. Fire from the Orcas do one damage to the Kar Durniash.

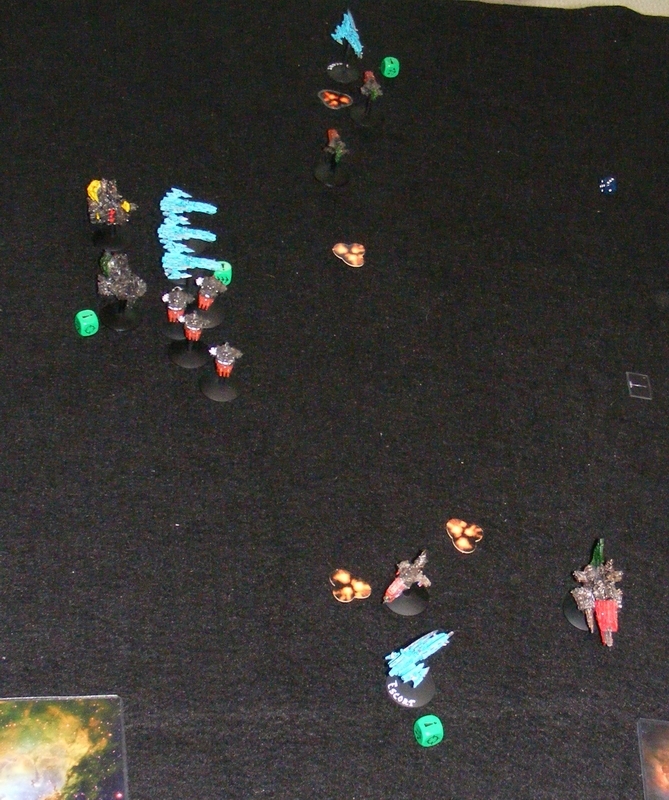
Turn 4 – Imperial Navy
Nova Cannon does one damage to the blue Hero. Kar Durnish damages the other Merchant and its batteries kill an Orca.

Turn 4 – Tau
All ships fire, but no damage.

Turn 5 – Imperial Navy
Nova Cannons at short range cripple the yellow Hero and the remaining Merchant. Turn not pictured.
Turn 5 – Tau
All Tau ships disengage.
————————————————————–
Final Score:
Bozeman – 147.5
John – 0
————————————————————–
The Tau are slow as hell. I took a big risk taking a small fleet with a lot of Nova Cannons. John was also stubbornly against Bracing for Impact for some reason. The Tau Kor’vattra list is also crippled by needing to take Merchant class ships which suck. The Orcas make up for it just a little bit though. Also, another quirk of the Tau list is that you are not required to take an Admiral until your fleet is LARGER than 750 pts. The Tau need more missiles to flood the board. Perhaps dropping Orcas for torpedo boats.
Next: A visit to Highland!
Xmas Gothic game with John – Part 1 – The Bait
John came to visit me! After several beers, we decided to play two games of Battlefleet Gothic. Here’s the first game, where we played The Bait.
————————————————————————————-
Bozeman – Dark Eldar (pursuers)
- Razors of Virtue – Corsair Escort x3, Phantom Lances
- Red Teardrops – Corsair Escort x3, Phantom Lances
- Shadow’s Touch – Corsair Escort x3, Torpedoes
————————————————————————————-
John – Ork Clanz Fleet (pursued)
*note, John did not purchase the Clanz upgrades for allk of the ships following his warlord*
- Warlord, two re-rolls (aboard the Kill Kroozer)
- Kill Kroozer, Evil Sunz Clan, Soopa Boosters, Extra Turrets
- Lite Kroozer
- Lite Kroozer
- Brute Ram Ship x4
- Ravager x2
- Onslaught x3
————————————————————————————-
Setup:
After setup, my Mimic Engines gave me a free move. I stopped 30cm short of the Kill Kroozer.
 ————————————————————————————-
Turn 1 – Orks
All of the rest of the fleet in reserves comes on from the board edge on All Ahead Full. The Kill Kroozer goes a whopping 41 cm on All Ahead Full thanks to multiple upgrades and a good roll!

Turn 1 – Dark Eldar
Due to an inability to catch the Kill Kroozer, the fleet moves out.

Turn 2 – Orks
Fantastic torpedo rolls from the Lite Kroozers take out one of the Razors of Virtue. Ravagers fire torpedoes to harass the Red Teardrops.

Turn 2 – Dark Eldar
The Lite Kroozers Brace as the Shadow’s Touch fire Leech Torpedoes and cause only one Leech effect to the yellow ship, and then kill one of the Onslaughts. Red Teardrops kill one of the Ravagers.

Turn 3 – Orks
Red Teardrops and Razors of Virtue are reduced to one by enemy fire. Shadow’s Touch make an impressive amount of Brace saves as the Lite Kroozers open up.
Turn 3 – Dark Eldar
The remaining lance Corsairs take out the Onslaughts while Shadow’s Touch boards the last Ravager, destroying it.
Turn 4 – Orks
Despite a valiant effort, Ork fire in ineffective thanks to the best Brace saves I’ve ever rolled!

Turn 4 – Dark Eldar
Time to flee! If the Dark Eldar disengage, they win. Shadow’s Touch disengages. The last of the Red Teardrops disengages… and… the last of the Razors of Virtue fails to disengage! Uh oh!

Turn 5 – Orks
Batteries make short work of the last of the Razors of Virtue. Game over.
————————————————————————————-
Final Score
Dark Eldar: 195
Orks: 206
————————————————————————————-
Wow, close game! This is the third game I’ve lost for not being able to disengage a ship. It’s also the second loss for my Dark Eldar against John’s Orks. My Dark Eldar have never won a game. I need to get better with them. John also needed to take a 2nd Warlord, and change around his escorts as the minimum squadron size is 3.
Next: second battle report and a trip to Highland!