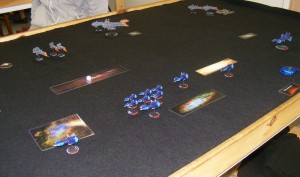
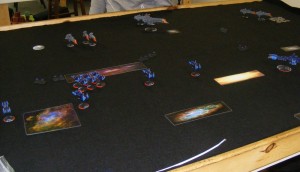
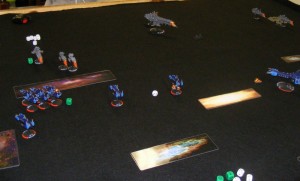
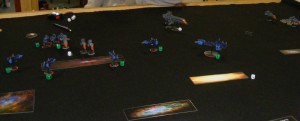
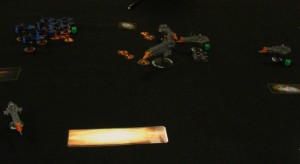
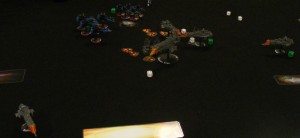
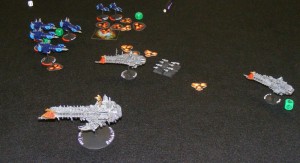
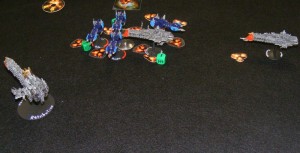
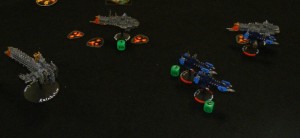
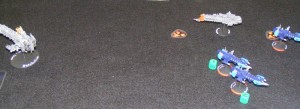
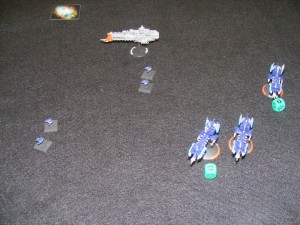
Ramping up to the second to last week, Nathaniel’s Imperial Navy defended the HO-53 system from my encroaching Space Marines in a Fleet Engagement!
———————————————————————
Fleet Engagement 1500pts (Imperial Navy as defenders had 1400 because the system was uninhabited)
Space Marines choose Sphere, Imperial Navy chose Sphere.
———————————————————————
Bozeman – Azure Flames Space Marines
-Battle Barge His Hammer II, Fleet Admiral Ranidan Piers 39 Renown, 3 Re-rolls, Honour Guard, Terminator Boarding Parties
-Strike Cruiser Vigilance, Extra Sheild, Refit: +1Ld to Reload Ordnance Checks
-Strike Cruiser Duty, Extra Sheild, Crew Skill: auto pass one leadership test, Refit: +2 Hull points, -5cm speed
-Strike Cruiser Courage, Extra Sheild, Refit: +2D6 on All Ahead Full, Crew Skill: re-roll x2
-Strike Cruiser Sacrifice, Extra Sheild, Refit: +1D6 for critical effect repairs
-Nova Destroyer x6, Flame Squadron
———————————————————————
Nathaniel – Imperial Navy
-Retribution Battleship Nieman Lion
-Mars Battlecruiser Saratoga, Admiral 3 Renown, 1 re-roll, Third Turret
-Lunar Cruiser True Heart, Power Ram
-Tyrant Cruiser Belligerent, extra range on batteries
-Dominator Cruiser Kar Duniash
-Dauntless Light Cruiser Kestrel, Lances
-Dauntless Light Cruiser Roanoke, Lances
———————————————————————
Setup
Imperial Navy – Turn 1
The whole fleet moves up. The Tyrant flanks the squadron of Dauntless Light Cruisers. The Retribution and the Dominator move up the center. The Lunar and Mars go up the right side. Mars launches 4 fighters, on CAP. Tyrant fires torpedoes.
Azure Flames – Turn 1
Vigilance takes the extreme left, Courage, Duty, Sacrifice, and Flame Squadron go up the center, His Hammer II is on the right side. Every ship with bays launches Thunderhawks. The CAP for the Mars splits in two.
Imperial Navy – Turn 2
Tyrant reloads and fires torpedoes at the Novas, but lucky brace saves prevent any from dying. Lances from the Dauntlesses whiff. Retribution takes down a shield on the Sacrifice. Dominator’s Nova Cannon misses His Hammer II.
Azure Flames – Turn 2
Novas go right past the Tyrant. The four Strike Cruisers gang up on the right side, unleashing a barrage of torpedoes and Thunderhawks. The Tyrant’s prow torpedoes are disabled. His Hammer II reloads, fires Boarding Torpedoes at the Retribution and causes Port and Prow weapons to be disabled.
Imperial Navy – Turn 3
Heavily damaged, the Dauntlesses disengage. The Tyrant takes down the Vigilance’s shields with starboard guns and the Sacrifice’s with port. His Hammer II braces for impact as the Dominator’s Nova Cannon causes 6 hits! Brace fails to protect against one. Lunar comes to a new heading. Boarding Torpedoes that missed the Retribution go after the Dominator, which braces. None of the torpedoes hit anyway.
Azure Flames – Turn 3
His Hammer II moves up, but braced guns are ineffective. Vigilance moves up to board the Tyrant. The other Strike Cruisers and Novas blast the Tyrant which refuses to brace. The Tyrant is crippled. Subsequent boarding action does 4 more damage, turning the Tyrant into a drifting hulk.
Imperial Navy – Turn 4
Mars fires Nova Cannon at the Battle Barge, which takes 2 damage. A critical effect collapses the Battle Barge’s shields! Lunar fires torpedoes, but they come up a bit short.
Azure Flames – Turn 4
Battle Barge disengages. The rest of the fleet moves out towards the Imperial Navy. Lance fire at the Dominator takes down shields.
Imperial Navy – Turn 5
Fire kills one Nova escort after they brace. Mars reloads and launches four bombers.
Azure Flames – Turn 5
Mixed results on Reload Ordnance leaves some Strike Cruisers without torpedoes. The ones that do fire on the Dominator. One wave gets through to the Lunar which causes a critical Fire! The Dominator refuses to brace for incoming Bombardment Cannon fire and a critical hit causes a Hull Breach that takes the last point of damage, turning the Dominator into a Blazing Hulk!
Imperial Navy – Turn 6
The Blazing Hulk Dominator moves forward, and explodes! The Lunar is lucky, only loses one shield, but several Thunderhawk flights are not so lucky. The Lunar’s guns fire unbelievably well and kill three of the Novas after the Mars’ Nova Cannon takes down their shields. Retribution forces a brace on one of the Strike Cruisers.
Azure Flames – Turn 6
The Novas disengage. The Courage moves up to board the Lunar. Boarding action does only one damage.
Imperial Navy – Turn 7
Fire from the Lunar and Retribution cripple the Vigilance. Mars’ Nova Cannon forces a brace on the Duty.
Azure Flames – Turn 7
Courage moves up to board the Mars. Fire from the other Strike Cruisers cause a Hull breach which does two extra damage. Boarding action does 5 damage, hulking the Mars.
Imperial Navy – Turn 8
Lunar disengages. Retribution fails to disengage, even on leadership 10!
Azure Flames – Turn 8
Reloads and launches all around.
Imperial Navy – Turn 9
Retribution disengages. Mars is left as a hulk.
This battle looks bad. It is. Nathan refused to Brace for Impact in almost every situation. Bracing in the wrong situation can tie your hands behind your back, but NOT bracing can blow your arms off.
Next week: Last week of the campaign! I’m so excited!
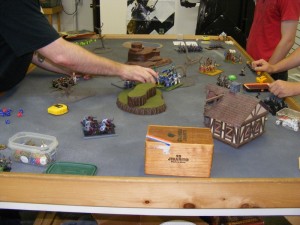
BONUS: Former Tau player Josh dropped out to start a Warhammer Fantasy campaign! Here’s their second game (the first was too short for me to document), a blazing two-on-two with Brettonians and Lizardmen vs. Tomb Kings and Warriors of Chaos!


