1850 Speed Freeks vs. Draigowing
Another AFK bat rep! Took a while for me to get this done as I’ve been busy, but this happened a week ago.
——————————–
Bozeman – WAAAAGH! Smartyskull!
-Manik Upzindowns (counts as Wazzdakka Gutzmek)
-Big Mek, Burna, Kustom Force Field, Attack Squig, ‘Eavy Armour, Bosspole
-15 Burnas
-Battlewagon, Deffrolla, 3x Big Shootas
-Warbikes x10, Nob, Power Klaw, Bosspole (counts as Troops)
-Slugga Boys x12, Nob, Power Klaw, ‘Eavy Armour (Nob only) Bosspole in a Trukk with a Red Paint Job, Armour Plates and Reinforced Ram
-Shoota Boys x12, Nob, Power Klaw, ‘Eavy Armour (Nob only) Bosspole in a Trukk with a Red Paint Job, Armour Plates and Reinforced Ram
-Shoota Boys x12, Nob, Power Klaw, ‘Eavy Armour (Nob only) Bosspole in a Trukk with a Red Paint Job, Armour Plates and Reinforced Ram
-Shoota Boys x12, Nob, Power Klaw, ‘Eavy Armour (Nob only) Bosspole in a Trukk with a Red Paint Job, Armour Plates and Reinforced Ram
-Deffkoptas x3, Twin Linked Rokkit Launchas
—————————————————————-
Grey Knights
-Lord Mary Sue Kaldor Draigo
-Paladins x10, 4x Psycannon, Psycannon rounds, Various weapons
-Grey Knight Strike Squad x5, Psilencer
-Stormraven Gunship, TL Lascannon, TL Multi-Melta, Mindstrike Missiles
-Nemesis Dreadknight, Incinerator, Dreadnought Close Combat Weapon
-Dreadnought, 2x Twin Linked Autocannons, Psycannon Rounds
-Dreadnought, 2x Twin Linked Autocannons, Psycannon Rounds
-Vindicare Assassin (proxied Dark Eldar Model)
————————————————————————–
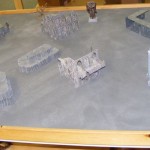
The Board
Mission: Big Guns Never Tire (D3+2 Objectives, we had 5, plus Heavy Support are Scoring and offer 1VP when killed)
Setup: Hammer and Anvil (Short Board Edges)
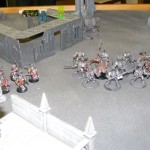
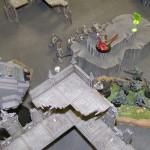
The Grey Knights won setup, deployed close up with the Paladins and Strike Squad. The Vindicare set up in a central building and scout-moved past the deployment zone line. The Dreadknight set up behind that building. Both Dreadnoughts set up in ruins near objectives. How did they climb up those ruins? Shut up, that’s how!
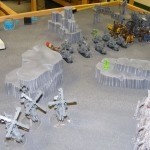
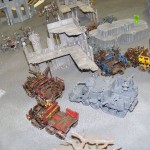
I clustered my four Trukks around the Battlewagon with the Mek and Burnas inside. Nearby, Manik Upzindownz joined the bikes. To my extreme right the Deffkoptas secured the flank, and scout-moved ahead.
 This Vindicare Assassin is cleverly disguised as a Dark Eldar. Has he been swiping the Callidus’ Polymorphine?
——————————————–
SIEZE INITIATIVE SUCCESSFUL!
Turn 1 – WAAAAGH! Smartyskull!
The Deffkoptas moved up my right flank, and with two fantastic shots took out the Dreadnought on the 3rd floor of the ruins! Manik Upzindownz and his bikes turbo-boost to get around an obstacle, but because Wazzdakka’s Bike of the Aporkalypse can shoot after Turbo boosting, he insta-kills the Vindicare assassin! The other vehicles move up in a cluster to share the Kustom Force Field love.
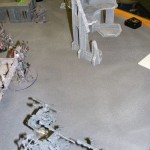 The question of how the Dreadnought got up there is now moot.
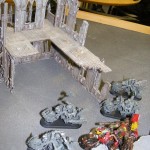 The Vindicare is killed outright by Manik’s bike full of Dakka!
Turn 1 – Grey Knights
Draigo and his Paladins move up, shoot, and assault the Bikes. Draigo himself kills Manik Upzindownz in a challenge. The Dreadknight flames the Deffkoptas, killing one and breaking the squad! Psyfleman Dreadnought blows up the Trukk with the Sluggas inside and kills 6.
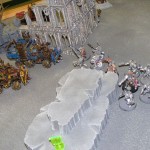 The Paladins do what they do best: everything.
Turn 2 – WAAAAGH! Smartyskull!
Surviving Sluggas plus one of the three Shoota squads assault the 5-man Strike Team. The Shoota Nob is killed, but the Strike Team is wiped out. The Battlewagon moves up and puts 16 flamer templates on the Paladins for an impressive 56 wounds! Failed Look Out Sir rolls put 2 wounds on Draigo and kill a handful of Paladins, but the squad survives due to their two wounds and some great rolls. (wound allocation and look out sir made this step take FOREVER) One of the Trukks zooms ahead, while the last one dumps its shoota boys on an objective so they can hose down the Paladins, but they don’t hurt any.
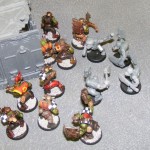 Good bye power armour Grey Knights!
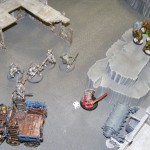 After the flames wash over them, Draigo and the Paladins are damaged but still fight on!
Turn 2 – Grey Knights
The Stormraven comes in and blasts the Battlewagon with a Power of the Machine Spirit Multi-Melta, and then turns the lascannon and two missiles on the Burnas, killing many. Draigo and his guys kill a few more, and the Burnas break but a bosspole re-roll from the Big Mek holds them! The Dreadknight hops 30″ and flames the Sluggas, killing them down to the Nob. The Dreadnought pops open the blue Trukk, killing a few Orks, who are pinned but overcome pinning thanks to a bosspole and a lucky armor save!
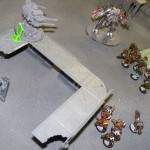 The Orks are getting whittled down…
Turn 3 – WAAAAGH! Smartyskull!
Shoota Boyz and the surviving Slugga Nob try to assault the Dreadnought, but fail spectacularly in a flurry of crappy charge rolls. The Shoota boys from the wrecked trukk and the surviving burnas put more hits on the Paladins and kill one, but once again fail to charge.
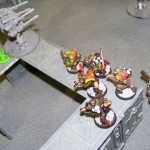 The Orks could not charge. There must have been a butterfly distracting them.
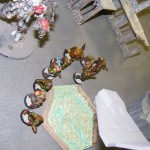 Butterflies abound! Another failed charge roll.
Turn 3 – Grey Knights
The Orks take a shellacking. Suffice to say, the only Orks left alive after this turn are the Shoota Nob from the blue trukk, the Yellow Trukk, and the regrouped Deffkoptas. Game ceded.
 The Nob makes a break for the objective, but he’ll never get there.
————————————————–
OOF! Finally, a loss at AFK! Damn Draigo and his Paladins are hardcore. There seems to be few options to kill them other than low AP guns. The Speed Freeks are also at a HUGE hindrance in 6th if they have to charge through difficult terrain. Oh well, live and learn.
Next: Tonight is 40K club again. Look for an upcoming report, and possibly a Battlefleet Gothic Campaign!


Leave a Reply