Fully Magnetized Stormtalon
I AM OZYMANDIAS, KING OF KINGS! LOOK UPON MY WORKS, YE MIGHTY, AND DESPAIR!
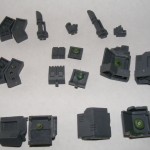 These are the parts for the guns of my new Stormtalon Gunship. Magnetized. Fully Modular. Behold the madness below.
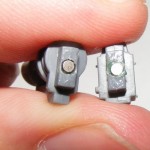
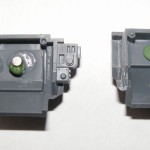 To the left, the exterior casing meant for the Lascannon and Heavy Bolter. To the right, the interior casing, which will be permanently glued to the side of the Stormtalon. The magnets make them fit together.
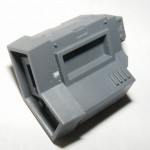
 Above, the fully assembled Gun weapon pod, held together with magnets. Below, see a different shot of the Gun pod exterior, with a magnet puttied to be behind the hole where the Lascannon or Heavy Bolter can go.
 Above, magnets were added to the Lascannon and Heavy Bolter Bitz. Below, see that the magnets are strong enough to hold the gun pod aloft BY THE LASCANNON. This won’t work when attached to the final ship, obviously, but it will keep the gun in place during a game.
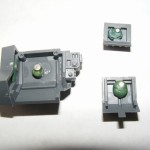
 Above, the interior of the gun pod again, with back views on the Lascannon and Heavy Bolter ammo feeds. Below, the magnet inside the pod is strong enough to hold the feeds on securely.
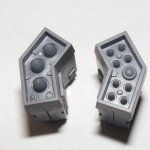 Above, the pod interior with the Missile exterior attached. The missile exterior has two large magnets which join to smaller magnets in each of the missile pod types. Below, each type of missile pod, held together by magnets.
FINALLY, a masterpiece of magnetic engineering:
 Above, the flying stand, with a high-gauss magnet (stronger than normal rare earth magnets) and the interior of the Stormtalon with two very large magnets. Below, see that the flying stand is held aloft securely, making in-game movement a breeze.
I initially tried four smaller magnets in the flying stand, but if did not hold at all. The magnets were competing. This explains the damage to the top of the flying base, which will be hidden during a game.
Next: Painting the Stormtalon and then Combi-Grav Sternguard! The Updatening for 6th ed continues!


I did mine almost the exact same way you did. Right down to gluing the front and back of the exterior case and cutting away the front of the interior case! Everybody else I’ve seen doesn’t bother with the different exteriors and rear bits. Kudos to your accuracy!
You’re on my blogroll now, dogg.