Highland Library August Game 2 – 1500 Purge the Alien – Azure Flames vs. Tau
Game 2 was against Dominic, a frequent player on this blog who once demoed Epic Armageddon with me! Today, Dominic brought his Tau. I was feeling lazy, and so fielded almost the same list (transports were swapped). We rolled for mission and surprise! Got Purge the Alien AGAIN! Oh well, it’s a good mission.
————————————————————————-
Bozeman – Azure Flames (Salamanders Flameblade from the Angels of Death supplement) – 1500pts
Flameblade Strike Force
- Battle Demi-Company
- Leonidas, Captain of the 1st company (counts as Vulkan He’Stan)
- Tactical Squad x 10, Veteran Sergeant, Bolter-Melta, Power Fist, Meltagun, Multimelta
- Drop Pod
- Tactical Squad x 10, Veteran Sergeant, Bolter-Melta, Power Fist, Meltagun, Multimelta
- Tactical Squad x 5, Veteran Sergeant, Bolter-Flamer, Power Fist, Flamer
- Razorback, Lascannon and Twin-Linked Plasma Gun
- Assault Squad x 5, 2 x Flamer
- Drop Pod
- Devastator Squad x 5, 4x Heavy Bolter, Auspex
- Ironclad Dreadnought, Ironclad Launchers, Heavy Flamer, Chainfist
- Drop Pod
- Flamebringers Formation
- Land Raider Redeemer
————————————————————————-
Dominic – Tau
- Combined Arms Detatchment
- Commander, Iridium Crisis Suit, Flamer, several upgrades that make him the traditional “Buffmander”
- Pathfinder Squad x 4, Recon Drone
- Devilfish
- Pathfinder Squad x 5, 2x Marker Light Drones, Blacksun Filter
- Fire Warriror Strike Team x 12, Shas’ui
- Fire Warriror Strike Team x 12, Shas’ui
- Fireblade
- Tidewall
- Tidewall Gun Emplacement
- Riptide, Ion Cannon, Stims, E.W.O.
- Crisis Suit x 3, 6x Plasma (2 per suit), ATS, 3x Marker Light Drones
- Hammerhead, Smart Missile System, Submunitions, Disruption Pod
————————————————————————-
Mission – Purge the Alien (units destroyed = 1 VP)
Setup – Hammer and Anvil (short board edges, 24″ deployment)

————————————————————————-
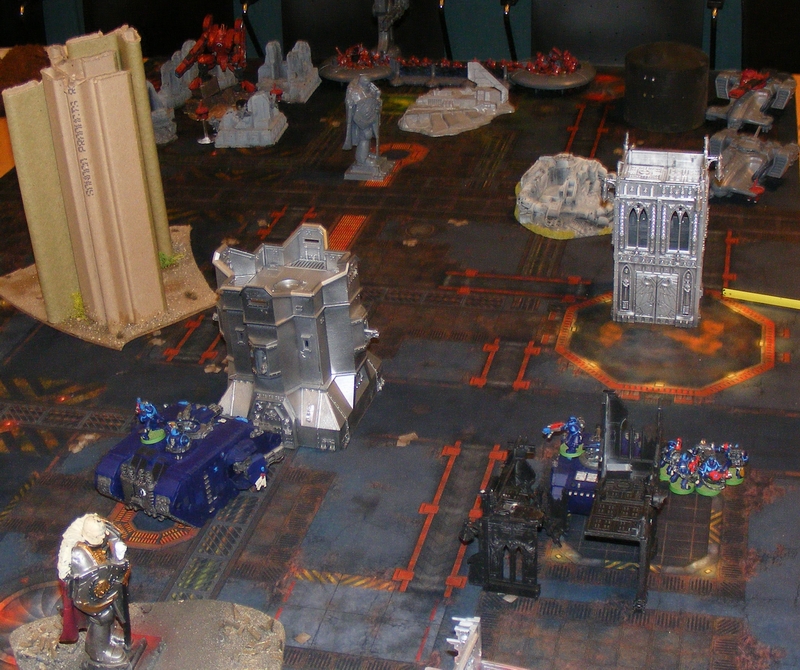
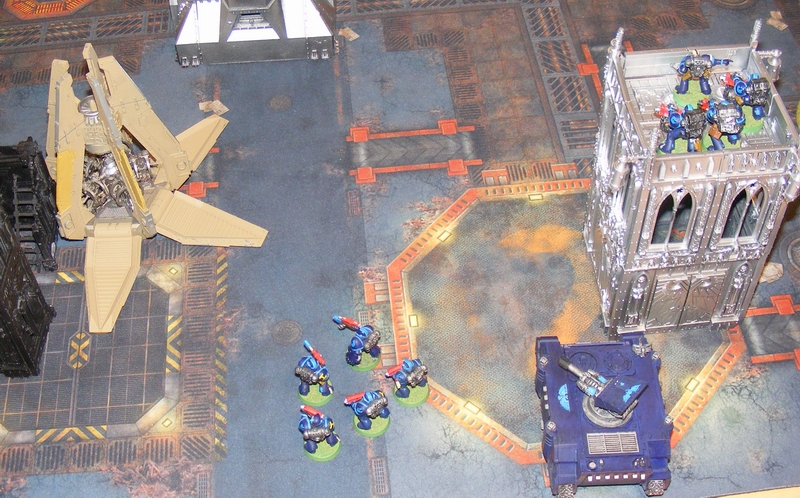
Turn 1 – Azure Flames
Land Raider and Razorback move up and pop smoke. Devastators run toward the silver building. Leonidas and the Assault Squad arrive, and Leonidas splits off. Their flamers kill most of both of the Fire Warrior Squads. Tactical Squad also arrives via Drop Pod, scatter behind the Hammerhead, and blow it up.

Advance!

A deadly Alpha Strike ruins the Fire Warrior’s day, and eliminates the Hammerhead. The Assault Squad is reduced to two men thanks to the Riptide’s Interceptor shot, but those two were the Flamers, so that was worth it!
Turn 1 – Tau
Devilfish moves up, but fails to harm the Razorback. Fire Warriors shoot the Assault Squad, kill a Flamer, and the other one breaks and flees! Riptide trains its remaining guns on Leonidas, but does no damage. Emplaced Railgun does a crew shaken to the Land Raider Redeemer.

The Devilfish menaces the Razorback.
I’m getting out of here!
Turn 2 – Azure Flames
Leonidas blasts the other Fire Warriors again, causing them to break! The Assault Marine runs, and the Tactical Squad tries to maneuver out of the corner. Razorback fires ineffectually at the Devilfish. Ironclad Dreadnought arrives and its Heavy Flamer kills most of the Pathfinders in the ruins, while the Drop Pod finishes the last two.

The Devilfish laughs off the Razorback’s fire.
Pathfinders don’t like fire!

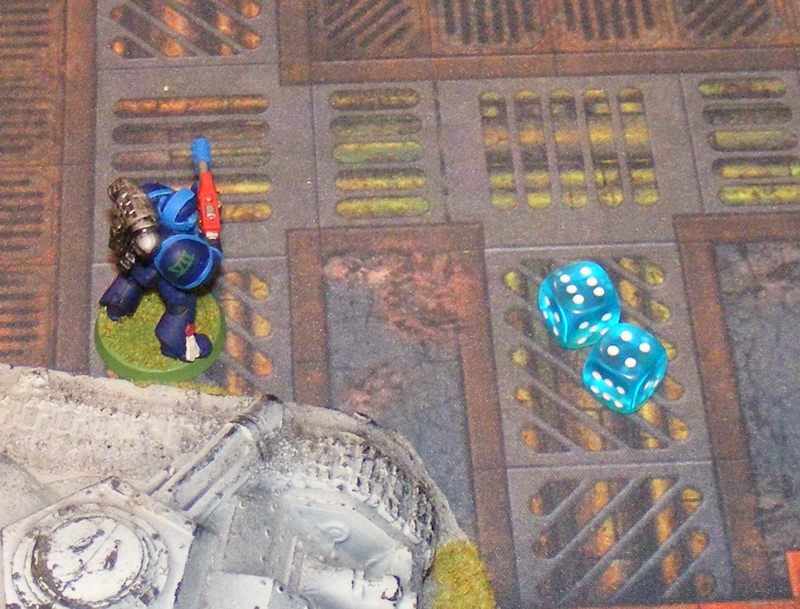
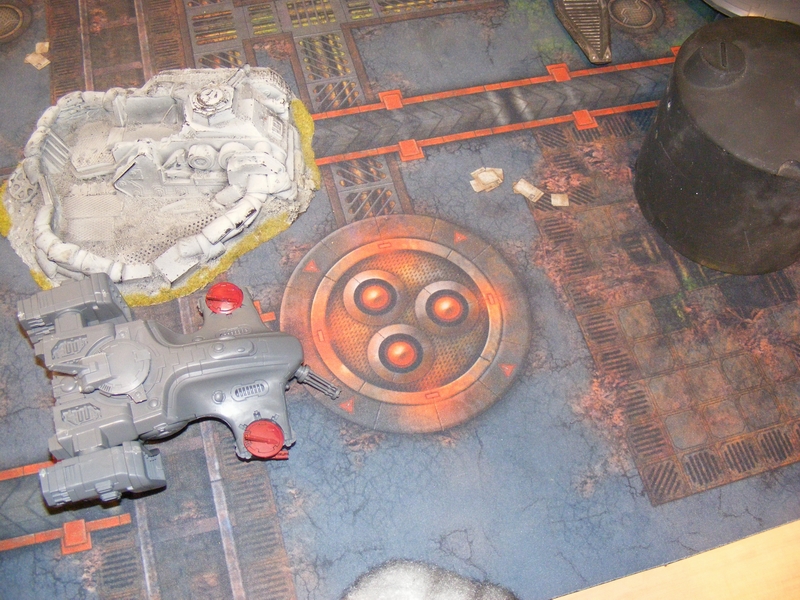
Because the Tau are smart enough to password protect their gun emplacements, Leonidas cannot fire this railgun that the Fire Warriors abandoned when they flee.
Turn 2 – Tau
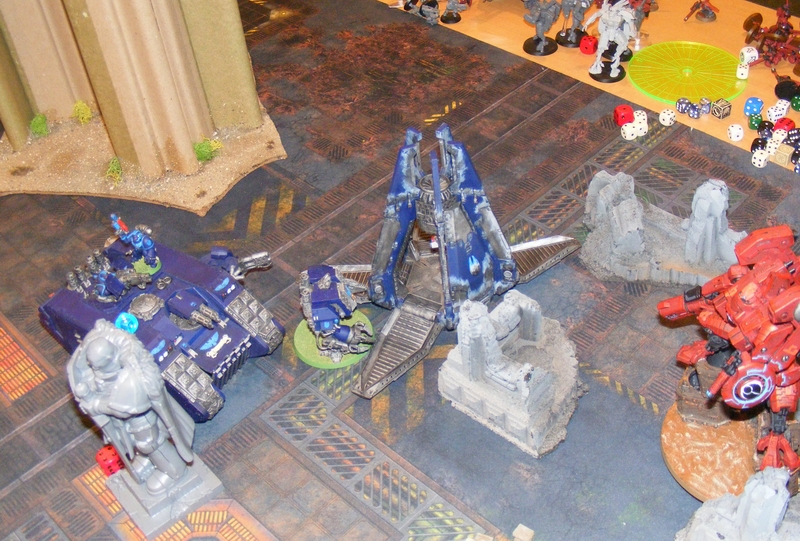
Buffmander and the Crisis Suits arrive (is that an indie rock band?) They blow up the Razorback with plasma, which explodes and kills a Devastator. Riptide moves off, but can’t hurt the Ironclad. Devilfish kills the last Assault Marine for a kill point!

Buffmander and his boys blow up the Razorback, stunningly!
The Riptide can’t hurt the Ironclad.
Lone Assault Marine is toast!
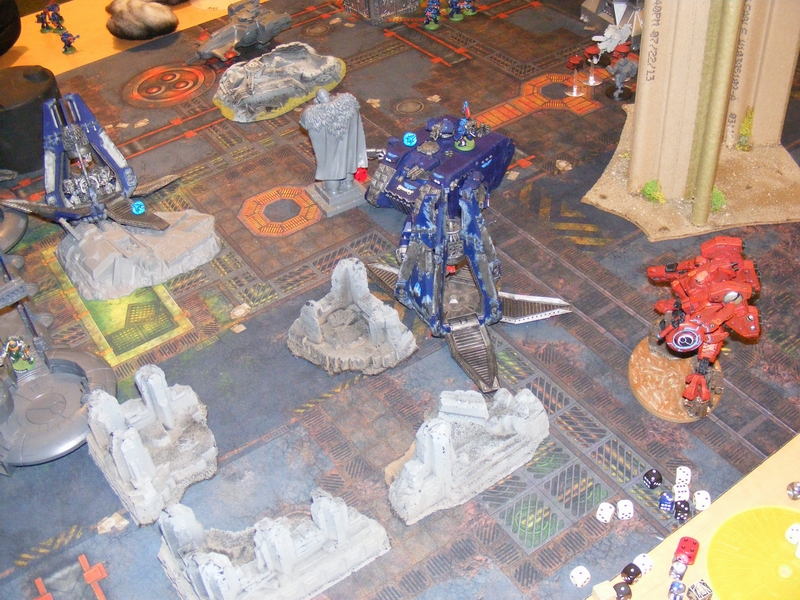
Turn 3 – Azure Flames
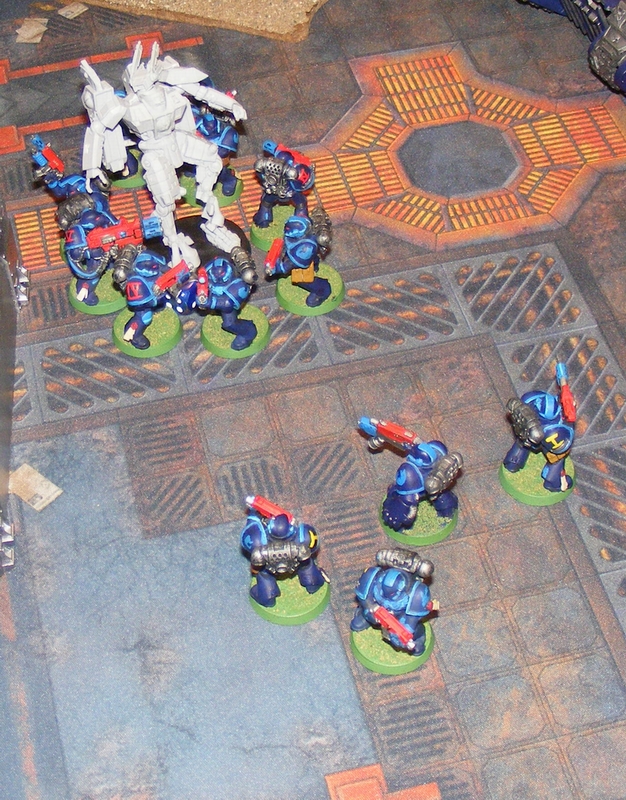
Tactical Squad in the Land Raider disembark. Shooting and assault kill everyone but Buffmander, who is locked in combat with the squad. Ironclad charges and does three wounds to the Riptide, but it kicks off his power fist in return!

Buffmander is all alone, and in a pickle!

Epic fight between the Ironclad and Riptide!
Turn 3 – Tau
The Ironclad does one more wound to the Riptide. Pathfinders get out of their Devilfish and shoot the Devastators, killing one. Buffmander takes one more wound.

The Pathfinders attack!
 Buffmander hangs on…
Turn 4 – Azure Flames
Buffmander is killed. An underwhelming combat has no effect with the Ironclad and Riptide. Devastators charge the Pathfinders, killing two, breaking them, and running them down! Land Raider’s Multi-Melta blows up the Devilfish, and a Drop Pod Storm Bolter kills the two Drones that pop out!

This side of the board is cleared.

These guys must be tired, they are just standing around doing nothing.
Turn 4 – Tau
The Riptide tries to use its Nova Reactor, but it overheats, killing it! Tabled.
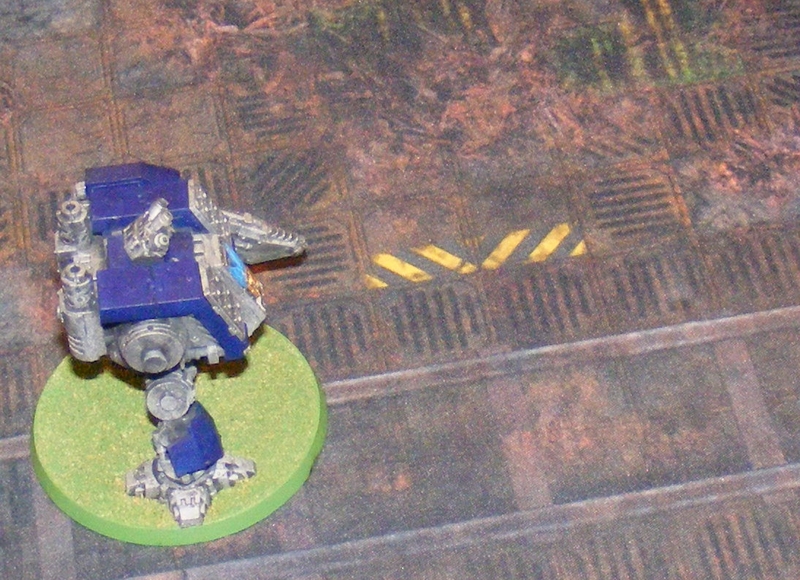
Hey, where did my friend go?
————————————————————————-
Final Score
Azure Flames – 9 plus Slay the Warlord, First Blood, and Linebreaker = 12
Tau – 1
————————————————————————-
Dominic made one mistake: Buffmander did not start on the board. Had he been around, he and his Crisis Suit buddies could have punched back against the Alpha Strike. He could have also been hanging out making everyone better. Other than that, the list was good and Dominic didn’t make any mistakes.
Next: hopefully some Gothic Demos and more batreps!
Highland August – 1500 Purge the Alien, Azure Flames vs. Deathwatch and Imperial Fists
Time for Highland Game Club again! I played two games. My first was with a new player, Cam, who has only been playing for a few months but shows a remarkable familiarity and flow during play. Most new players can’t remember what phase is which. He brought the new Deathwatch models! I’m lucky to get to play against an army so new!
————————————————————————-
Bozeman – Azure Flames (Salamanders Flameblade from the Angels of Death supplement) – 1500pts
Flameblade Strike Force
- Battle Demi-Company
- Leonidas, Captain of the 1st company (counts as Vulkan He’Stan)
- Tactical Squad x 10, Veteran Sergeant, Bolter-Melta, Power Fist, Meltagun, Multimelta
- Drop Pod
- Tactical Squad x 10, Veteran Sergeant, Bolter-Melta, Power Fist, Meltagun, Multimelta
- Drop Pod
- Tactical Squad x 5, Veteran Sergeant, Bolter-Flamer, Power Fist, Flamer
- Razorback, Lascannon and Twin-Linked Plasma Gun
- Assault Squad x 5, 2 x Flamer
- Devastator Squad x 5, 4x Heavy Bolter, Auspex
- Ironclad Dreadnought, Ironclad Launchers, Heavy Flamer, Chainfist
- Drop Pod
- Flamebringers Formation
- Land Raider Redeemer
————————————————————————-
Cam – Deathwatch with allied Imperial Fists – 1500pts
Deathwatch
- Deathwatch Formation
- Librarian, Lv2, Terminator Armour
- Aquilla Kill Team x6, 1x Bike, Special Heavy Bolter, Storm Shield, Xeno Blade, attached Librarian, Lv2
- Land Raider (Phobos Pattern)
- Furor Kill Team x7, 1x Terminator, Heavy Flamer, Melta-Fist, 2x Combi-Melta, 1x Frag Cannon, Blackshield, Attached Chaplain
Allied Imperial Fist Space Marine Combined Arms Detatchment
- Combined Arms Detatchment
- Librarian, Lv2, Bones of Ossrak
- Tactical Squad x 9, Drop Pod
- Tactical Squad x 10, Veteran Sergeant, Bolter-Melta, Heavy Bolter
- Rhino
————————————————————————-
Mission – Purge the Alien (units destroyed = 1 VP)
Deployment – Dawn of War (long board edges)
Setup not pictured. Cam put his Furor Deathwatch squad in the Land Raider, and also deployed the Imperial Fist squad in the Rhino. For this game, thanks to the new Salamanders rules, Leonidas got an additional Warlord Trait and gained outflank, taking the Assault Squad and Land Raider Redeemer with him! The Devastators and Flamer Squad in the Razorback deployed.
Lucky! I seized the initiative!
————————————————————————-
Turn 1 – Azure Flames
One of the Tactical Squads and the Ironclad Dreadnought deep strike. The Ironclad gets a lucky shot and explodes the Land Raider! The Tactical squad pours fire into the Deathwatch Furor team, but unbelievable invulnerable saves by the lone Terminator cause no casualties! No other shots have effect.
The Aquilla terrain represents the ruin of a Land Raider. The squad inside is unharmed, thanks to the Terminator tanking two Melta hits.
Turn 1 – Deathwatch/Imperial Fists
The Furor Deathwatch team enacts swift revenge on the Tactical Squad, wiping them out! The other Imperial Fists squad arrives, and their Librarian casts Enfeeble on the Devastators. Bolter shots kill one Devastator. The Sergeant of the Imperial Fist squad in the Rhino fires his one-shot Melta out of the hatch, but misses the Ironclad.

The Imperial Fists arrive to make trouble on this side of the board

The Tactical squad pays the price of upsetting the Deathwatch!
Turn 2 – Azure Flames
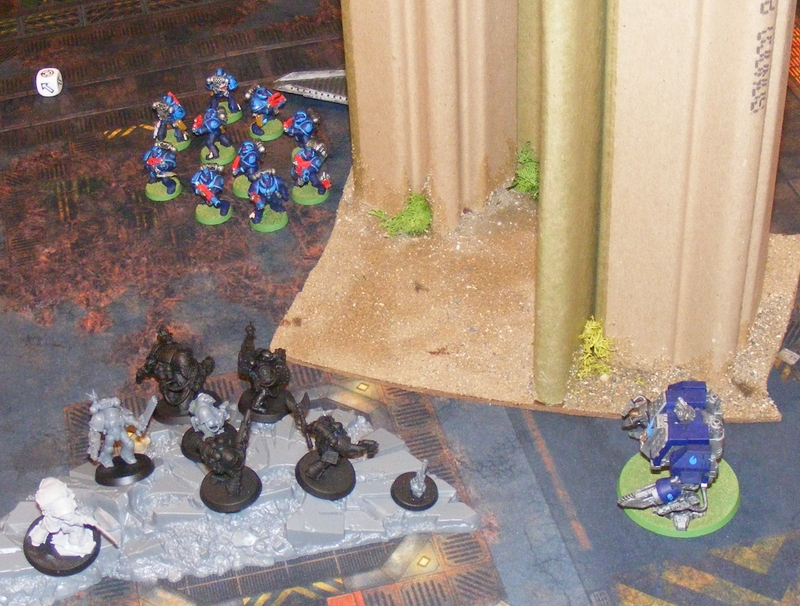
Leonidas and the Assault Squad arrive in the Land Raider Redeemer, outflanking behind the Rhino. The other Tactical Squad also arrives. The Rhino is exploded, and the occupants are annihilated by the Land Raider’s sponson Flamestorm Cannon and the Dreadnought. The 5 man Flamer squad wipe out the newly arrived Imperial Fists with amazing Flamers, Heavy Bolters, and the Las-Plas from the Razorback.

The black wall is the ruin of the Rhino, and its occupants have shared its fate.
The Tactical Squad fared no better, thanks to +1 strength on Flamers and the Tactical Doctrine.
Turn 2 – Deathwatch/Imperial Fists
Aquilla Kill Team arrives via deep strike and kills a few Tactical Marines, aided by psychic powers. The Furor team advances and penetrates the Ironclad with a Frag Cannon shot that causes Crew Shaken.

The Aquilla team arrives, arranged painstakingly to maximize their ability to soak fire. How did they get that bike in the Teleporter? DON’T ASK.

The Frag Cannon makes use of rear armour on the Ironclad, but can’t do more than Crew Shaken.
Turn 3 – Azure Flames
Combined fire from several sources severely damages the Aquilla Kill Team, reducing them to two members and a wounded Librarian. The Land Raider Redeemer advances cautiously and peppers the Furor team with fire, killing a few. The Flamer squad charges the Imperial Fist Drop Pod, causing 2 glances.

The Dreadnought fails to charge after the Aquilla Team is whittled down.

The Land Raider is afraid of the Meltafist, and so maintains a discreet distance.

This Drop Pod is sturdier than it looks!
Turn 3 – Deathwatch/Imperial Fists
The Flamer Squad finishes off the Drop Pod. The Aquilla Team makes use of a once-per-game ability, is removed, and re-Deep Strikes within 6″ of the Furor Team.

Not sturdy enough!

Emergency Teleport!
Turn 4 – Azure Flames
Fire from the Land Raider and Dreadnought kill the Furor Squad’s Terminator. Turn not pictured.
Turn 4 – Deathwatch/Imperial Fists
The Aquilla Squad charges the first Azure Flames Drop Pod, and glance it once. The Furor Squad, now three strong counting the Librarian Warlord, charge the Ironclad. Re-rolling Melta causes the Librarian to die from Overwatch, and as a result, the charge fails!

Slay the Warlord achieved in Overwatch!
Turn 5 – Azure Flames
Leonidas and the Flamers destroy the remaining Furor Team, while the Ironclad and Land Raider destroy the Aquilla Team. Tabled.

With the heavy hitters gone, Leonidas mops up the rest.
————————————————————————-
Final Score
Azure Flames: 11 plus Slay the Warlord, First Blood, and Linebreaker = 14
Deathwatch/Imperial Fists: 1
————————————————————————-
Cam is just trying out the Deathwatch list, and so didn’t access the full swath of cheese therein. His list required units that perform specific things, like the Furor Squad which was meant to be a Death Star. The Imperial Fists were a bit weak, as they didn’t have a clear battlefield role. Cam also could have hid the Raider behind a hill, so that a deep strike to Melta it would have had to risk scattering off the board edge.
Next: another batrep!